

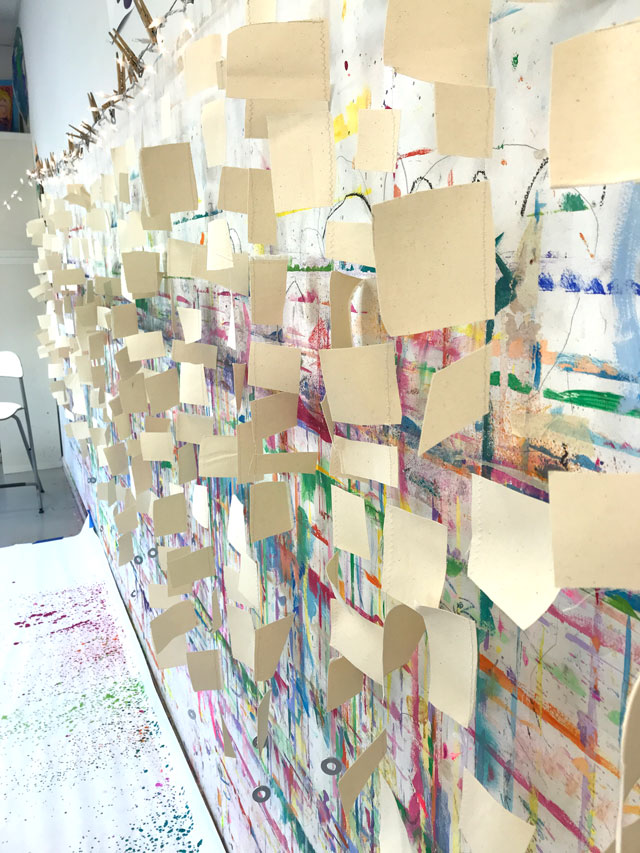
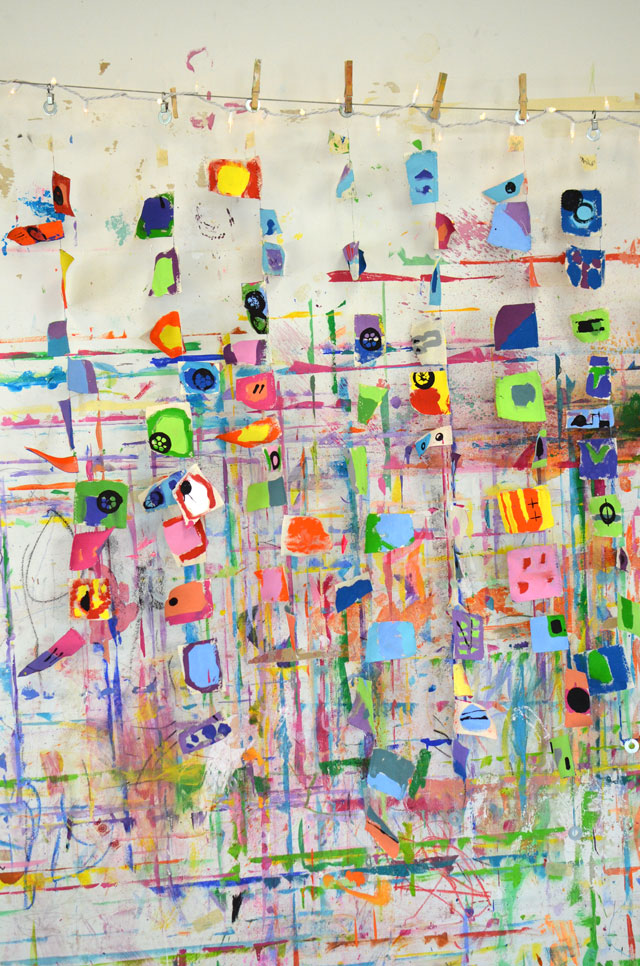
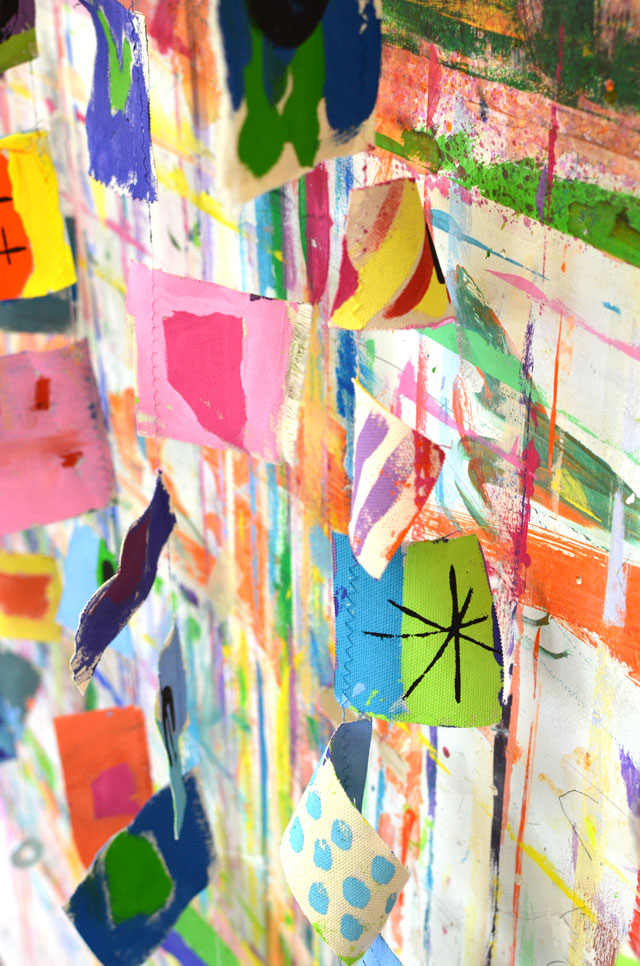
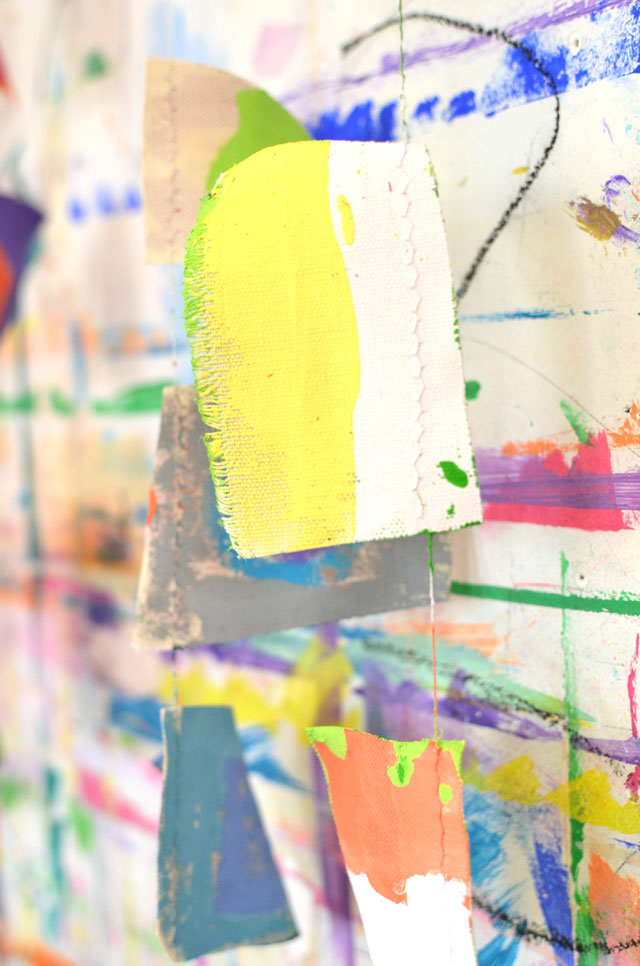
We often paint on unprimed heavyweight duck cloth. These beautiful garlands were made by simply sewing scraps of duck cloth into a garland. These literally took about thirthy seven seconds a piece to sew! I just piled them all up on the right side of the machine, and fed them through with my right hand as I gently pulled behind the machine with my left to maintain the tension. If you sew, you can probably make sense of that, a video would have been nice. But even if you rarely fire up your sewing machine, I am pretty sure if you just sat down at your machine you’d figure it out! I love to sew paper garlands like this as well!
I used a zig zag stitch with colorful thread. I left a long “tail” on each end, which I used to tie a small metal washer for weight. This was a great “filler” project that we worked on a little here and there in between other summer camp projects. I loved that it showed the kids that you can make something beautiful out of the most ordinary scraps.
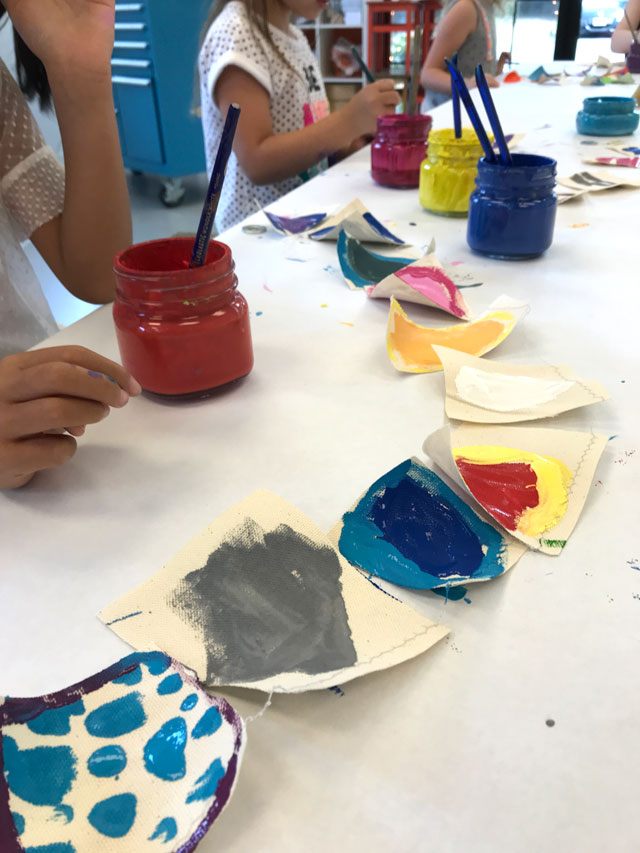
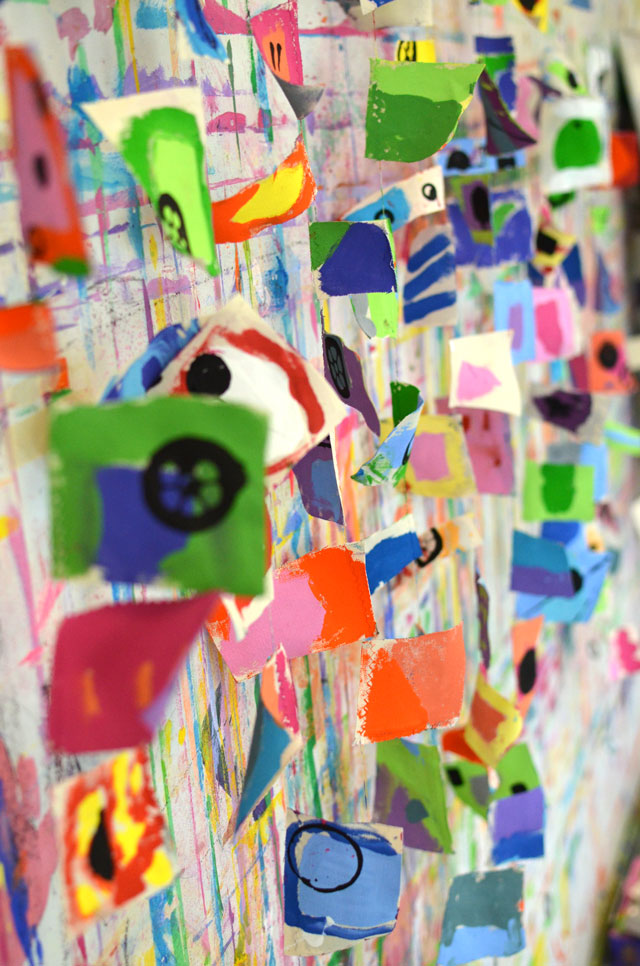
We used tempera paint, separated by warm & cool colors (per usual). Kids were instructed to just put on a layer of paint in any design or pattern they wanted. After the first layer dried, they could put another layer on top as long as it was from the same color family (cool on cool, warm on warm). Gray and white were neutrals and could be used on either color.
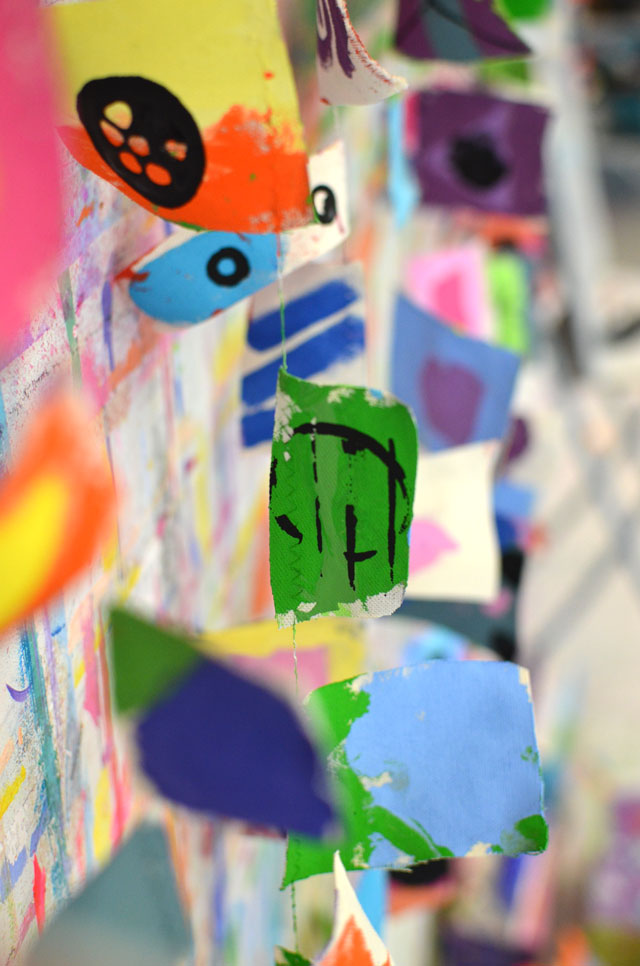
As a final step, students added some black accents by stamping with objects. We use the end of thread spools to make a neat floret pattern, and bottle caps to make circles, and strips of an old credit card to make uniform lines.
That was about all there was to this simple little project!

\

