It’s taken me until October to find a weekend to catch up on sharing this 3D Flea Market Cart art project from summer!
It’s been a busy few months! Did we mention we have a new studio opening in Fort Mill, SC? Have we talked to you about owning a Small Hands Big Art studio?? hmmmm
Well anyway! …Back to summer! Summer was literally JAM-PACKED! Our Pottery Camps were so fun (sharing some highlights from that tomorrow!), and our Mixed Media camps at our main studio and offsite Dilworth location were amazing! We did some spectacular new projects that we were pretty proud of, but none quite like this #1 winner! Feast your eyes!
We had collected about 50 rectangle boxes from a bulk art supply purchase. They were the perfect shape to imagine a 3D version of one of our much loved 2D drawing projects – vintage food trucks!
In Charlotte we have a lot of food trucks, so they were all pretty familiar with them! Once their wheels got turning, some kids asked if they could make something besides a food truck. The conversation evolved and pretty soon they were brainstorming great ideas for unique businesses that could sell all sorts of goodies. At that point the project morphed into a total “flea market” project!
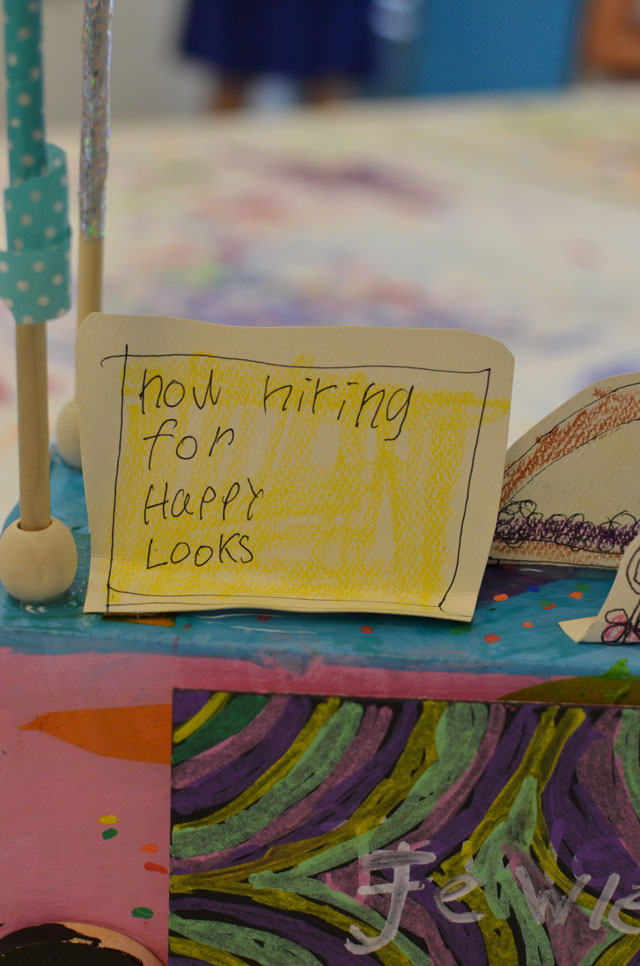
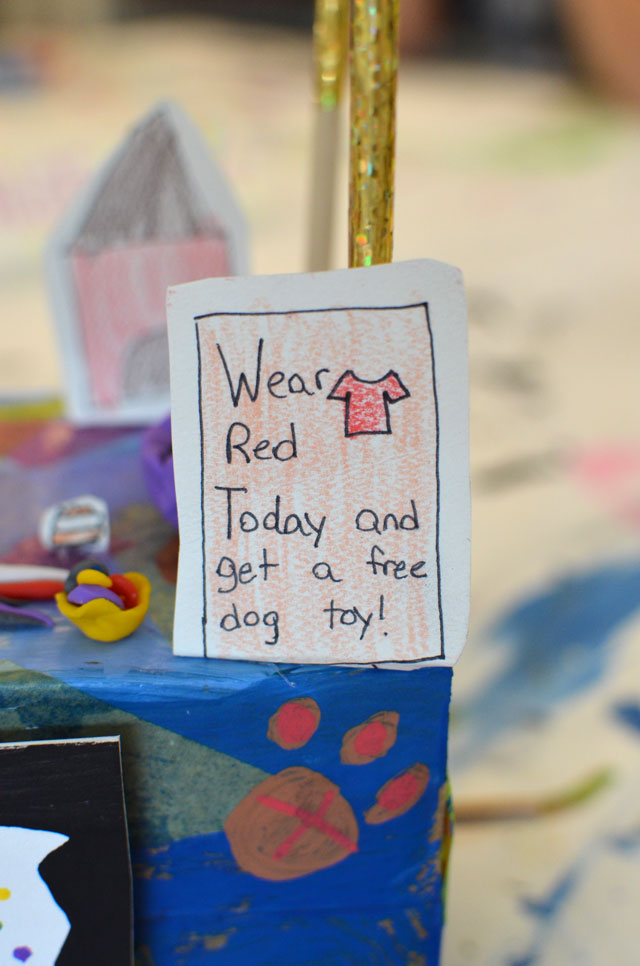
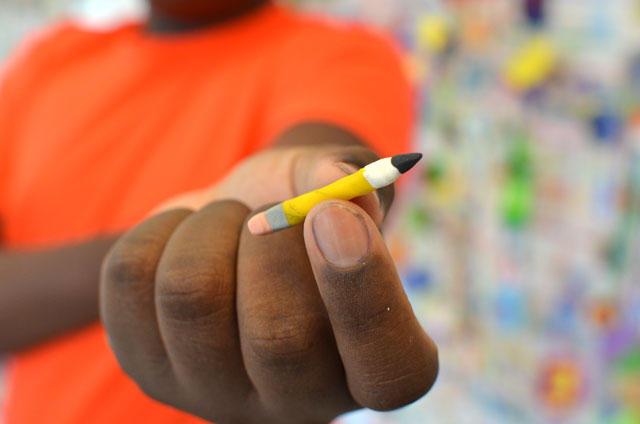
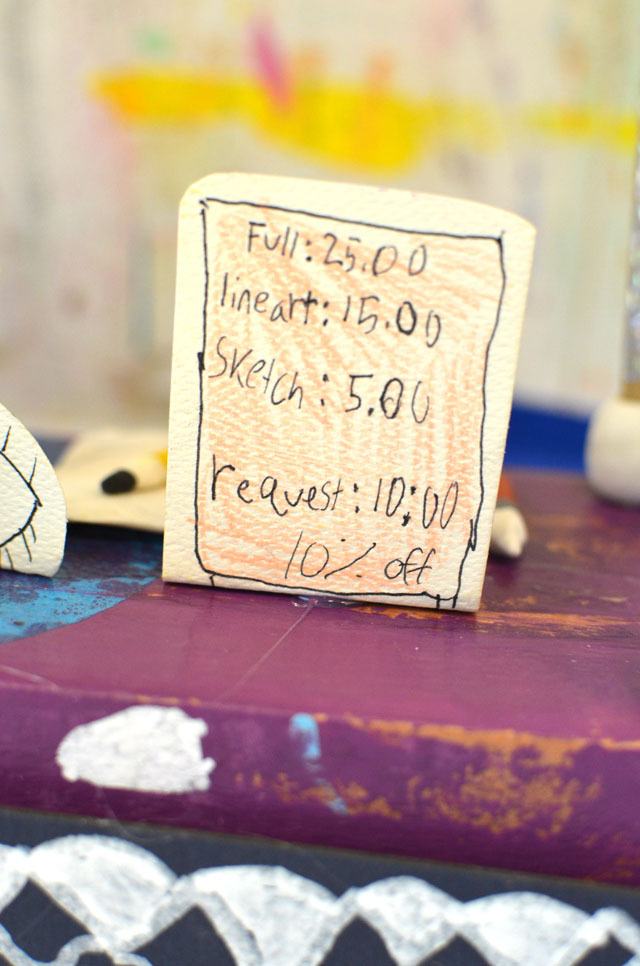
They had soooo many great ideas! We had a cookie cart, an art studio cart (of course), a cotton candy cart, a slime making cart, a cart where you could commission the artist to make portraits for you! We even had a mobile animal shelter with pets for adoption!
The Supplies
- Cardboard box
- Tempera Paint
- Tissue Paper
- Mod Podge
- Uni Posca Paint Pens
- Four wood or cardboard circles for wheels
- Four 6-8″ wooden dowels
- Tooling foil for the awning (or sub with another sturdy material like tag board or poster board)
- Washi Tape
- Decorative trim
- Several small pieces of heavyweight paper (to draw all the goodies that will be for sale)
- Colored pencils
- Sharpies or fine tip black pens
- Optional – plasticine non-drying modeling clay
The Process
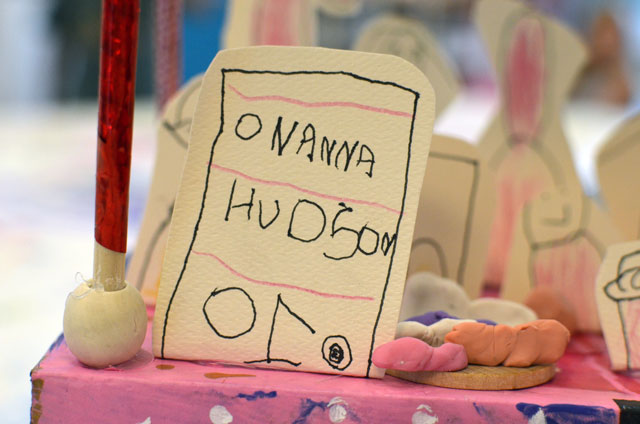
Kids first applied a layer of tempera paint to each side of the box. They could paint it all one color but were encouraged to use multiple colors as long as the colors didn’t touch. As the tempera paint was drying, they worked on their sign and decorating their wheels. We used Uni Posca Paint Pens and small pieces of mat board scraps.
After the tempera paint was dry, kids decoupaged a layer of tissue paper on top with some watered down Mod Podge.
The whole time they were working on this process, they were dreaming and scheming what their business would look like! What was going to be unique about their business? What would the name be?
After the layer of tissue paper decoupage was dry, the boxes had a smooth, shiny finish, providing a perfect surface for embellishing with our favorite Uni Posca Paint Pens!
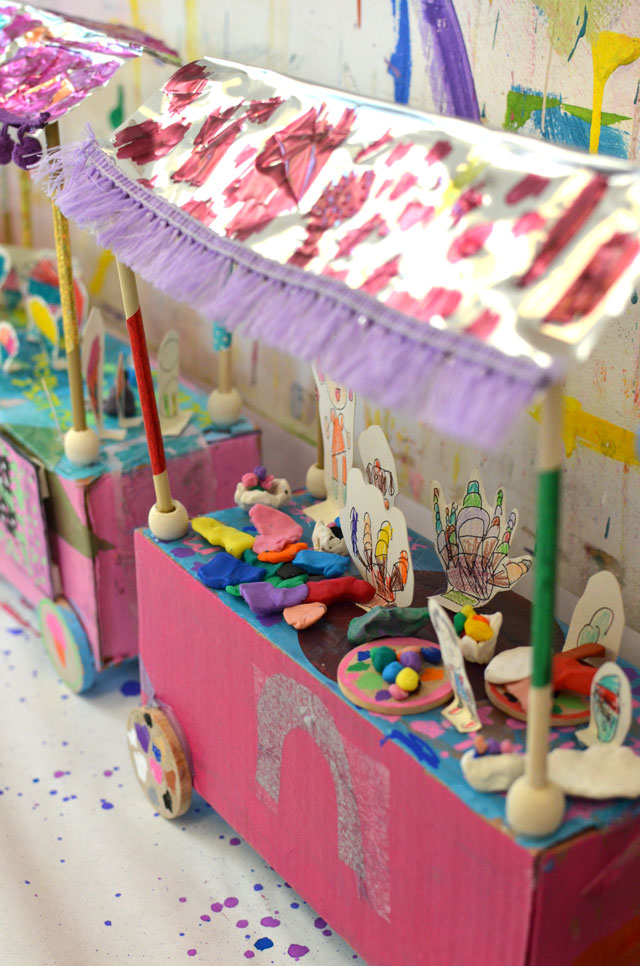
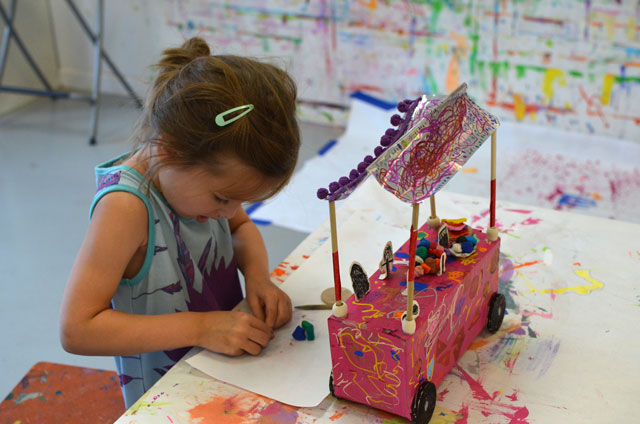
We used tooling foil for the awning of the carts, and four 6″ wooden dowels for the awning supports. The awnings had to have a fun design carved into them. A lot of kids used them as a way to add more signage to advertise the name of their business. The awnings were embellished with colorful fringe.
Read on to see how we attached the awnings:

We used an awl to pre-drill a hole in each corner of the box.
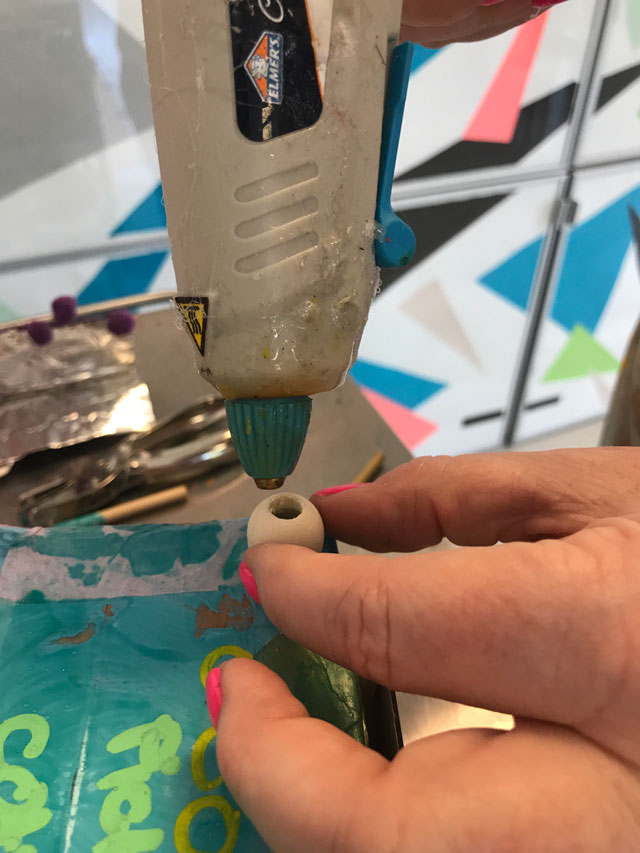
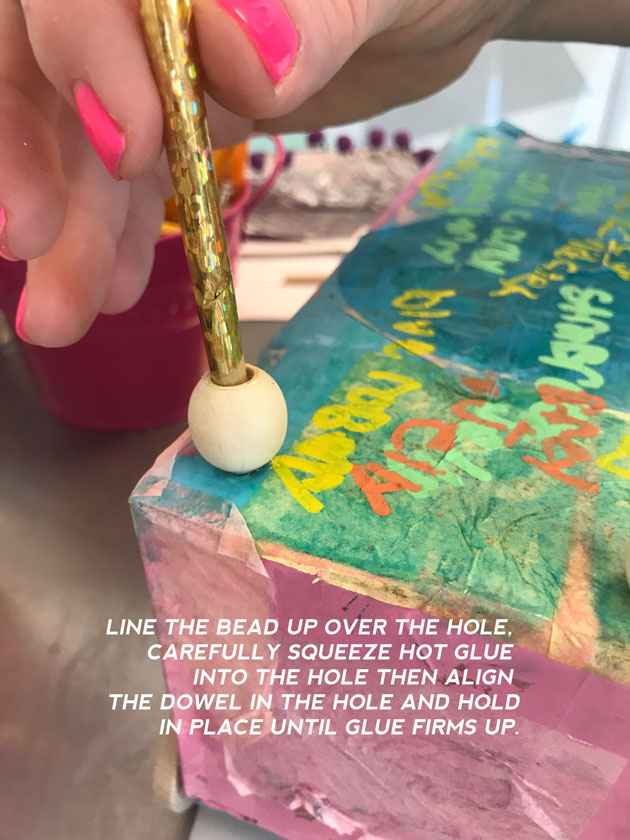

Squeeze a dot of hot glue onto the top of each wooden dowel and carefully secure the corners of the awning. Be careful because the metal tooling foil conducts heat from the hot glue!
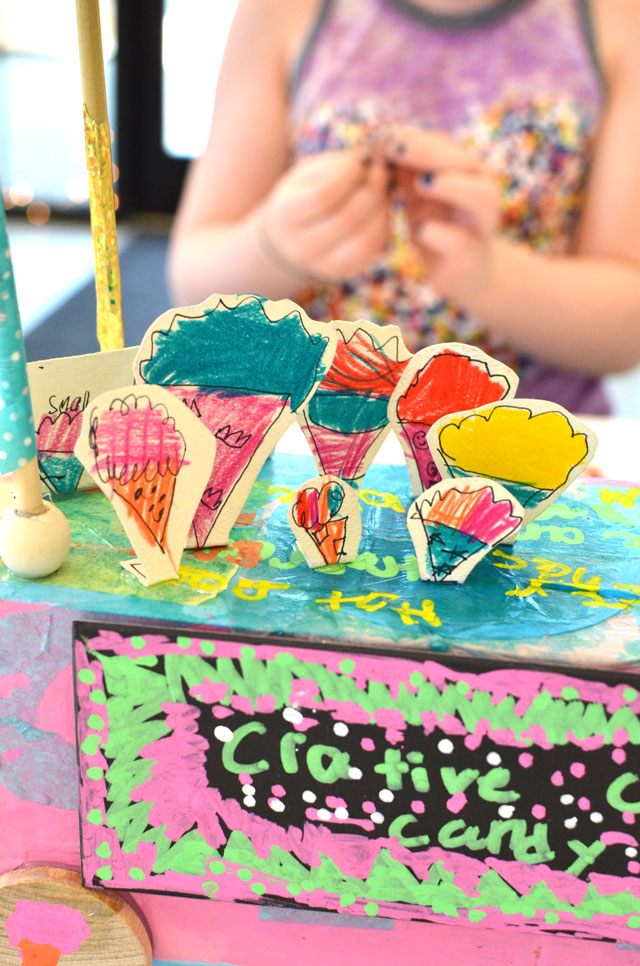
Kids created the items “for sale” on the top of their carts with small scraps of heavyweight watercolor paper. They drew on one side, cut them out, then drew the exact same thing on the other side. This way they could be displayed on the cart and viewed from all sides. When they cut them out, they had to leave a little extra paper on the bottom for a “tab” to be able to hot glue them in to place. This was a great challenge for them!
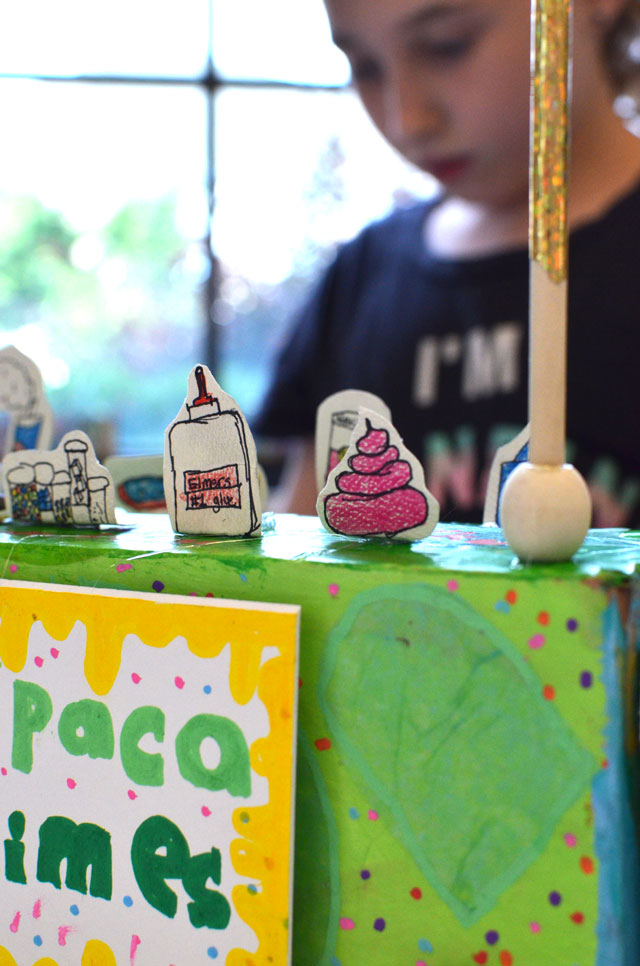
Students created a colorful sign with the name of their business and some graphic images to reflect what type of business it was!
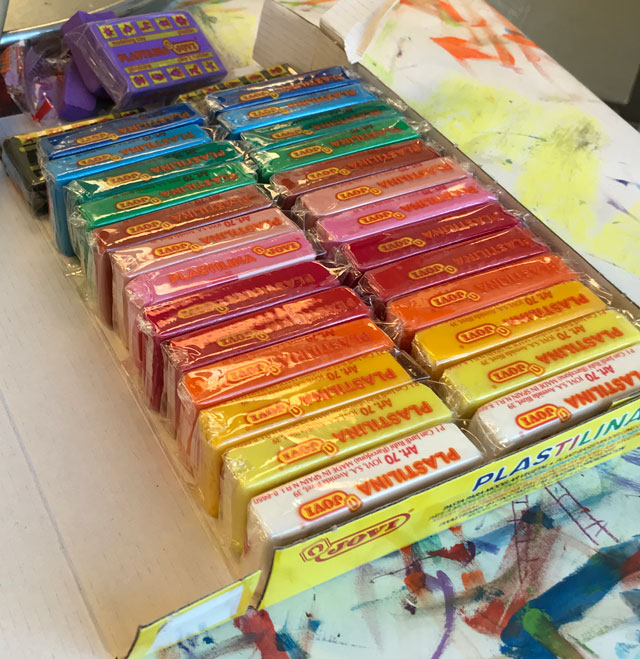
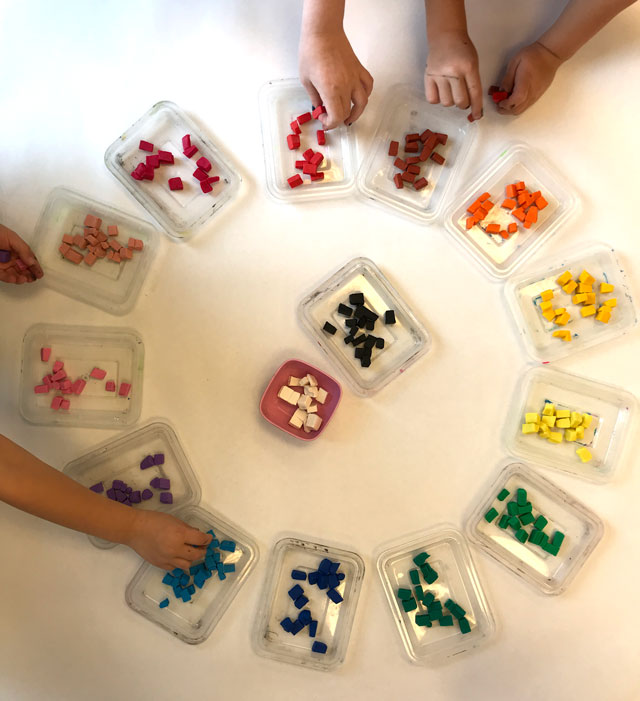
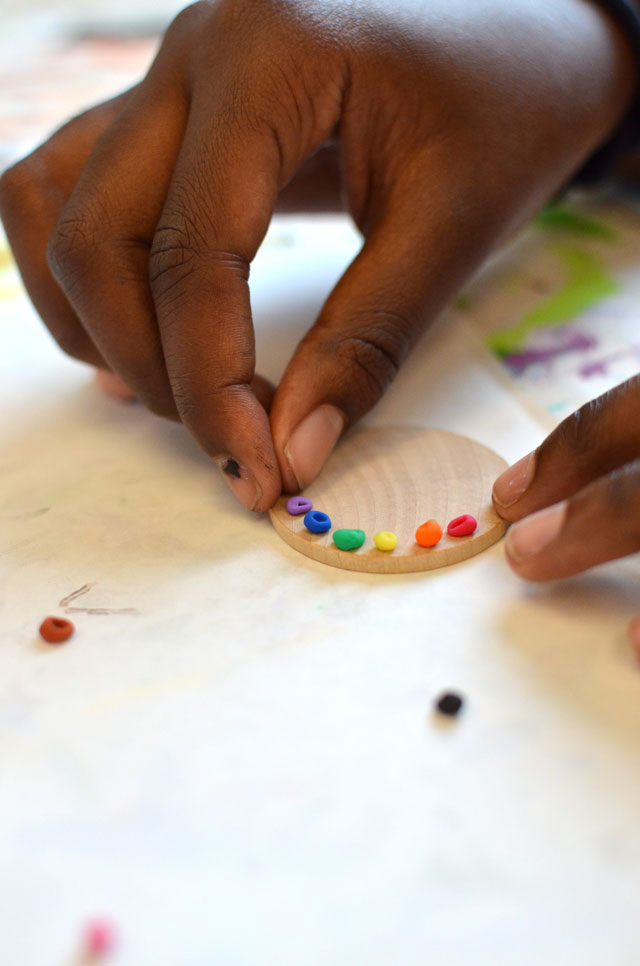
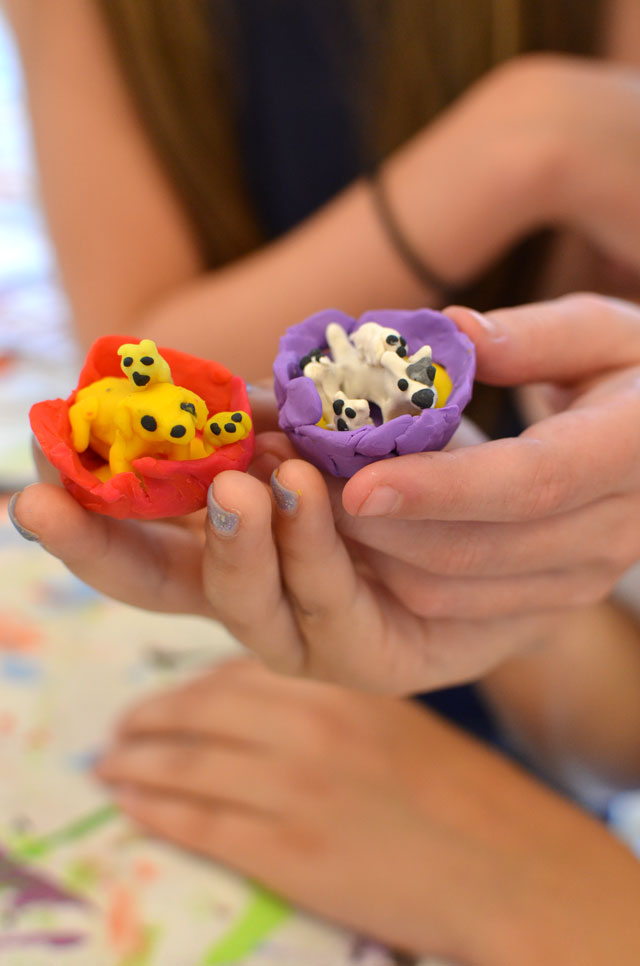
Next we used plasticine non-drying modeling clay to add more items to their retail offerings! We talked about the concept of retail merchandising and how they wanted to display their items on their cart! Even the 4 yr. olds seemed to “get it”! Sculpting miniature items out of clay posed unique motor skill challenges. They all loved this component of the project and being able to re-organize their shop displays! They found little bowls or plates made out of wood beads or discs to display their wares.
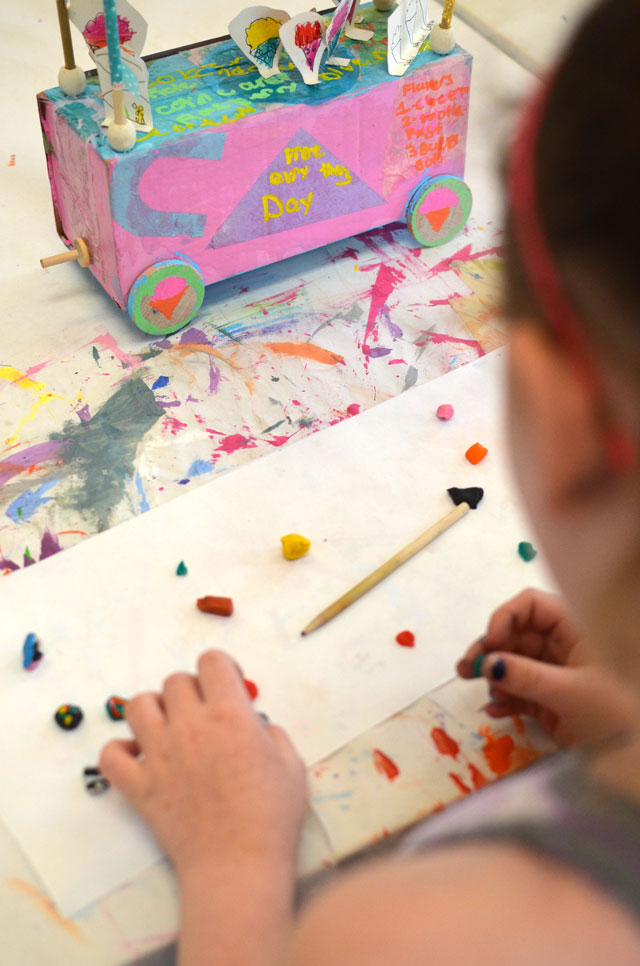
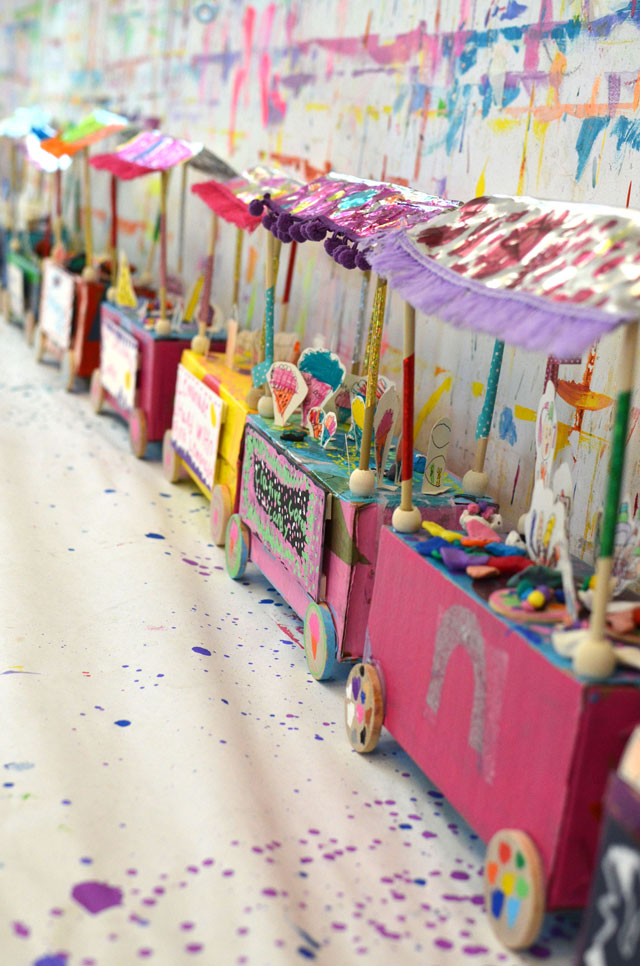
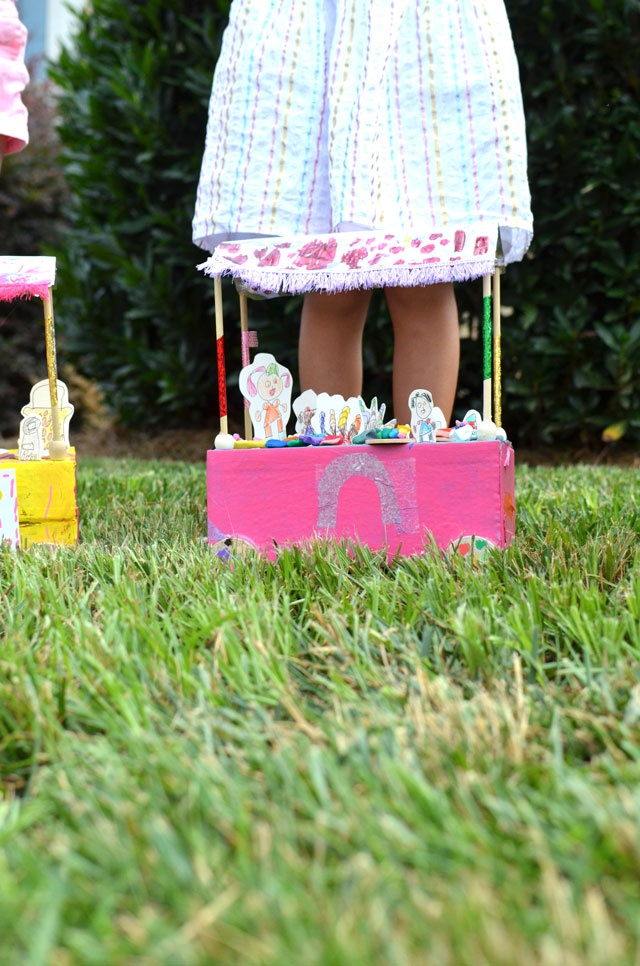


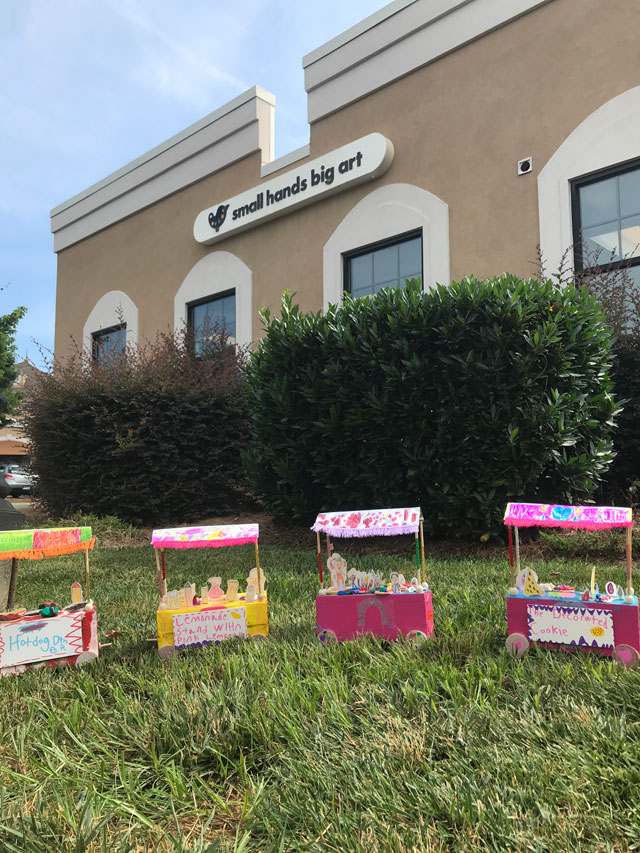
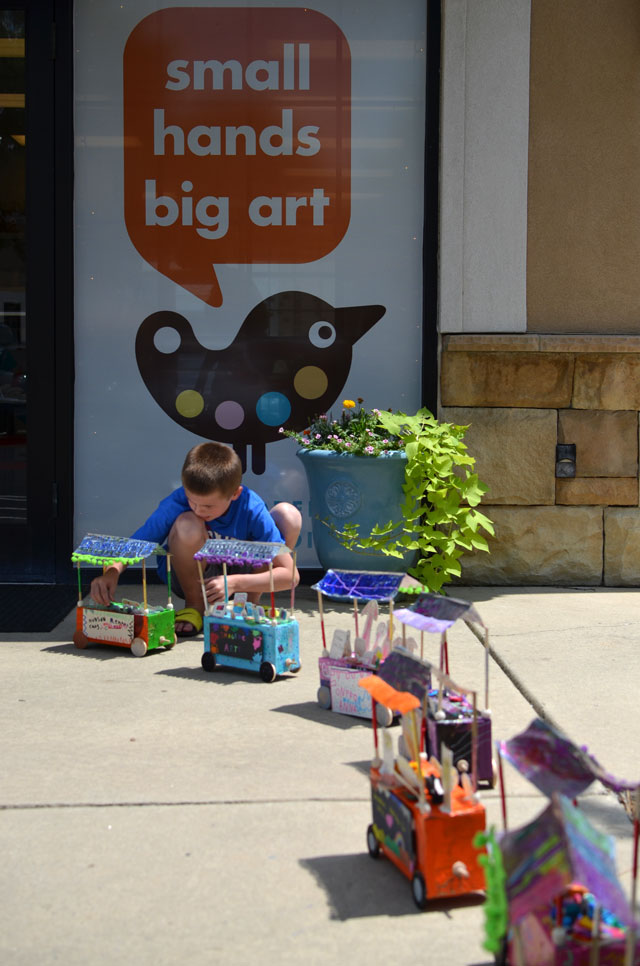
This 3D Flea Market Cart art project was fun to carry outside and set up a real miniature flea market! Business was slow that day, but we got some great shots!