

This cardboard cutout 3D upcycle art project uses plentiful supplies we all have laying around the house!

Hello everyone! I’m writing this during week 3 of the Coronavirus Quarantine! <– Hoping one day, that sentence reads like a message in a bottle, washed up on shore from another planet, a distant time. Will future readers think, “Quarantine?? what quarantine??! Coronavirus?? whaaaaa?” Right now though, it’s a reality the entire world is dealing with.
Another reality the world is dealing with is bored kids at home! These poor kids. In school one day, home the next, and forced to be completely isolated from their friends and teachers and everything / everyone they love! Our hearts go out to them! I wonder in what ways this isolation will re-define their personalities and characteristics… What will they remember from this time? Idyllic memories home with both mom and dad? That’s definitely a happy memory they’ll keep. But not being able to just play and interact with their little friends, and just be a kid… I worry they will become more withdrawn, sad, depressed… Ugh!
Well I’ll save those deep philosophical thoughts for another day. btw – I hate when I look up a recipe online and there is so much chit chat… and I have to scroll and scroll looking for the (*^&%* recipe!!! And here I am doing that same thing!
So let’s just get you going on this fun project! The main ingredient for this art project is the one thing on the planet right now that seems to be in plentiful supply – cardboard!
If you’ve followed us for any length of time, you already know cardboard is a preferred art surface at our studios! We use it for about 60% of the art we create! We love it! It’s so versatile! It is sturdy, durable, smooth with just the right amount of “toothy” texture! It soaks up thick, chalky tempera paint and dries so fast!
You Need:
- Cardboard
- Tempera paint (a mix of warm & cool colors + white)
- Oil or chalk pastels (make sure you black for contrast at the end!) *see end of post for chalk pastel recommendations
- Things to wrap and twist: Wire, yarn, ribbon, strips of recycled fabric
- Things to dangle: A bead, buttons, a pendant from a broken costume jewelry piece…
- School glue
- Small pieces of scrapbook paper or painted paper
- Hot glue gun
- Small scraps of cardboard to use as spacers when you mount the top layer to the background
How to Do It:
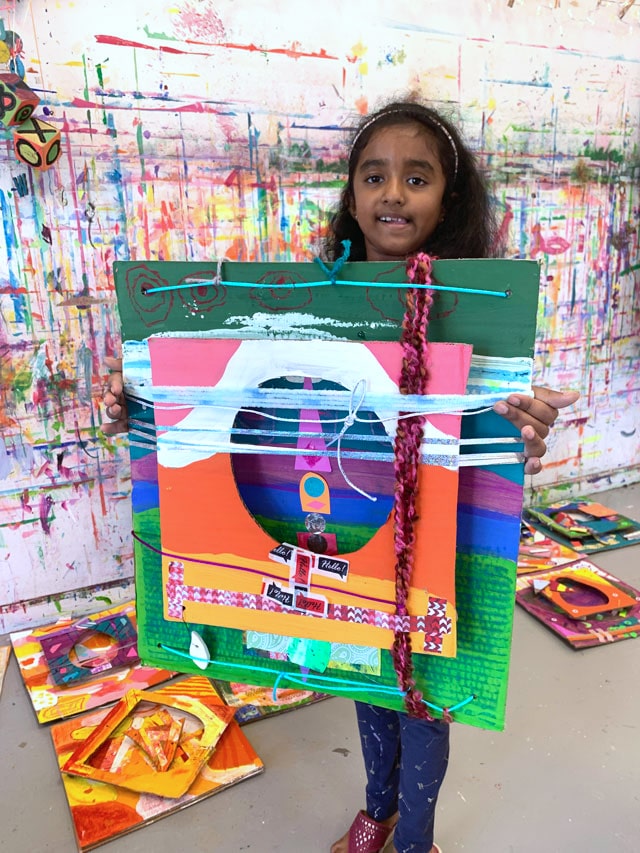
Start with two pieces of cardboard. One smaller piece with a shape cut out of it for the foreground, and a larger piece for the background. (we had some that were left over from an entirely different project where we just needed a cardboard shape!! We throw nothing away! Nothing!)
Paint one piece in ALL WARM colors, and the other piece in ALL COOL colors. This is a little trick we do a LOT, and it will help the piece in the foreground really “pop” when they are layered! There really are very few rules here – they can paint them a solid color, or for more interest, give them a limited prompt. A few prompts we often use are:
- Paint four sections on the cardboard with different colors – it doesn’t matter what shape or size, just that when you’re done the entire surface must be covered. Basically, just color blocking.
- Paint a pattern – all stripes, all circles, etc. – again, making sure at the end the surface is completely covered.
Set aside to dry. Repeat on the other piece but with the opposite color family.
Once dry, work back in on top with the same color family (cool on cool, warm on warm), adding lines & shapes for accents. At this point, we also add some white to break up the heavy color blocks and add contrast! Set aside to dry again. Have a little snack break… These dry pretty fast on the cardboard- it just soaks up the paint like a sponge! A tip for speeding along the drying process is to have the kids wrap a small piece of paper towel around their finger, and gently go around dabbing & blending the wet spots & puddles. This creates a cool “dry brush” effect.
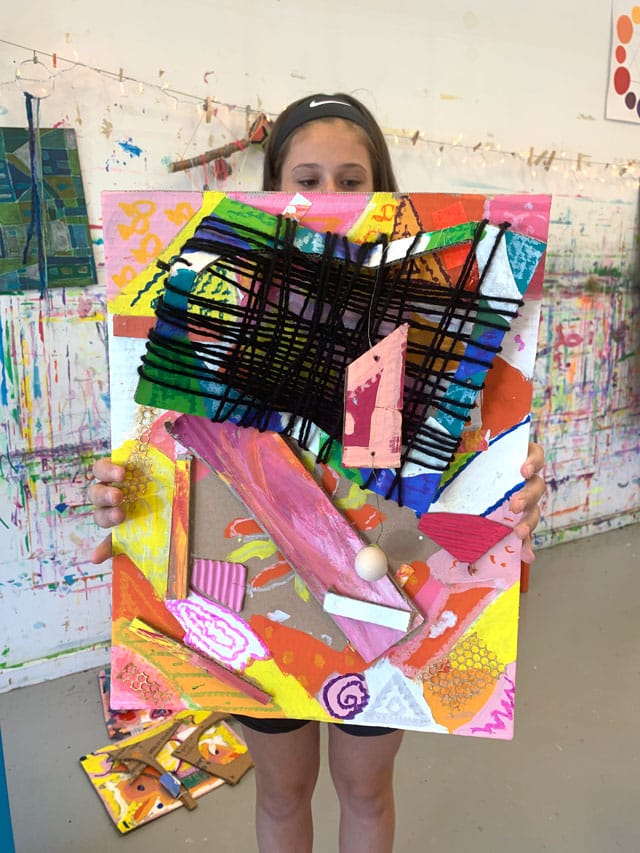
Next, layer either chalk pastel or oil pastel lines & shapes on top of the tempera paint. Another little Small Hands Big Art signature style – LAYER LAYER LAYER! I can barely think of a single project we’ve done that involves a single layer of anything! More is more!
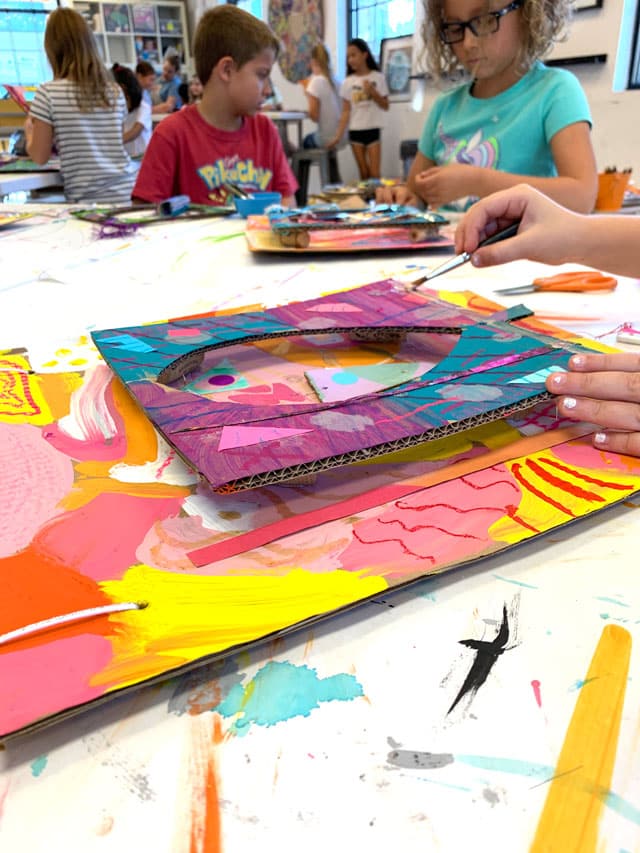
We follow up the layer of chalk or oil pastels with some collage! Find little pieces of scrapbook paper or cut small shapes out of painted paper, and glue on with school glue. And don’t forget to stick to the color scheme – warm colors on warm colors, cool colors on cool colors! Add some black lines and shapes for contrast and visual interest.
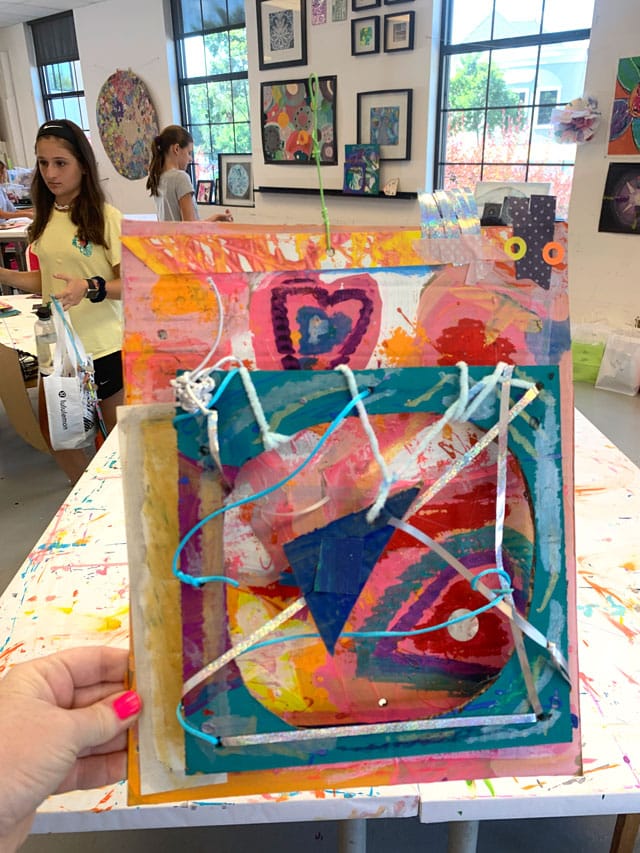
We had kids go check out a collection of yarns, ribbon, trim, & wire at the back table, and pick out pieces that they liked, without telling them yet what we were going to use them for! We brainstormed at a class how we could incorporate these strands into the project! When we’re teaching, we like to ASK vs TELL whenever possible. A lot of times the kids come up with way better ideas than we originally had!
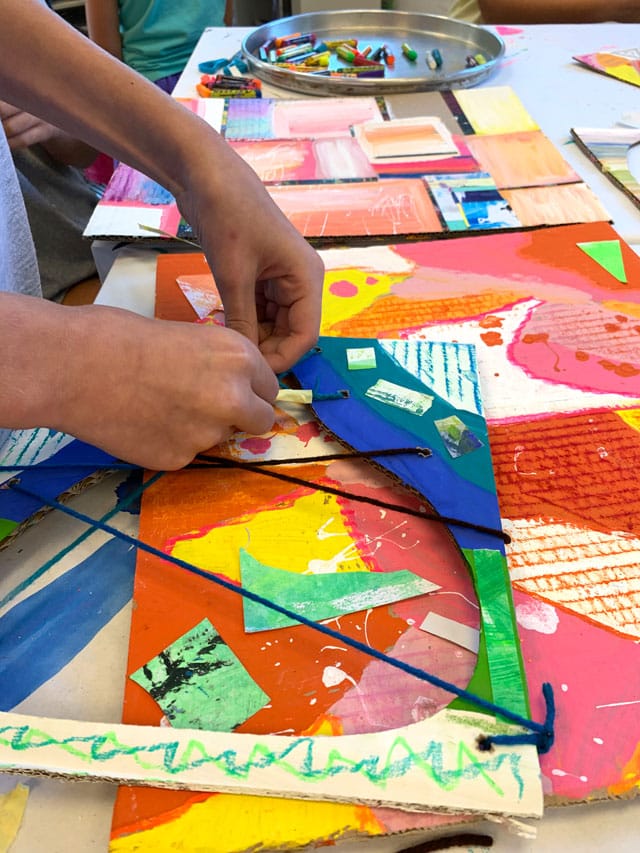
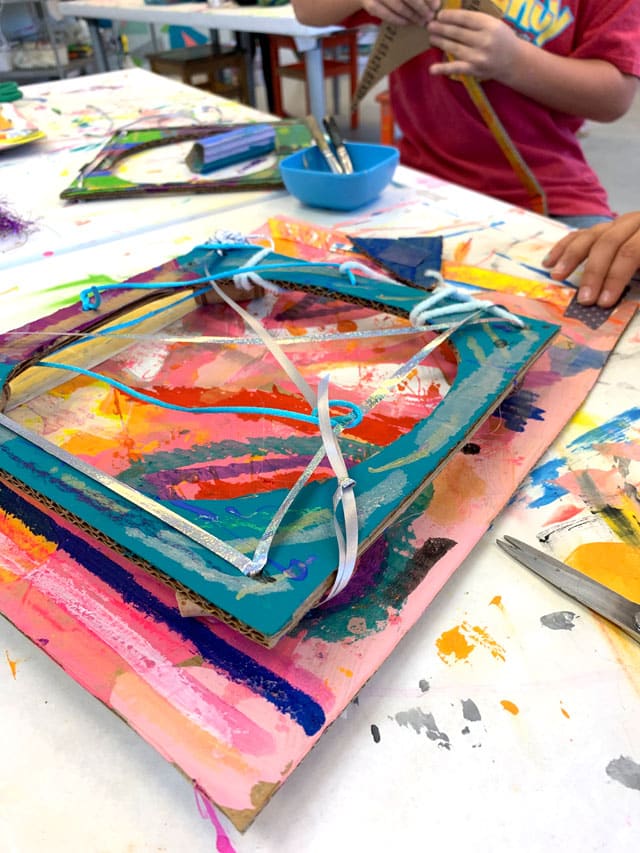
Allow kids to fiddle with the strands for a few minutes. Most will come up with the idea to WRAP, TWIST, THREAD, LACE & TIE. We started realizing that the popularity of lacing them was really taking off, so we had kids mark on their cardboard with small dots where they wanted holes punched, and teachers went around with an awl and the handle of a paintbrush to open up the holes big enough for them to poke the yarn or ribbon through. To get started, you have to anchor the beginning end -either by taping it to the back of their cardboard or by tying a knot.
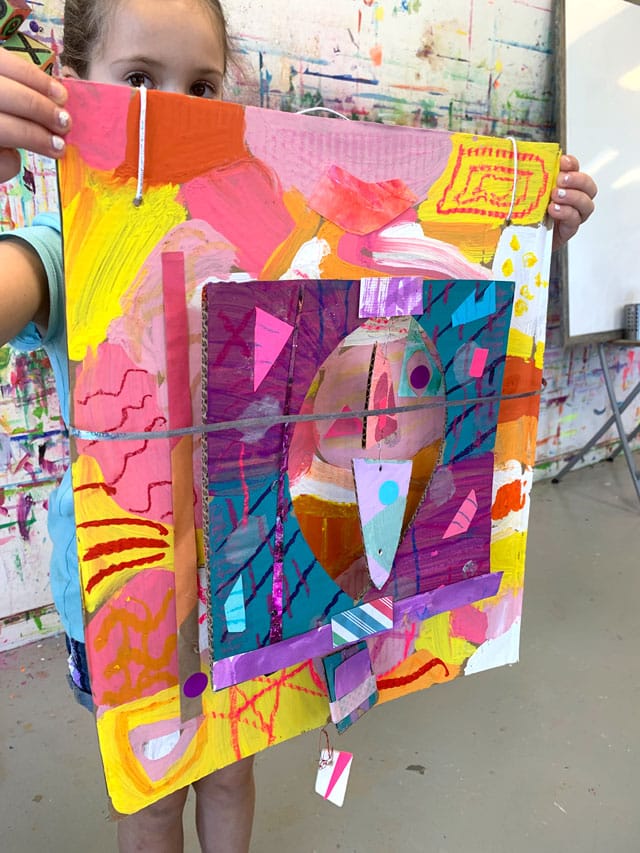
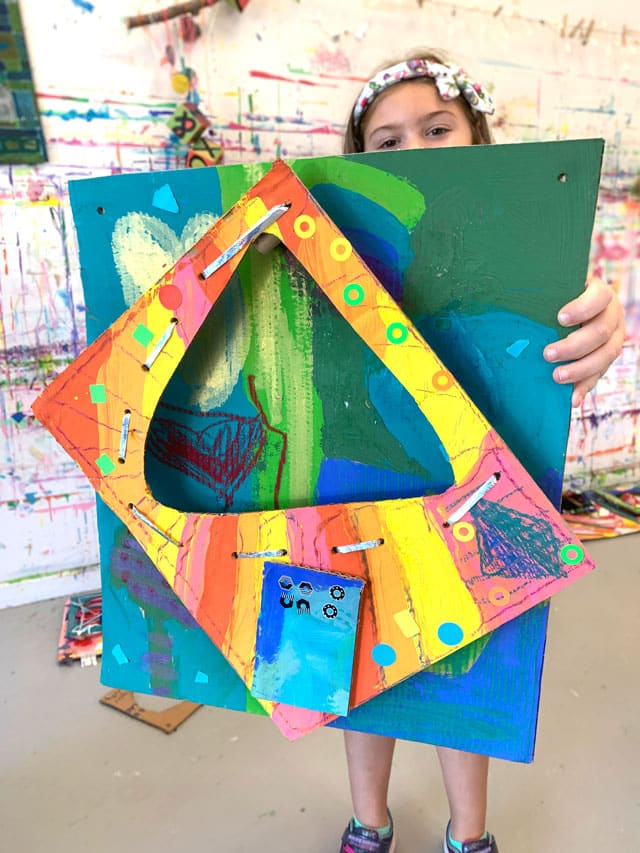
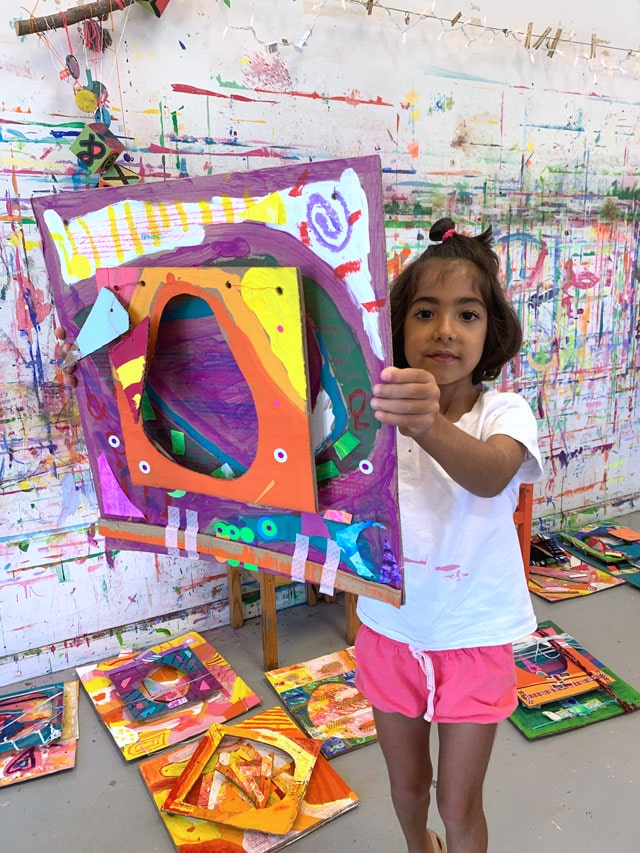
After embellishing, kids arranged the two pieces one on top of the other. We explained that the top piece didn’t have to be right in the center, and encouraged them to explore off-center placement options. We mounted the smaller piece on top of the background piece with the hot glue gun, using some scraps of cardboard as “spacers”.
Some kids chose to add a hanger to the sculpture – either with wire, yarn or ribbon.
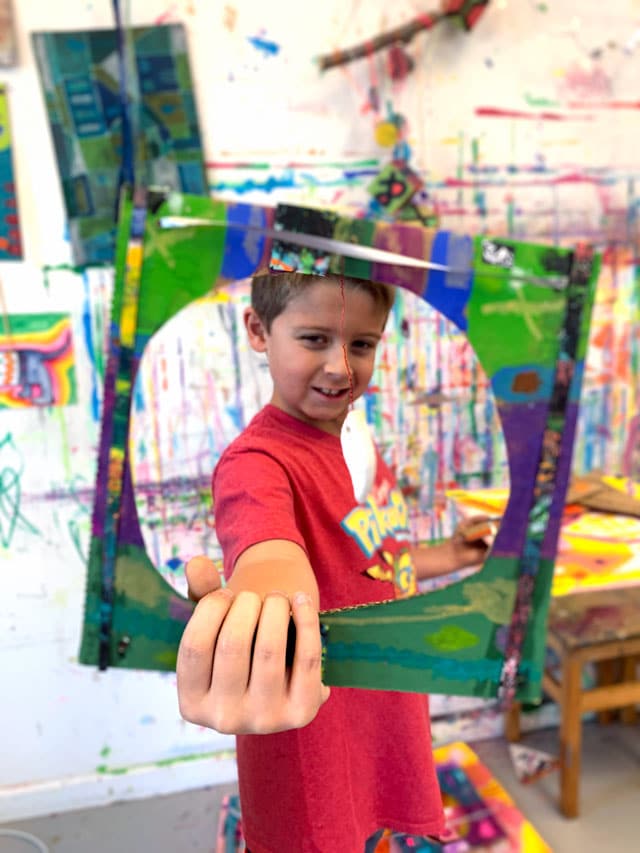
ok, maybe “less was less” for this artist – but still cool!
*A word about chalk pastels. Not all chalk pastels are created equal! We look for chalk pastels that are sturdy (and don’t crumble in your hand or disintegrate if dropped on the floor), have rich vibrant pigment, and adhere well to the paper! Many brands look beautiful in the box and then result in just a pile of color-less dust. The colors aren’t vibrant and the end result is just disappointing. The pigments and binders vary greatly from brand to brand, so this is one supply we recommend spending a little extra on.
Our all-time favorite are these Prismacolors NuPastels. Blick sells them open stock, so you don’t have to keep ordering full sets (and ending up with piles of browns!) – but your eyeballs will fall out when you see how expensive they are! Not for younger kids who won’t appreciate them, for sure! Our go to, day-to-day fave chalk pastels are these Sargent Art Half Sticks. They are reasonably priced, hold up well, and have great pigment and minimal dust! We usually order only the half sticks because they are just easier to hold, and the full sticks break in half right away anyway!

