

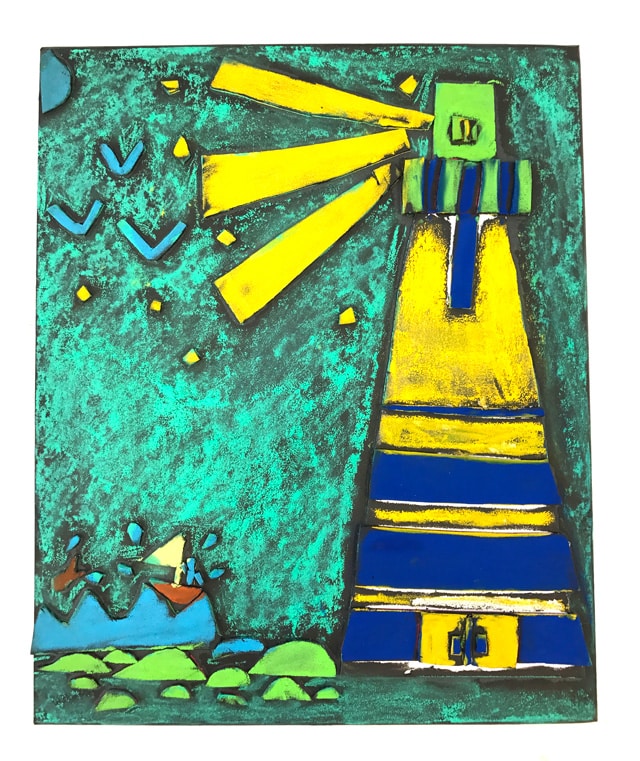
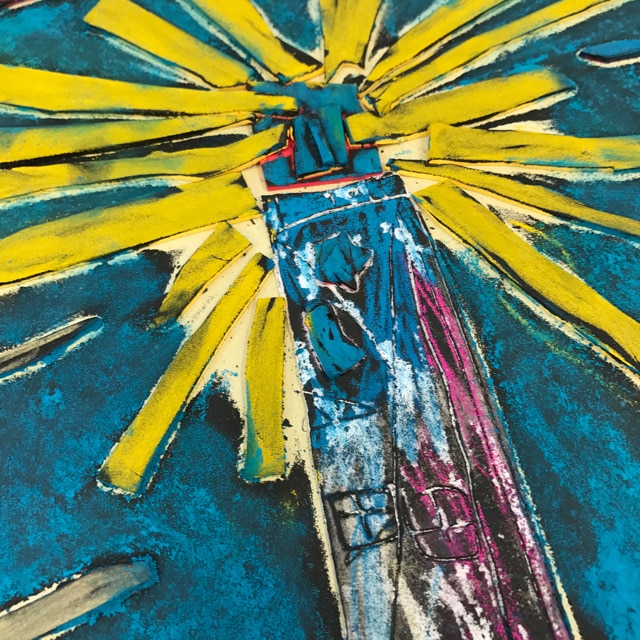
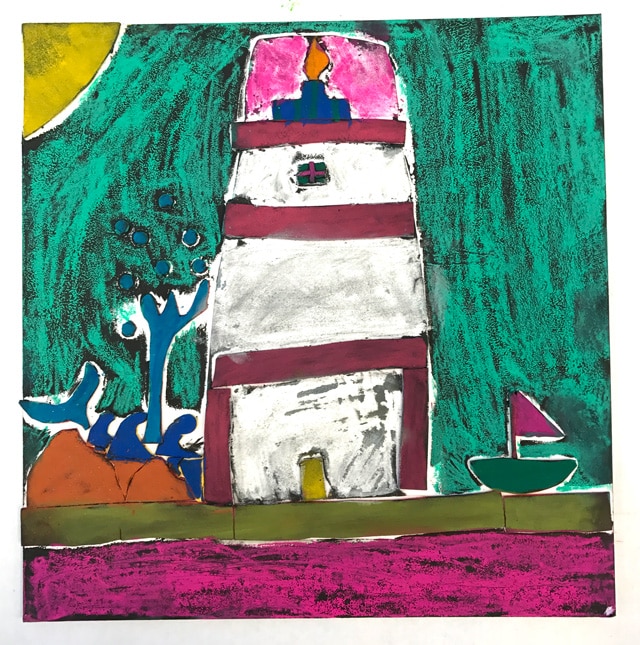
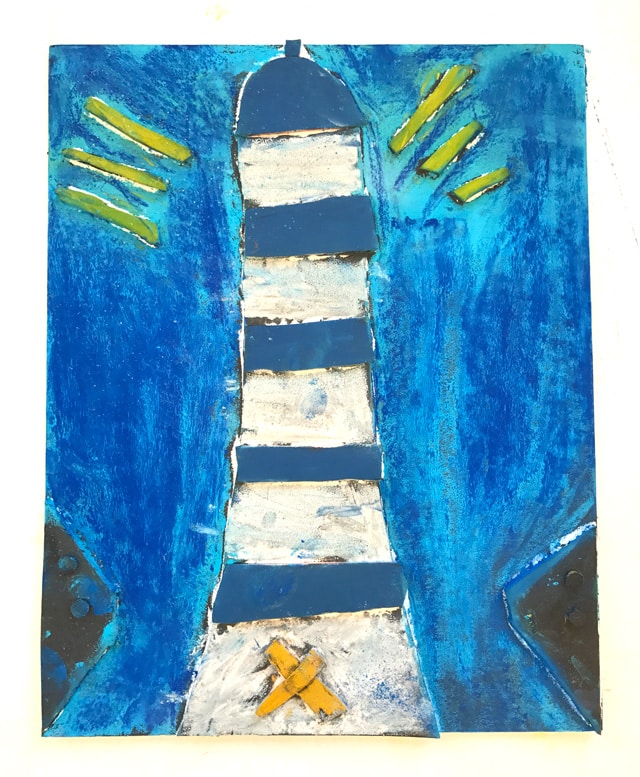
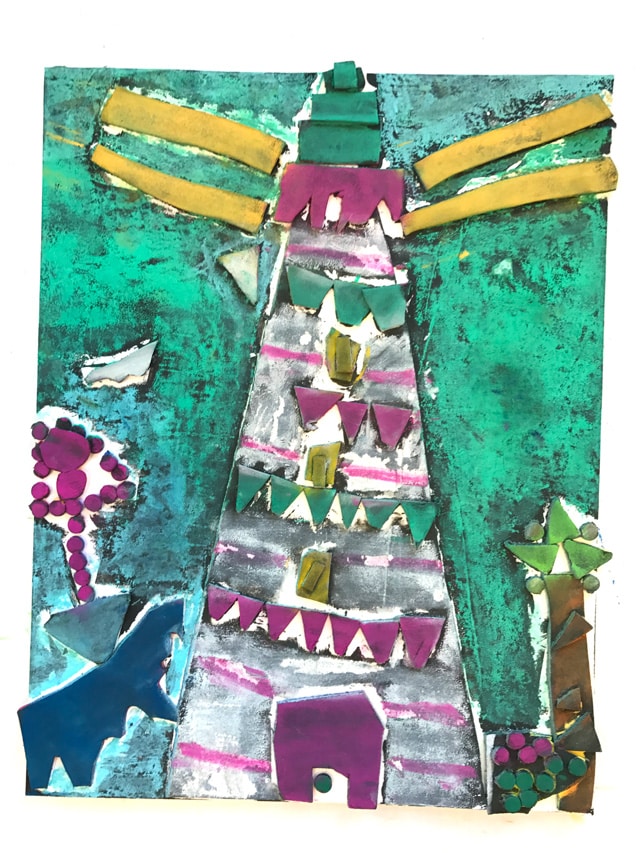
It’s summer, so of course we had to revisit one of our favorite lighthouse collagraph printmaking projects but this time with a special twist: we used chalk pastel to color or collagraph plates!
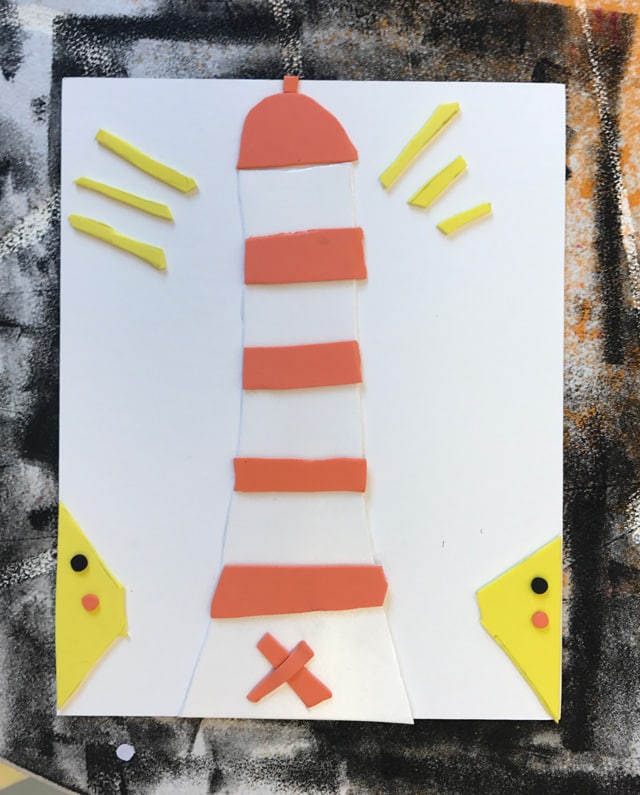
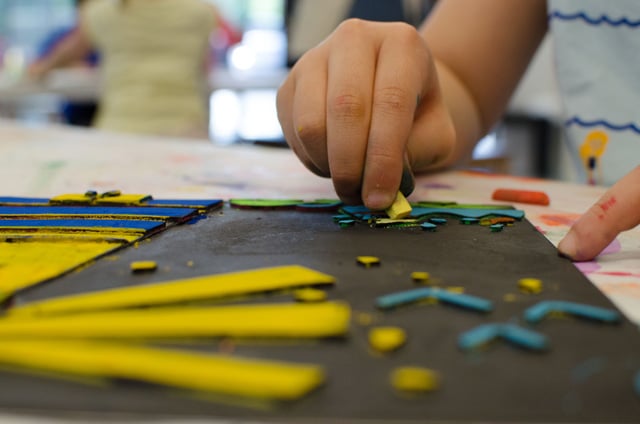
Inspired by the lighthouses that line the Carolina coast, students created these collagraph plates using primarily peel and stick foam sheets. This North Carolina chalk pastel lighthouses printmaking project was a hit in our summer camp this year!
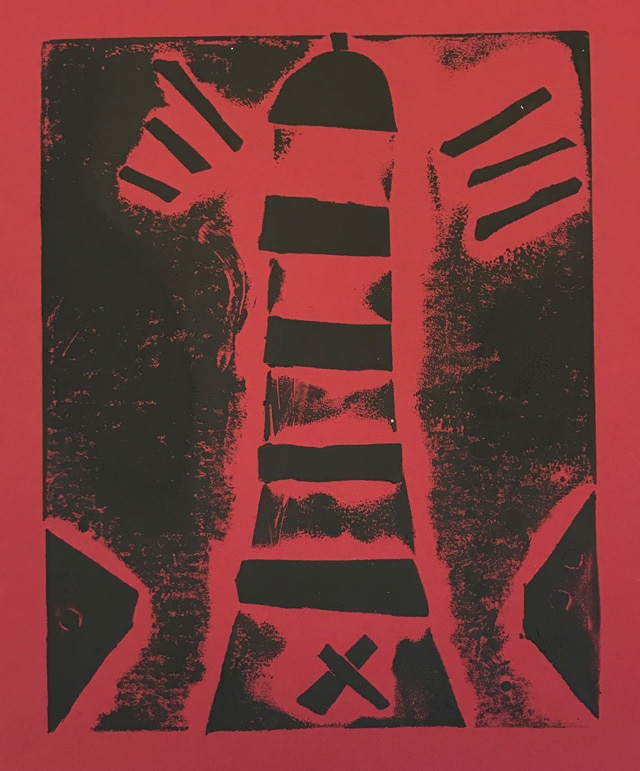
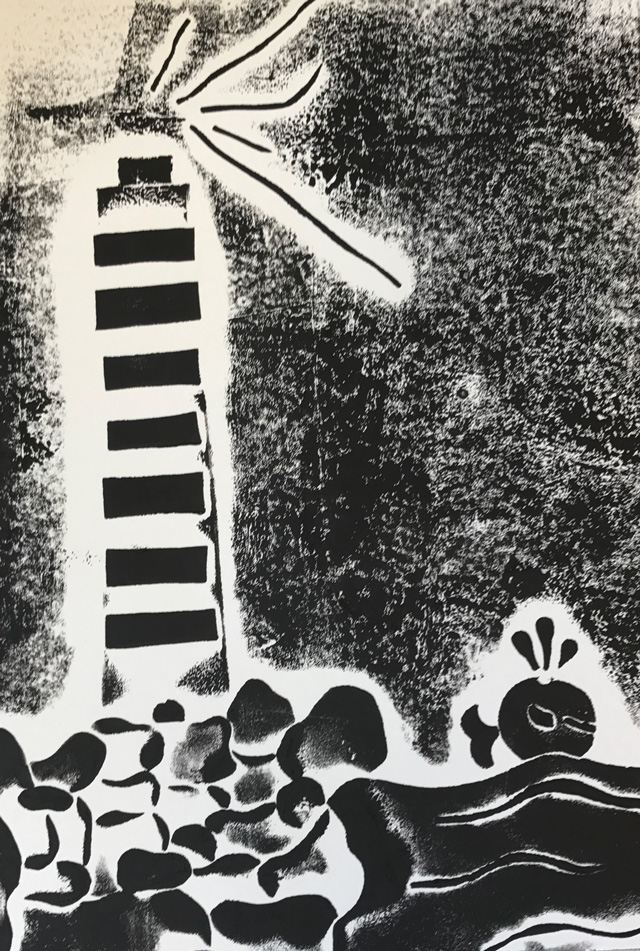
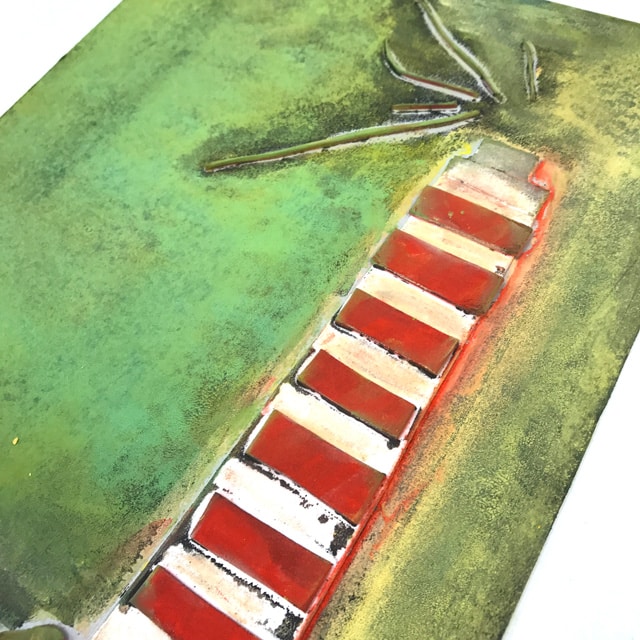
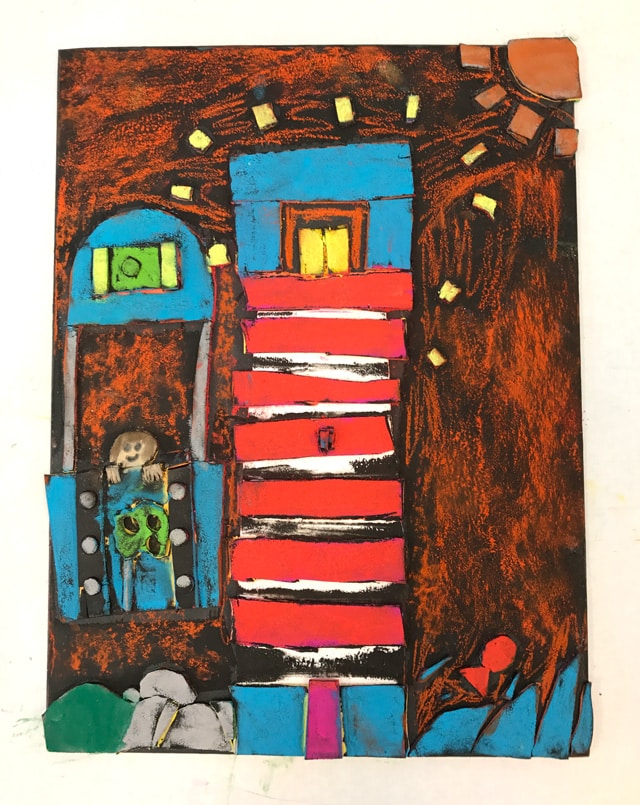
We pulled two black prints from each plate (the prints were fabulous in and of themselves), but the next day the blackened printing plates were all lined up on the windowsills begging us to add some color to them!
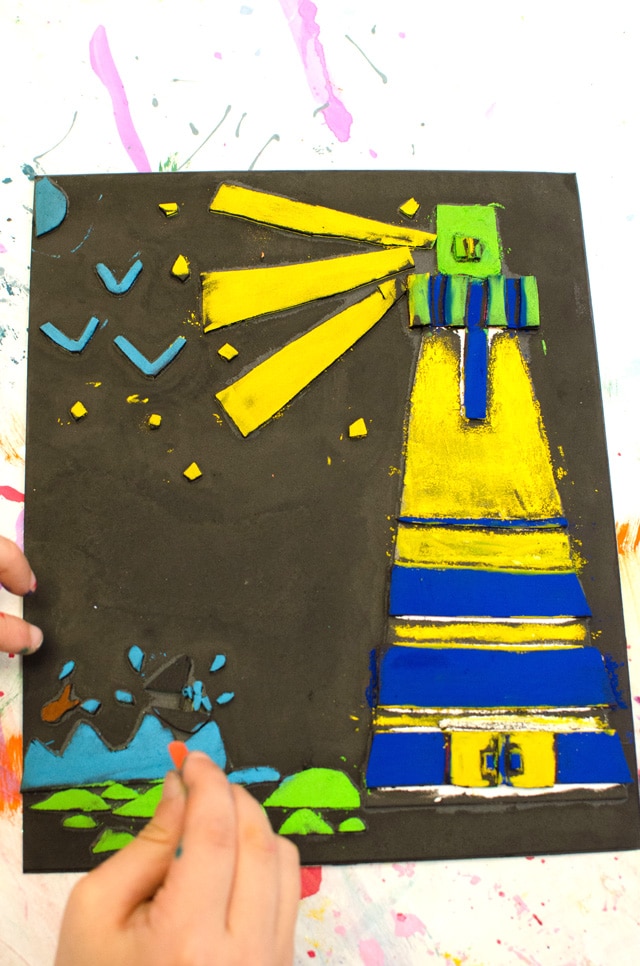
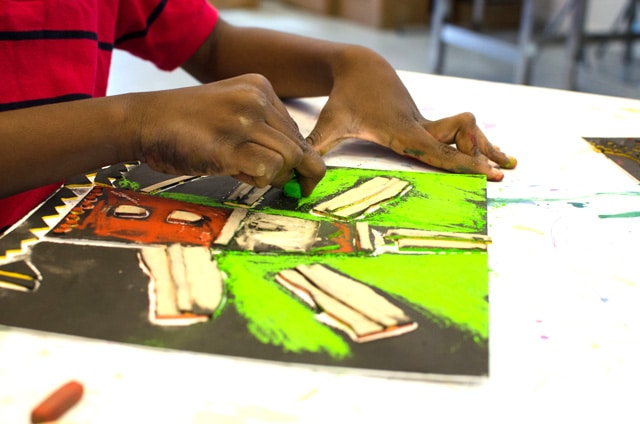
If you’ve never added chalk pastel on top of dried block print ink, you’re in for a real treat! The ink dries with a rough texture that creates the perfect tooth to pick up the colorful chalk pigment!
It’s a simple and easy project because the kids just get to “color” without having to think too hard about the composition – they already did the hard work when they created the printing plate!
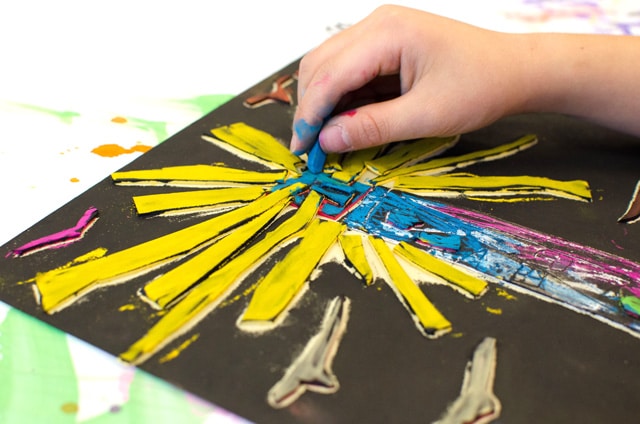
These were simply stunning! Check out a kaleidoscope collagraph project we did last summer, using this same technique!


Hello,
This is such a lovely project that includes different phases. I would like to try it with my students.
What did you use to make the collograph pieces? It looks like pieces of foam board..?
Thanks!
It is a great project! We often use adhesive foam pieces – they are great and stick super well so they withstand multiple printings, vs. when kids glue foam pieces on with a glue stick -they are always popping off and sticking to the brayer when they ink them!
What are the foam pieces stuck to for the backing? Cardboard? Also, how did the entire printing plate turn black? I feel like when I roll over the printing plate with a brayer, the ink will get on some of the background, yes, but mostly on the relief pieces and not the crevices where relief and background join….
Hi Megan – great questions -for the base we use either cardboard, posterboard, or mat board. We pulled several prints first so the black printing ink gets pretty far down in all the grooves – but it’s ok if it’s not in every crevice. We often use black poster board as the base to enhance the contrast and it’s a good toothy surface for the chalk pastel if there is no ink in parts. Hope that helps – Jennifer