

We had a full house in our Summer Camps last week and were surprised how relaxing this circle weaving art project for elementary students was!

Trying to find a good circle weaving art project for elementary students? You can stop searching. You’ve found the one. This art project made for two fabulous days of art making with our summer camp kids.
To start, we had students practice drawing organic shapes on large pieces of cardboard. They selected the shape they liked the best, traced with a Sharpie, and then we cut it out with a box cutter. We then had them trace a large circle inside their organic shape on the back. We didn’t cut these out until after they finished decorating the top.
Day 1 – Making the Looms
Day one was spent adding color and prepping our looms.

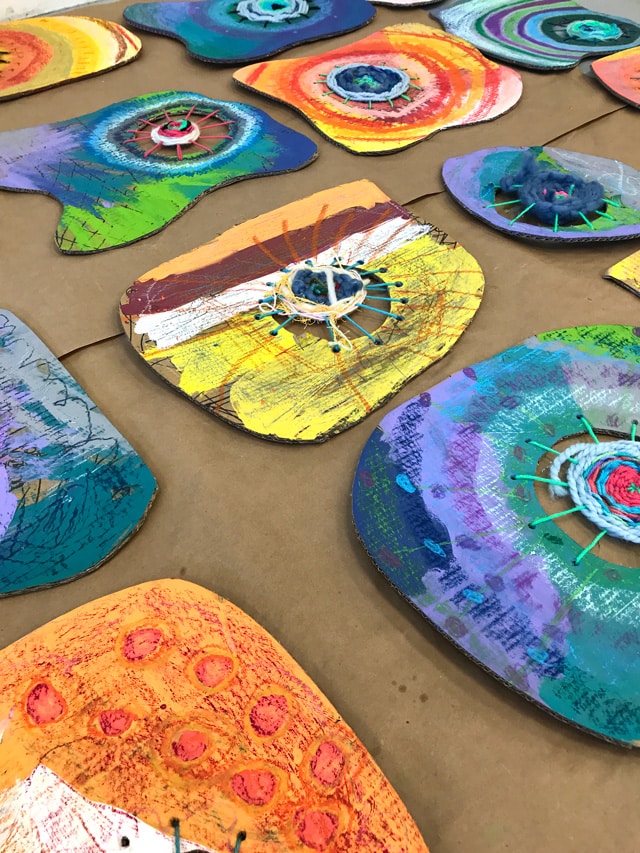
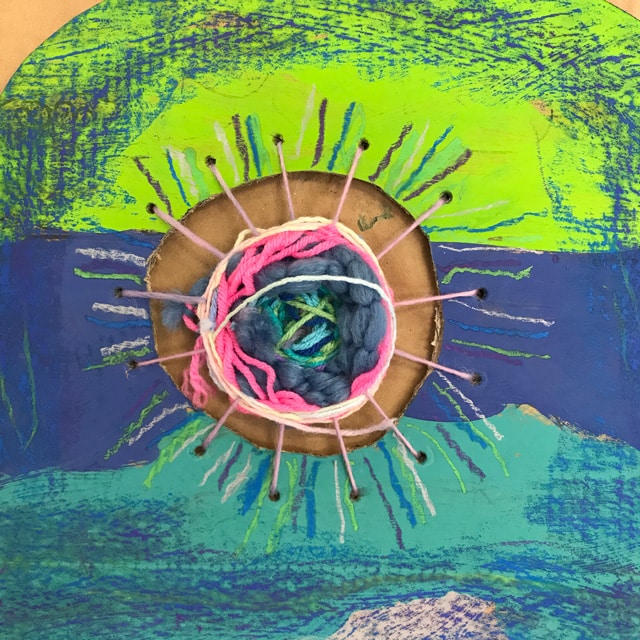
We were initially inspired by images of geodes, since we’ve had a slight obsession with them all year! We had students draw lines with Sharpies on the bare cardboard, and then select either a warm or cool color palette of tempera paint to add a layer of paint on top. The lines for the most part were covered up (oh well, we knew they were there!). When the paint was dry we came back in with oil pastels on the top, sticking to the same color family (warm or cool).
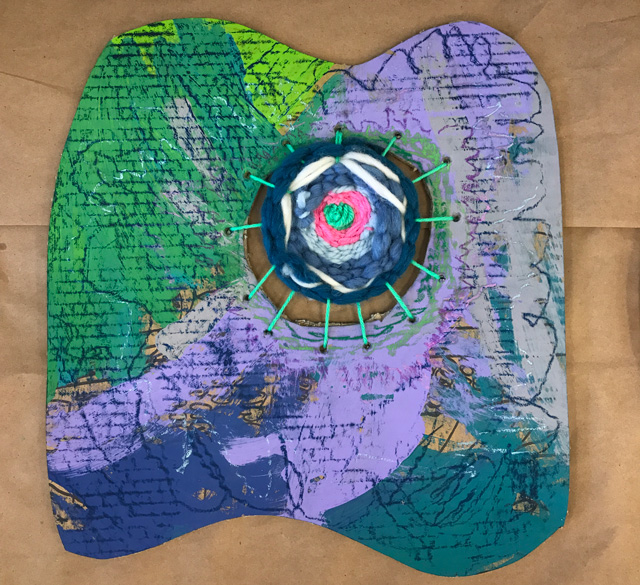
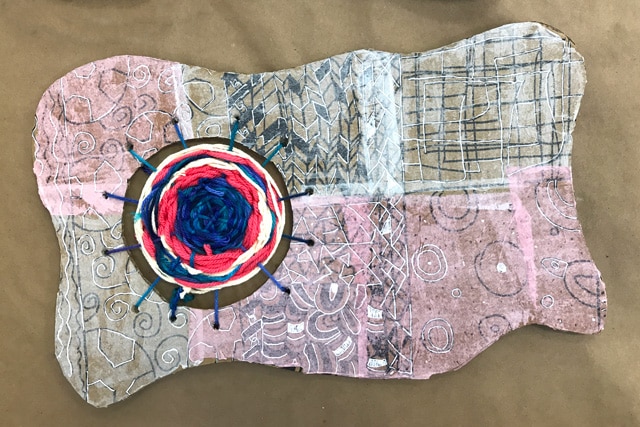
For the afternoon crew, we departed a bit from the geode inspiration and conjured up more of an image from a recent geometric painting project that was inspired by one of our favorite artists, Lisa Congdon. We started by having students draw geometric patterns, lines & shapes with a Sharpie. We muted those with a decoupaged a layer of tissue paper on top. We liked the idea of keeping them matte, so we just used regular school glue vs. Mod Podge. After the glue was dry, they went over the top with white gel pens, adding or accentuating their Sharpie designs.
After all of the color + designs were dry, we cut out their center circles.
Day 2 – The Weaving
Before students arrived, we punched holes around their cut out circles. Ok, here I’ll just confess that it’s been years since we’ve done a weaving project and in hindsight, given how enjoyable it was, I really don’t know why! As kids were literally unloading into the studio by the busload we were frantically punching holes in their looms, and I had a vague recollection that there needed to be an odd number of holes but couldn’t remember why. I also suddenly drew a blank on how to string the warp. #artteacherfail
“Fail to plan, plan to fail,” I always say.
So to avoid bumbling around like I did I strongly suggest you take a basic refresher on circular weaving before diving right in head first. There are tons of tutorials online, but here’s a simple one with great photos from Hello, Wonderful. In her project, she isn’t weaving in the negative space but rather around a cardboard circle. The concept is the same, just picture holes around the circle instead of slits.
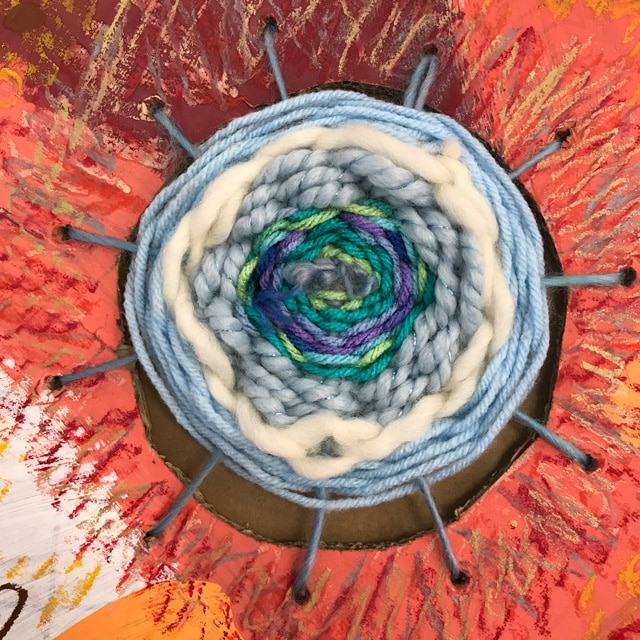
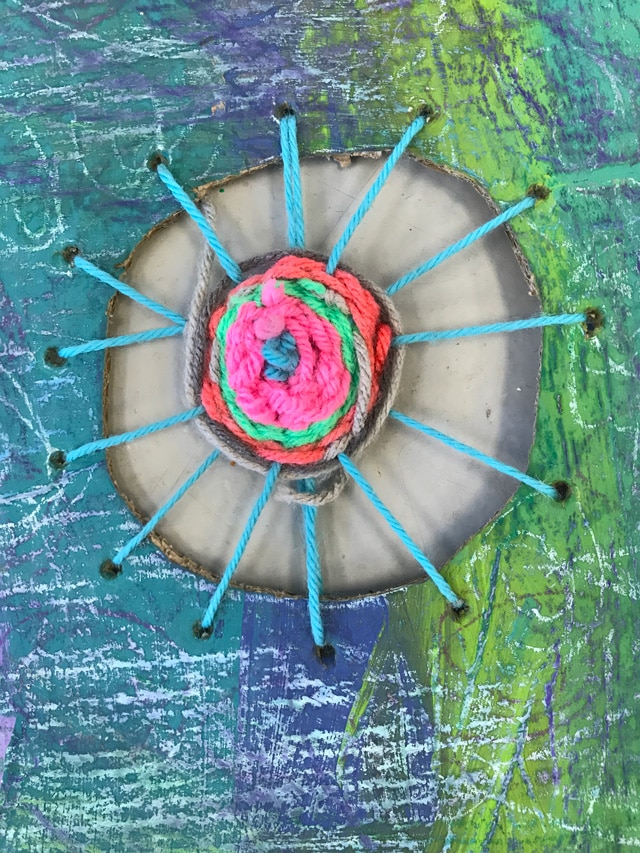
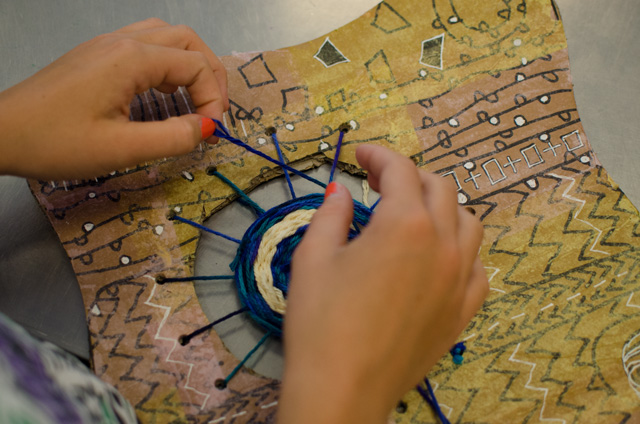
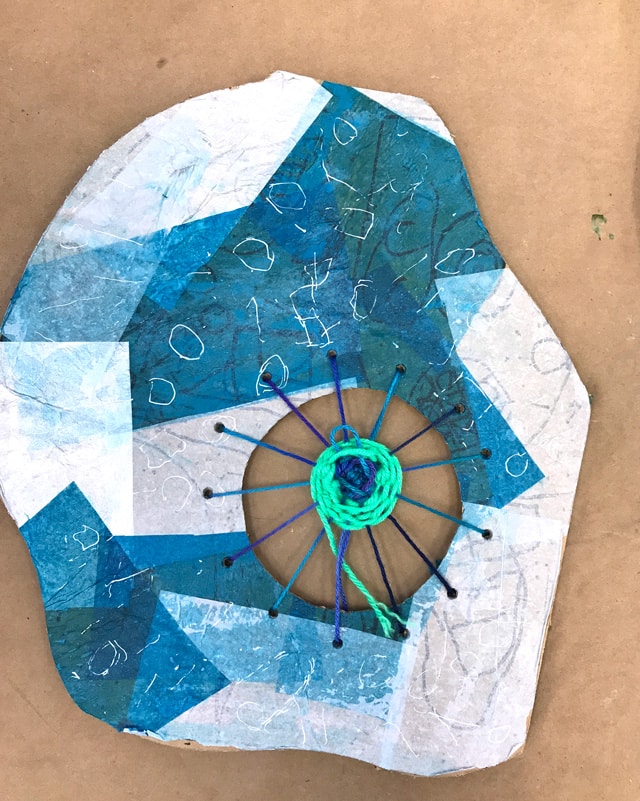
To string the warp for the loom, we prepped pieces of yarn with some masking tape wrapped on the end to create a crude stiff “needle”. You start by securing the yarn with tape to the back side, then come up through the hole closest to the tape and jump straight across the loom, and down that hole, flip it over and go up through the hole directly next to the one you came down through. Then on the top side you cross over the yarn to form an X and go down the hole next to the original one. Repeat this pattern until you have a pizza pie looking design, with all strands of yarn crossing in the middle.
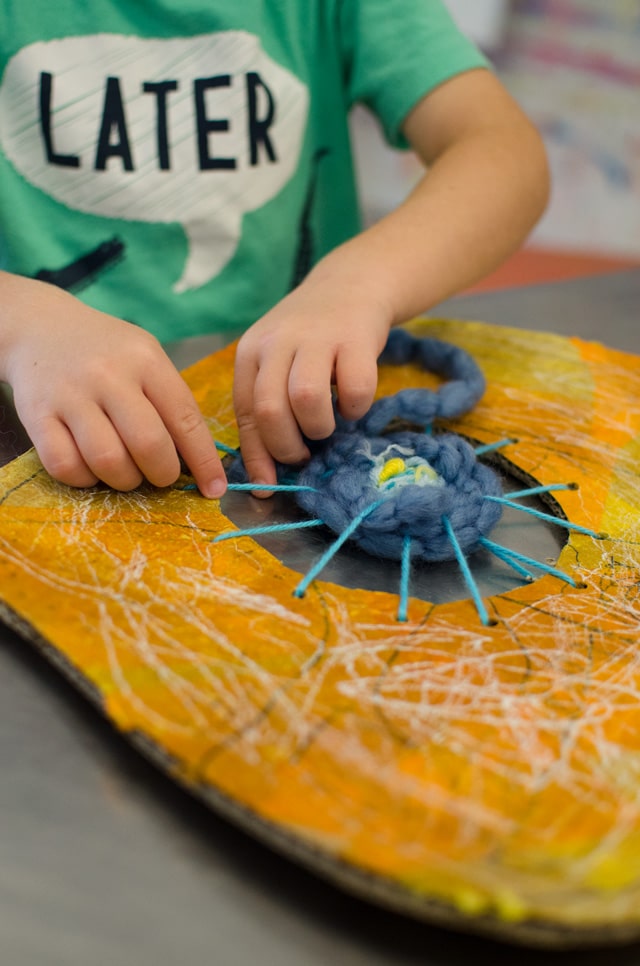
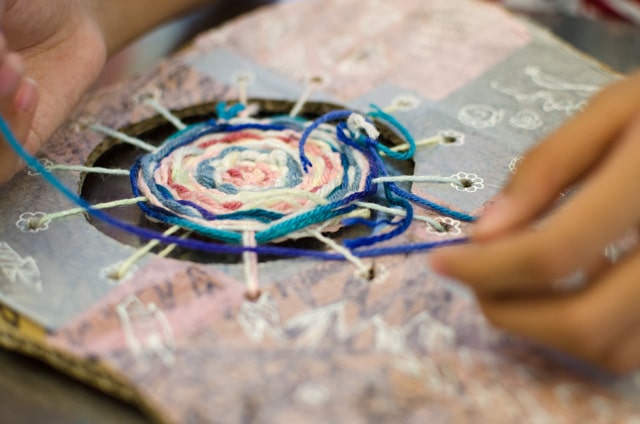
With the leftover yarn, start weaving around the center by going over, under, over, in a clockwise or counterclockwise direction. Stick to one direction, and gently tug the yarn to make the weave snug.
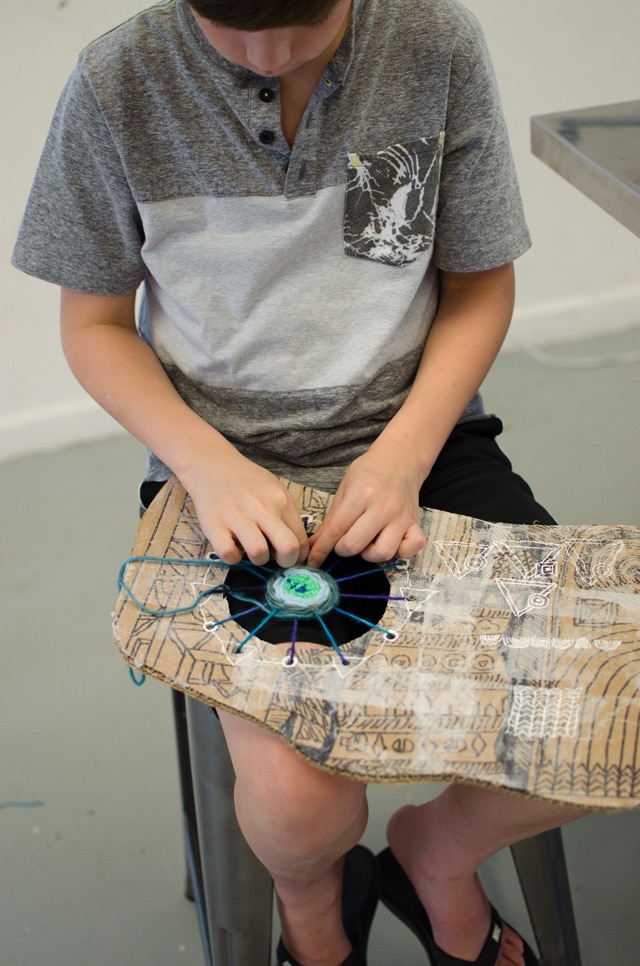
We had a mixed age group ranging from 4 – 11ish. The first few trips around the loom were challenging for the little ones, and they pulled their yarn soooo tight! But it came very intuitively to the older students age 6+.


We encouraged them to think about their color palette. Did they want to stick to the same warm/cool palette, or add some contrast by switching to the opposite palette? In the end, everyone completely disregarded our suggestions and ended up selecting whatever yarn jumped out at them!
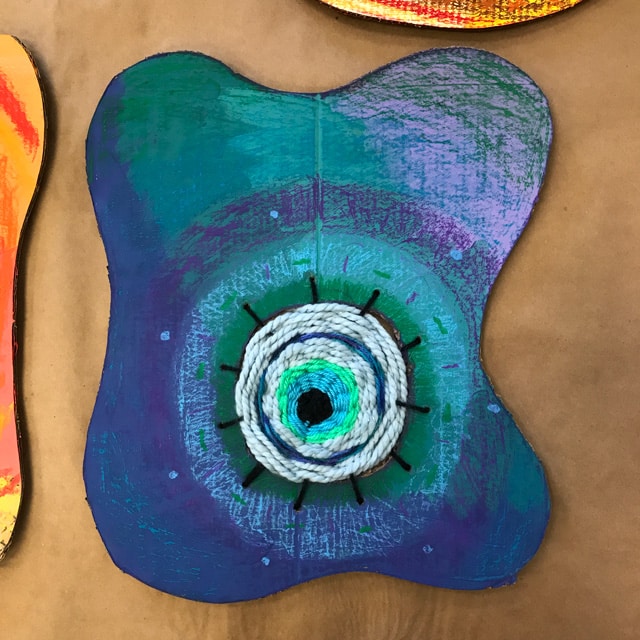
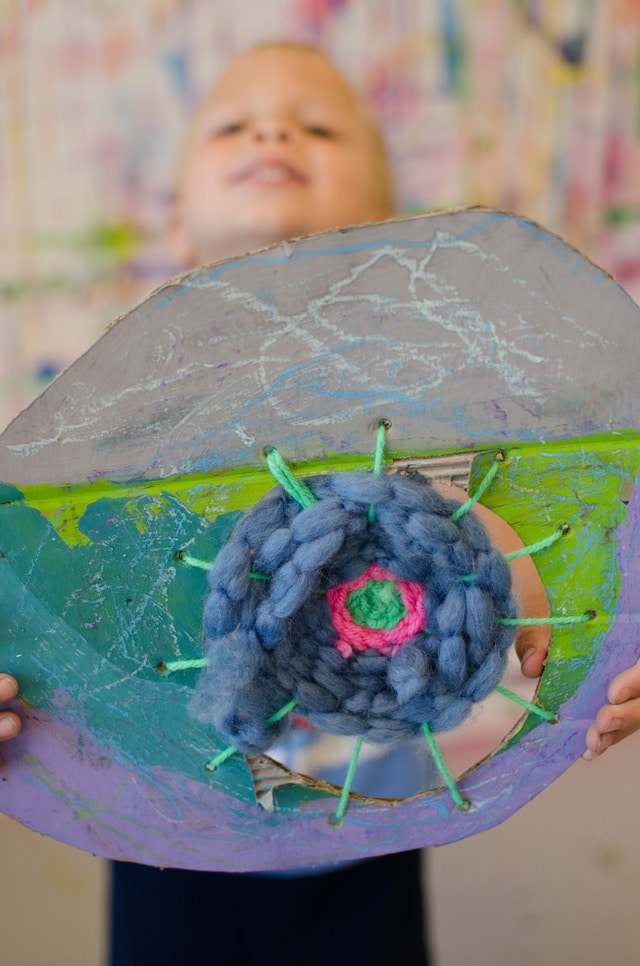
They all turned out beautiful nonetheless!
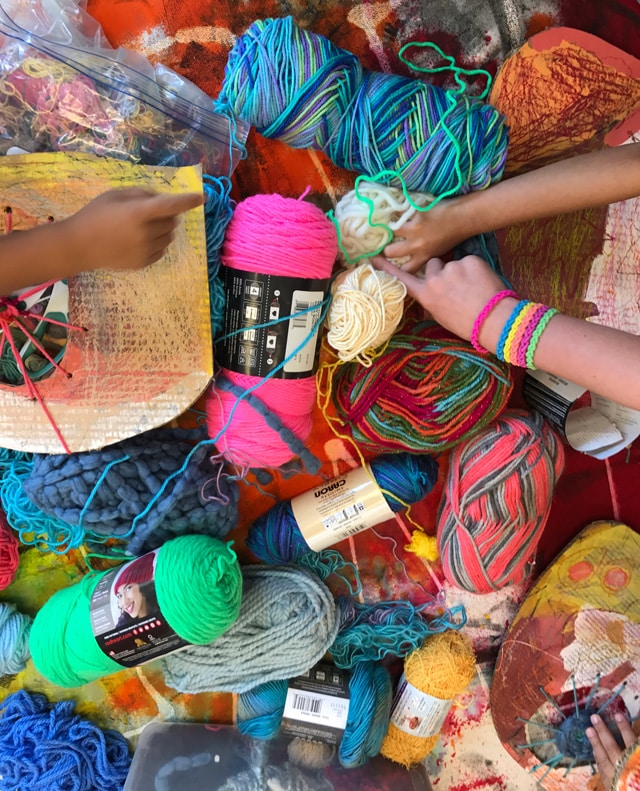
When their yarn ran out they went to the table to select their next piece. We tied them together and they continued going around and around until they started running out of room. We tied off their end piece and snipped off the tail.
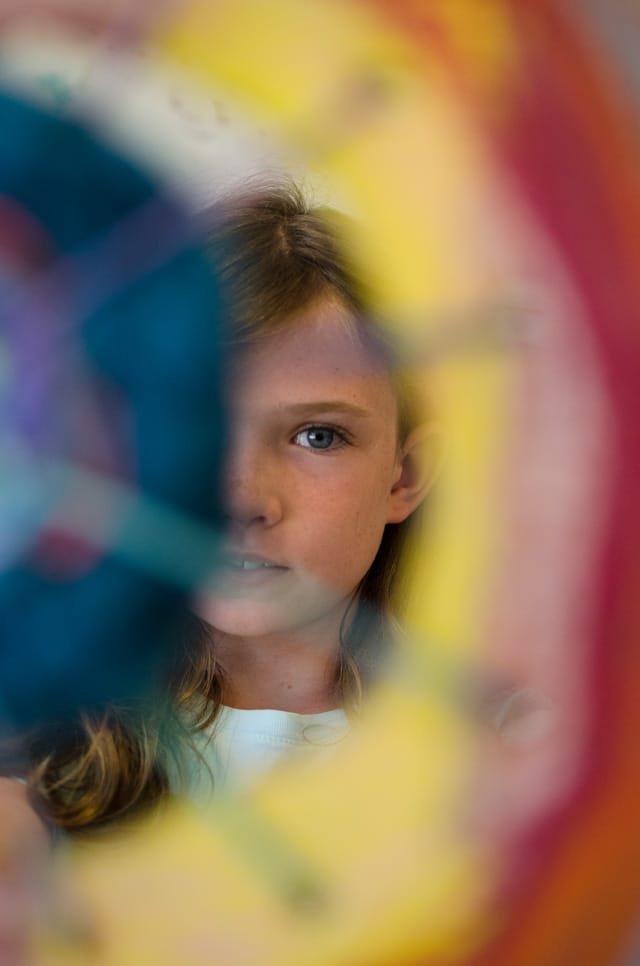
We’re excited to do more weaving around here, and especially love how circle weaving art projects look! It was overall a very enjoyable and relaxing project for everyone! Their little fingers and minds were engaged the entire time, while they quietly chit-chatted! It reminded me of how I loved whipping out those little woven potholders when I was little! Mental yoga!


the circle weavings are stunning!
thanks for sharing their artworks and instructions on the project! 🙂
This looks like so much fun that though I am a sixty year old grandma I think I will try it myself. So Bohemian looking.
These are So Gorgeous! I can’t wait to try this!
These weavings are so wonderful! I have been looking for a hands on project for our 8 year old grandson….he leans more toward this type of project and I know he will love it! Thank you!!!
Can you tell me more about the texture and painting of the boards?
Hi Janet – to texturize the boards, we did two different methods – one group layered oil pastels + tempera paint on top (then added texture in the paint with texture tools that you drag through the paint). Then the next day after the paint was dry, we added a little chalk pastel. For the other style, they used oil pastels + colored pencils to write words, lines, shapes, etc. – then they decoupaged tissue paper on top of that with Mod Podge. When those were dry on Day 2, we went on top of the Mod Podge with white gel pens. I think no matter what materials you choose, in our experience, everything just comes out so much richer when layer layer layer. Have fun!
Approximately what was the total time to complete? Great project!
Hi there – these took students about 2.5 total hours to complete – the first day was decorating their loom – approx 1 hr. The next day was the weaving, doing the warp (which was the most time consuming) – and then off to a somewhat slow start as they started weaving, but once they got going, they picked up speed and worked very quickly and quietly. We helped them when they ran out of yarn – they picked out a new yarn, and the teachers tied them together really quick for them so they could keep going. Hope that helps!