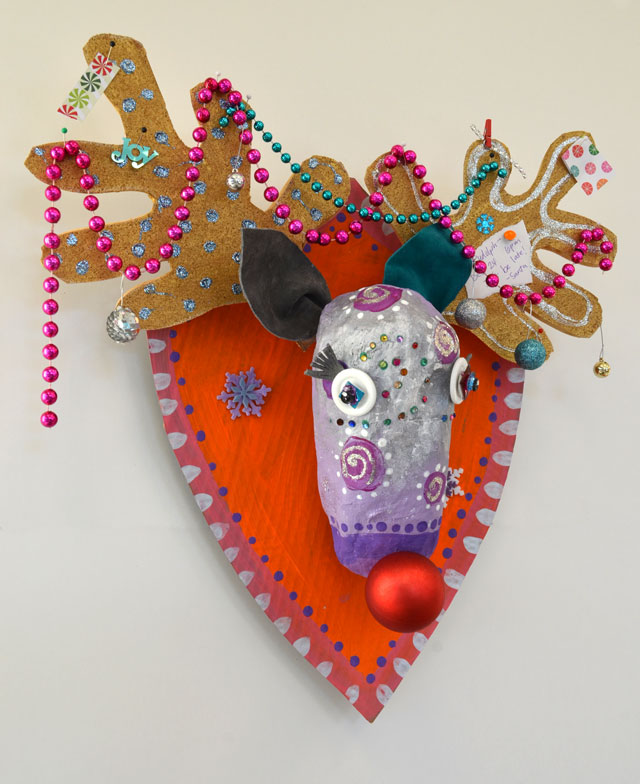
Papier Mache Reindeer Busts Tutorial
These papier mache reindeer busts are so fabulous, we wanted to share this easy step-by-step so you can make one at home! We have to warn you this is about a 15 hot glue stick project, but worth every blister!
You Need:
- Newspaper
- Aluminum foil
- Plaster wrap
- Cork foam board
- Large piece of cardboard for the base
- Leather or fabric scraps for the ears
- Utility knife
- Tempera paint
- Glitter
- Hot glue gun (+ lots of glue sticks!)
- Small pieces of wood or plastic to use as spacers, approximately 1/2″ high.
- Two pieces of scrap wood for the back of the base.
- Soda can pull tab.
- Jewels, ribbons, trim, buttons, shiny holiday garland & anything sparkly & festive!
- Push pins and thumb tacks
- Ornament for nose
- Screwdriver or awl
How to Do It:
To form the reindeer’s head, start by loosely wadding up the newspaper & wrapping it with two layers of foil, covering it completely so it looks like a giant baked potato. This is how we start almost all of our sculptures ~ the aluminum foil makes a great sculpting medium! Mold the aluminum foil into the desired tapered shape for the head. We made ours about 10-12″ long.
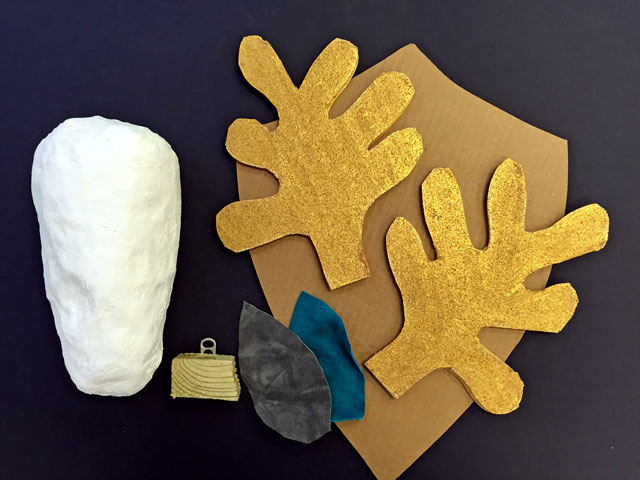
Follow the directions to wrap the aluminum foil covered head with plaster wrap. This sets up in about 5 minutes. Let dry for several hours or overnight depending on humidity levels.
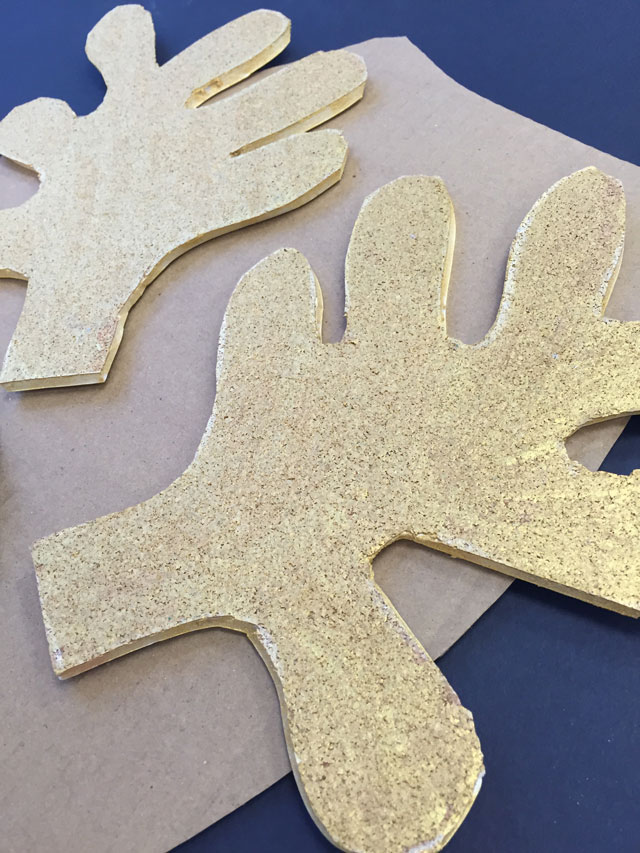
Lay the head on the foam cork board to get a gauge of how big to make the antlers. Draw the shape for the antlers on the cork foam board with a pen, and carefully cut them out with a utility knife (adults only).
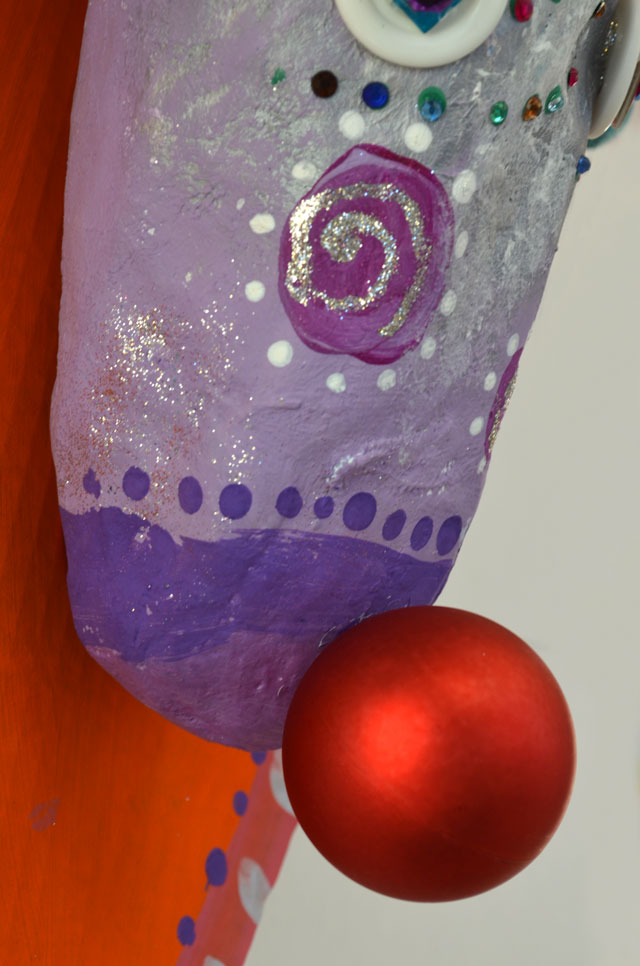
Paint the papier mache head with tempera paint. You can get creative with different colors and designs, or sponge the paint on for a mottled effect. Use the wooden tip of a paintbrush to add little freckles if desired, white around the eyes and forehead, etc.
Sprinkle with glitter while still wet. Set aside to dry. The paint soaks into the plaster and dries fairly quickly – approximately 30 minutes.
Glue on buttons & jewels for eyes. We also used small scraps of the suede to make eyelashes.
Draw the shape of the base on cardboard and cut out with the utility knife (adults only). Paint with tempera paint, sprinkle with glitter.
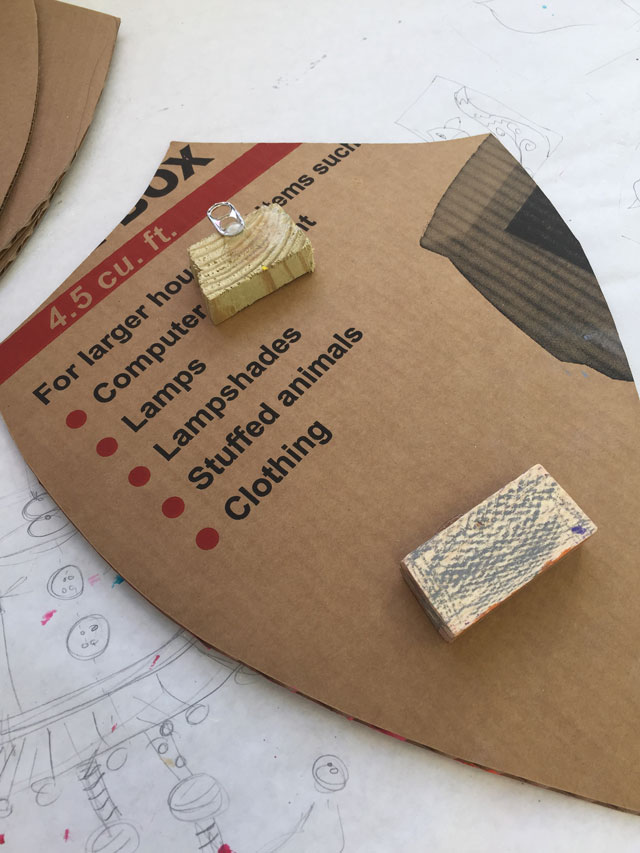
Glue two small pieces of wood at the top and bottom of the back of the cardboard base. Attach the soda pop tab to the wood piece at the top so that it can hang flat on the wall with a nail. You can concoct your own method to hang these – this is just a simple system we came up with because we liked the way it looked with a little space between the base and the wall.
Poke a hole in the papier mache head for the nose. Squirt a generous amount of hot glue into the hole and insert the top of the ornament.
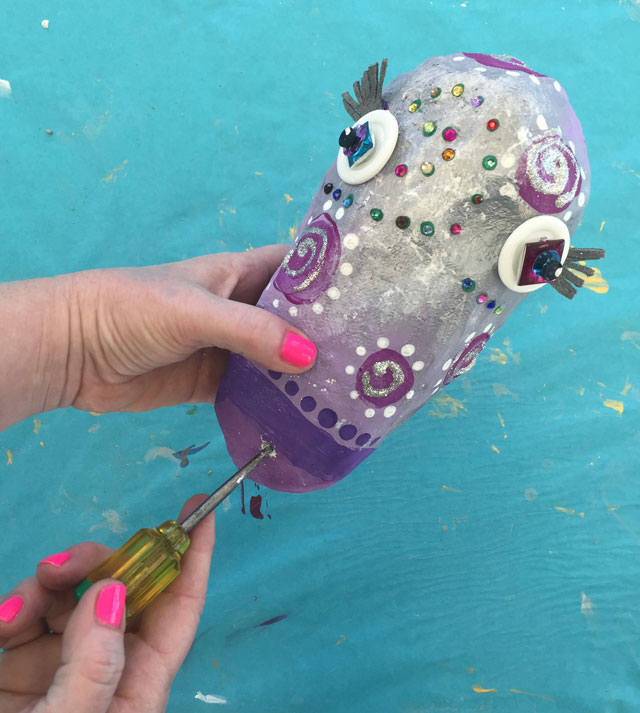
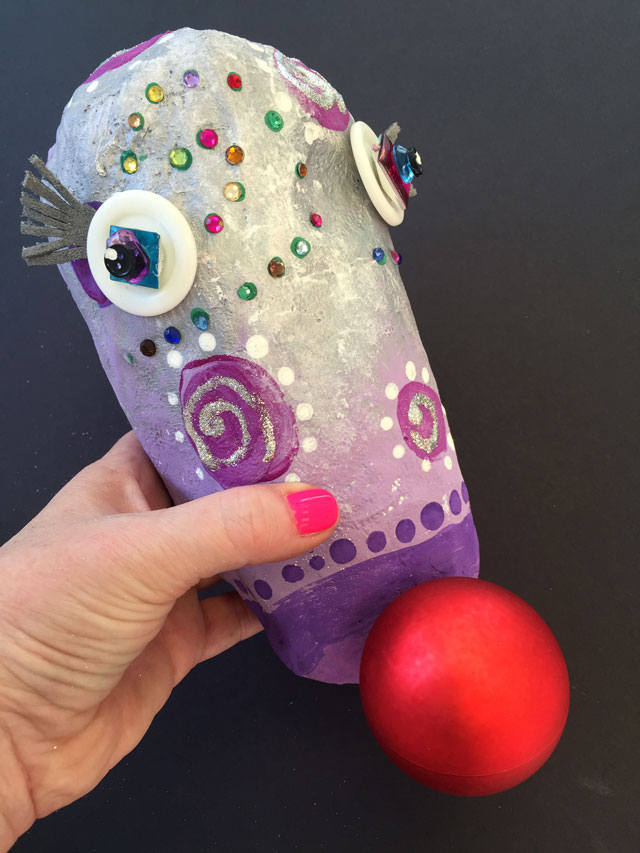
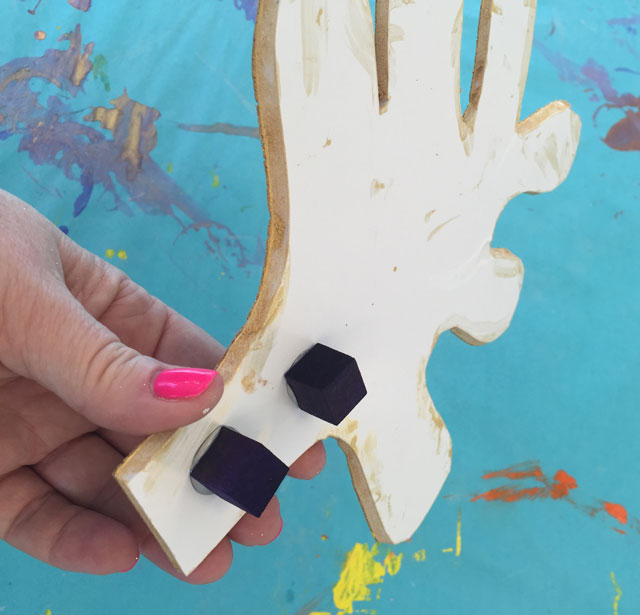
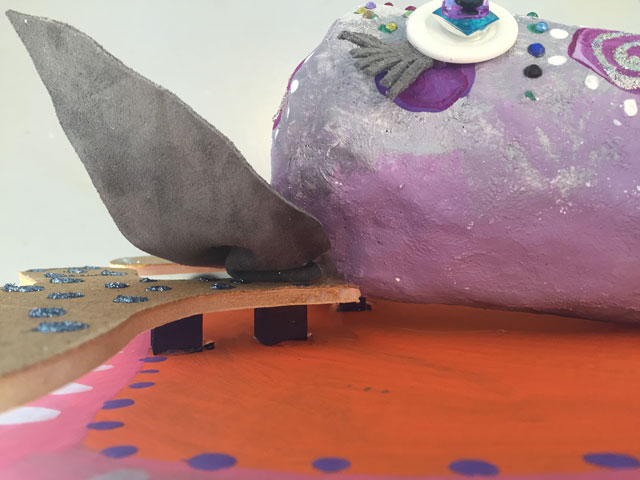
Glue two small wood cubes to the back of the base of the antlers. The purpose of the spacers is to just elevate them a bit off the base, so you can probably accomplish the same thing with plastic water bottle lids or something with a similar depth, as long as they are all the same size.
Lay out the antlers and the head on the base to determine proper placement for the antlers.
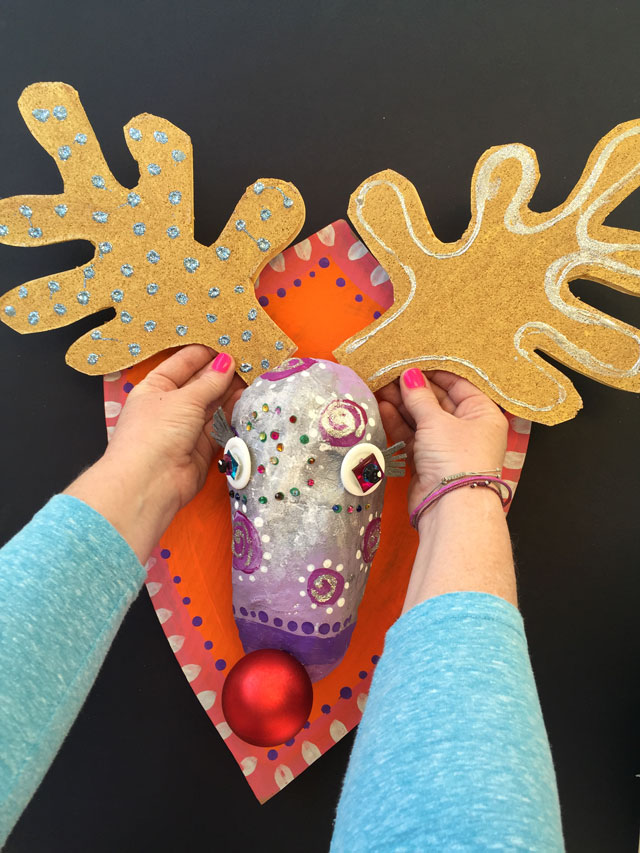
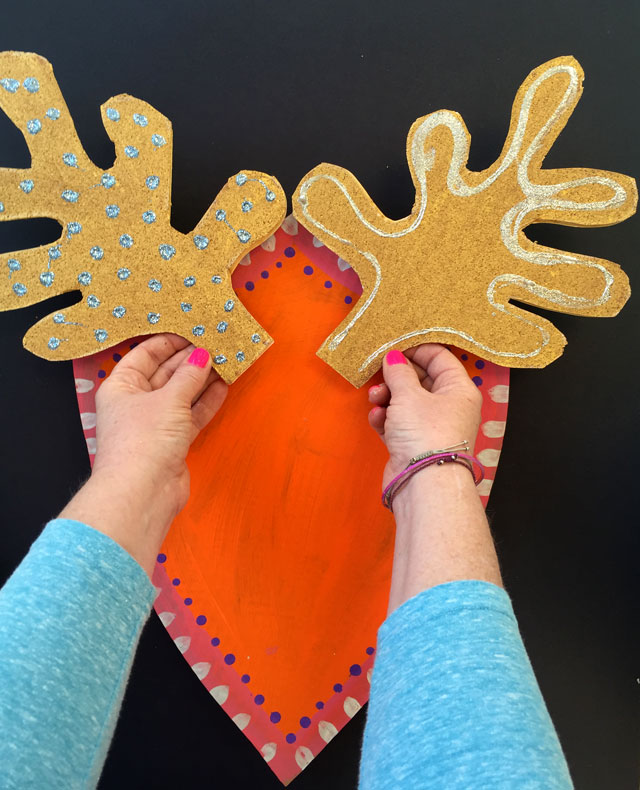
Glue the antlers onto the base with a generous amount of hot glue. It doesn’t need to look pretty – you won’t be able to see this when it’s all put together.

After the antlers are glued on, lay the top of the head on top of the antlers at an angle, so that the chin touches the cardboard. Mark the spot where the chin touches and squirt a generous amount of hot glue and lay the chin in the glue to secure it.
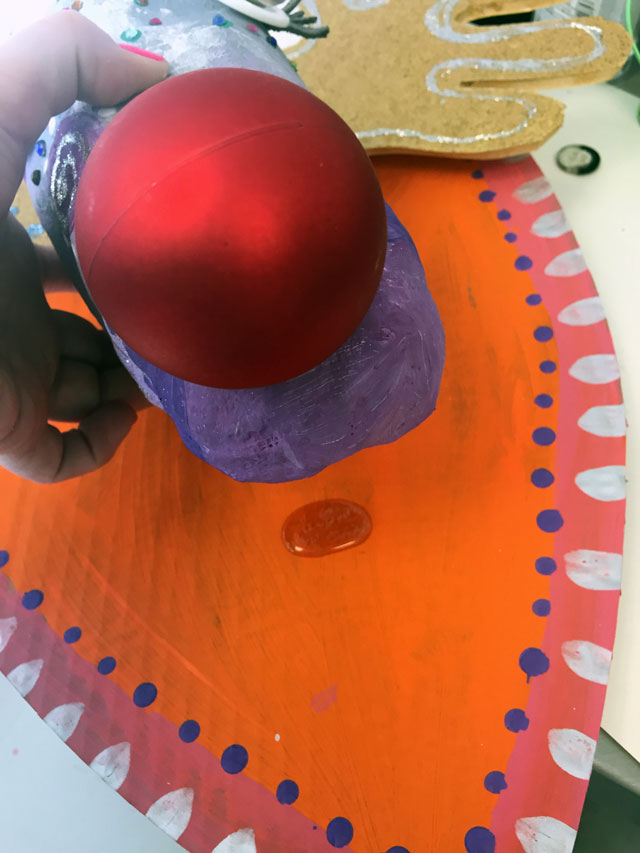
Next, squirt a generous amount of hot glue where the head touches the antlers. This can be somewhat messy because it will all be covered up with the ears in the next step.
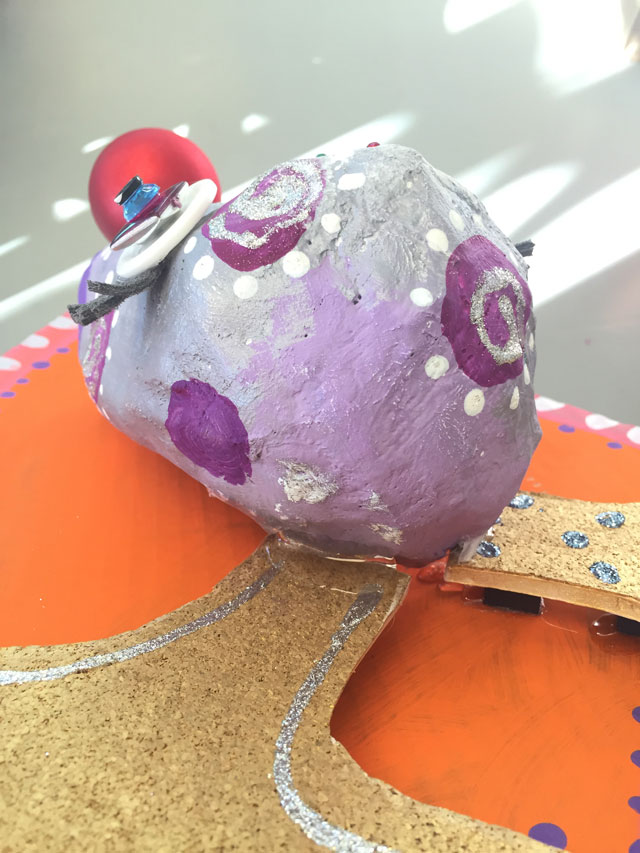
Prep the shape of the ears. Squirt glue along the bottom and pinch to form a V.
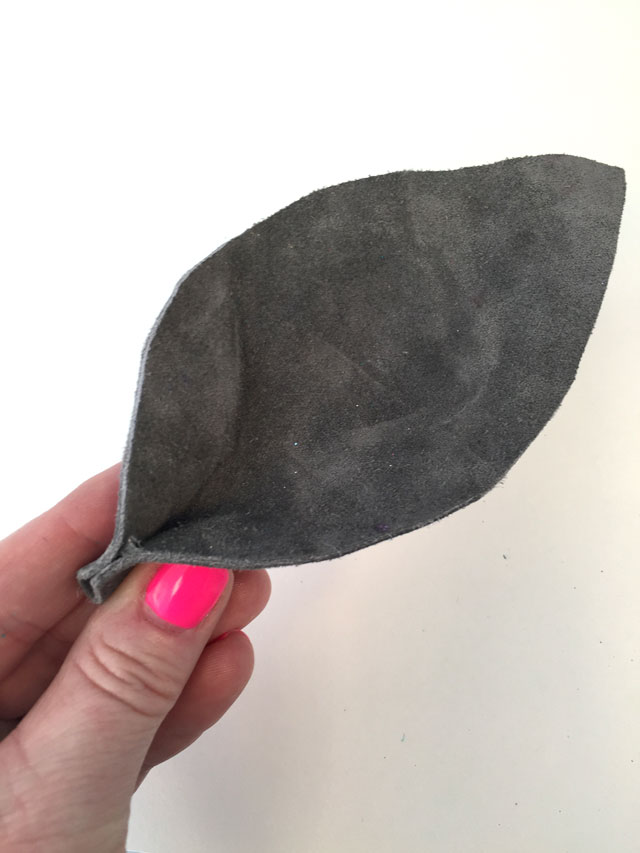
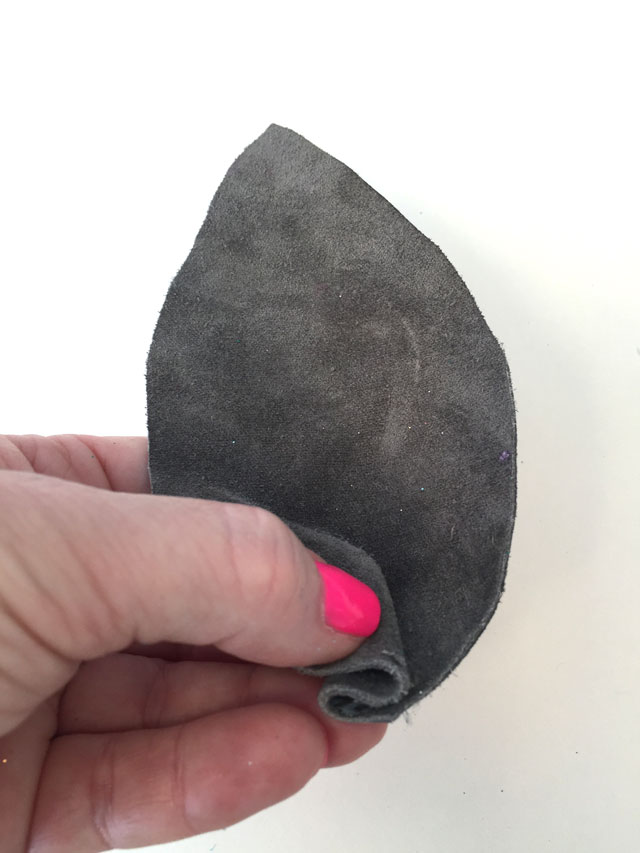
Then fold it back over into an accordion shape and glue the 2nd fold in place. Squeeze flat with your fingers until cool, being careful not to squeeze all the bubbling hot glue out of the fold and into the tender part of the palm of your hand, because this will probably hurt for two days and make it difficult to type or hold your hair dryer. Flatten out the base, leaving a cute little fold in the ear.
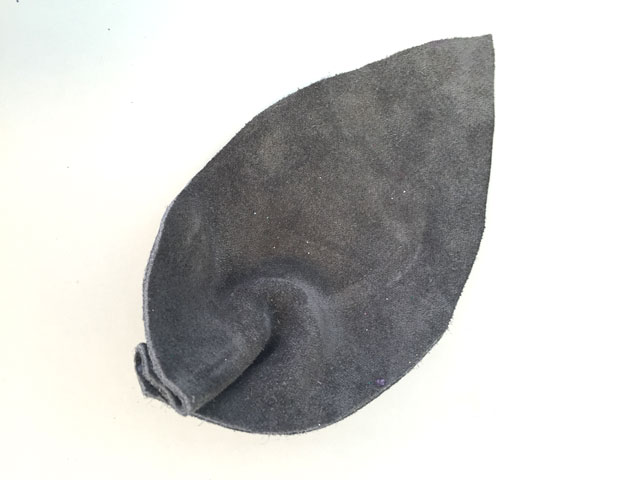
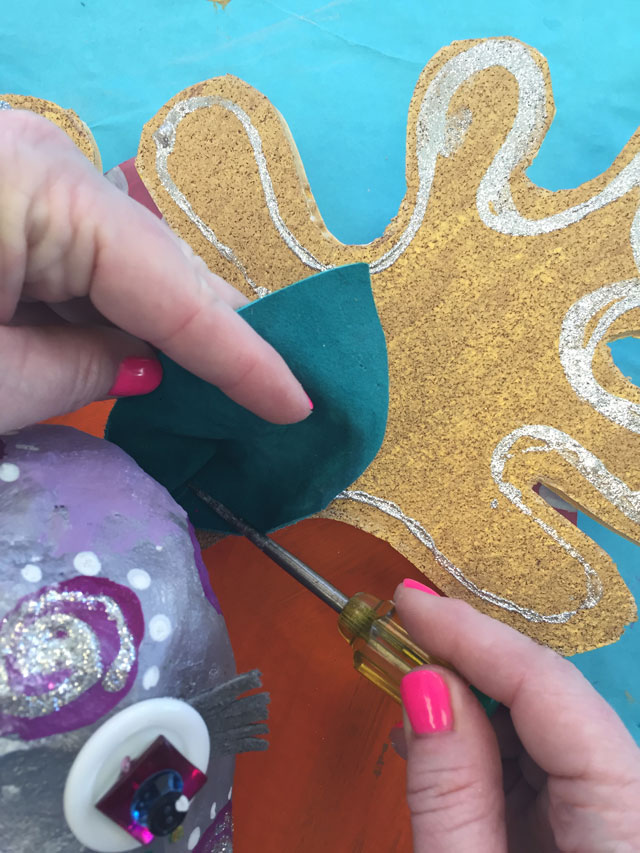
Squirt more hot glue where the antler is attached to the head, and then lay the ear in the puddle of hot glue. Push in place with the tip of a screwdriver or pencil.
When it’s all done, the side profile should look something like this.
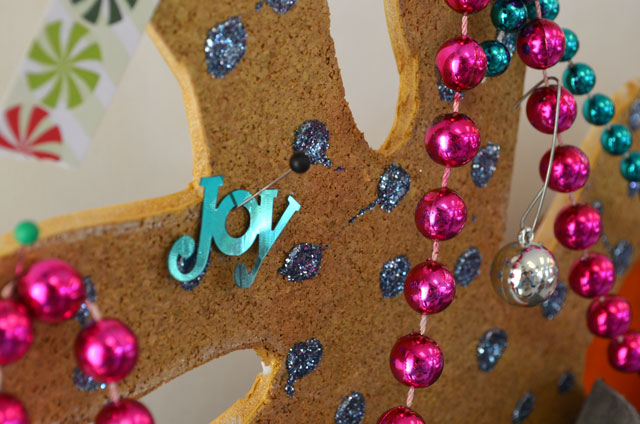
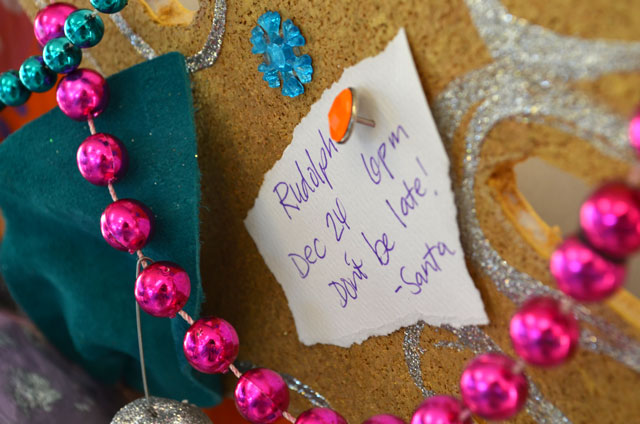
Now the fun part! Use push pins to decorate with holiday garland, dangle ornaments & jingle bells and bedazzle with sparkly ribbons & jewels!

If you made these at home, please be sure to share! We would love to see them! Thanks for reading Small Hands Big Art’s Papier Mache Reindeer Busts Tutorial!



Hello, these are fantastic!
how long did it take to make?
did you do them over two lessons?
thanks
xx
Thanks Sally – oh man, we looooved these! As you can probably tell by the number of photos! The heads are papier mache so that takes time in and of itself. We used plaster wrap papier mache to speed it up. We pre-cut the cardboard shapes for mounting (and glued the little hanger on the back), and the antlers (THAT was fun – we cut them out of foam board with cork on them, I might still have the box cutter blister). When everything is prepped, it’s just a matter of layering the paint colors (which dry very quickly on the papier mache), and then embellishing. We let them pick their ear colors and we cut them and then hot glued them for them. You’ll need a lot of hot glue sticks for this one! Super fun – share some pics if you do them! Would love to see! ~Jennifer
Thanks Jennifer!
We’ll give them a shot in a few weeks and i’ll show you the outcome.
We have 3 groups of 26 kids in each…… so a little daunting!! We’ve got some cool boards to mount on all ready to go so we just have to cut out the antlers (not looking forward to the blisters!!) We’re really looking forward to trying out your project. thanks for the inspiration ciao Sally