Papier Mache Wiener Dogs for the Win!
We’re in Charlotte, NC but I’m not from the South so I don’t think I’ve ever said “ya’ll” and actually meant it, but…. YA’LL! You have GOT to make a litter of papier mache wiener dogs. Like right now. Finish that last sip of water, and then take that bottle and just get up and get some glue + paper.
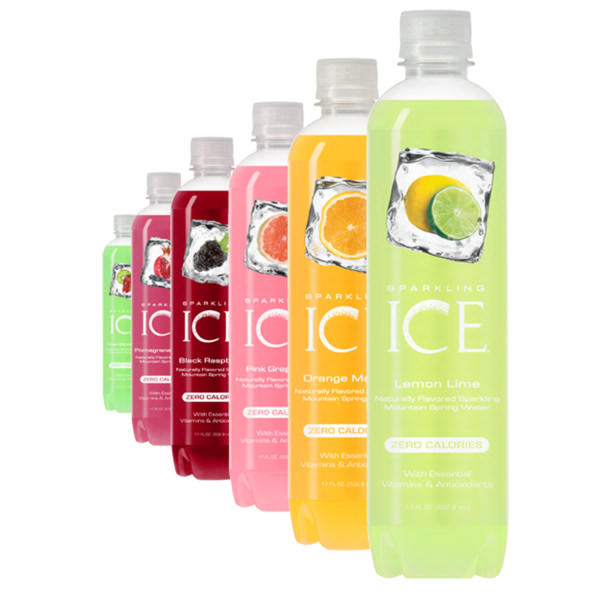
My parents recently acquired an obsession with these Sparkling ICE drinks (they’re delicious btw!!) – so we were on the receiving end of about 100 of these perfectly sized elongated bottles. So many that I can just tell you right now you’ll be seeing plenty more of these in the summer!
In the category of Bad Blogging, we failed to get a single photo of the process – sorry! But I’ll describe it as best I can and send you off to see some of our other papier mache tutorials here. This fox tutorial is probably one of the better ones that aligns with the process we used for these dogs.
You Need:
To Make the Body:
- White printer paper or tissue paper (it needs to be light weight), cut or torn into small strips
- Aluminum foil
- Masking tape
- Papier mache paste. Very gradually sprinkle one part flour into a bowl with one part of warm water, mixing with a whisk until you get a thick glue-like consistency. It should be about the consistency of yogurt or pudding. Add more water if it’s too thick. Mix well until there are no lumps.
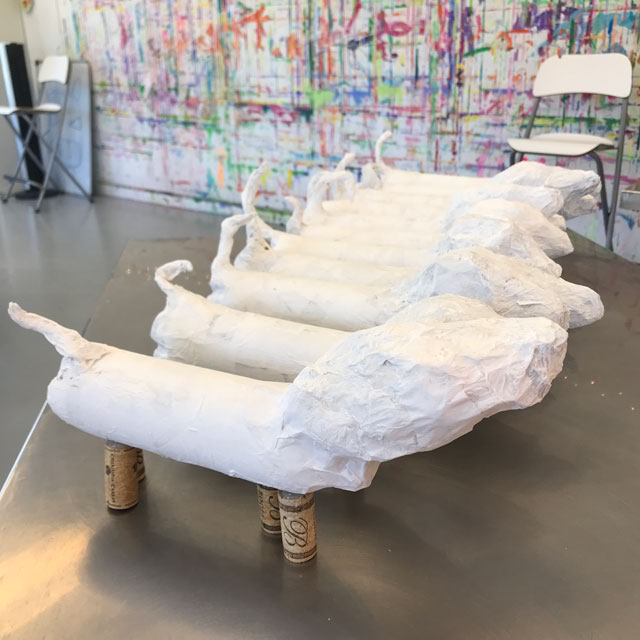
- Recycled water bottle for the body
- Paint for primer coat
To Decorate the Body:
- Hot glue gun
- Paint markers
- Watercolor paint or tempera
- Felt, fabric or leather scraps for the ears
- Wine corks for the stubby legs (I voted for chopping them in half, but our other teachers liked them as is, plus have you ever chopped a wine cork in half? it’s a job!)
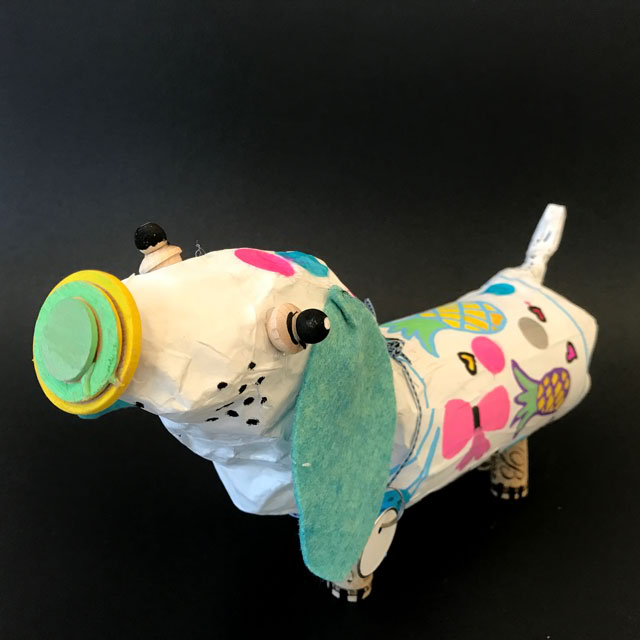
- Jewels, ribbons, trim, buttons, shiny holiday garland & anything sparkly & festive, and do-dads that they can use for the nose & eyes (don’t draw the nose & eyes!! booooring!!)
- Tissue paper + watered down glue
How to Do It:
To form the dog’s head, start by loosely wadding up the newspaper & wrapping it with two layers of foil, covering it completely so it looks like a little potato. This is how we start almost all of our sculptures ~ the aluminum foil makes a great sculpting medium! Mold the aluminum foil into the desired tapered shape for the head. We of course looked at photos of real dachshunds!
Pro tip: Encourage kids to keep their wadded up paper wrapped in foil “light & fluffy” – not too dense or scrunchy. It will be hard to get masking tape to stick to foil that is too scrunched. Don’t turn your back on them for a second or they’ll end up with a head about the size and density of a golf ball!
Tape the head securely to the body. Then tape it some more. And a little more. Tape tape tape.
Repeat this process for the tail.
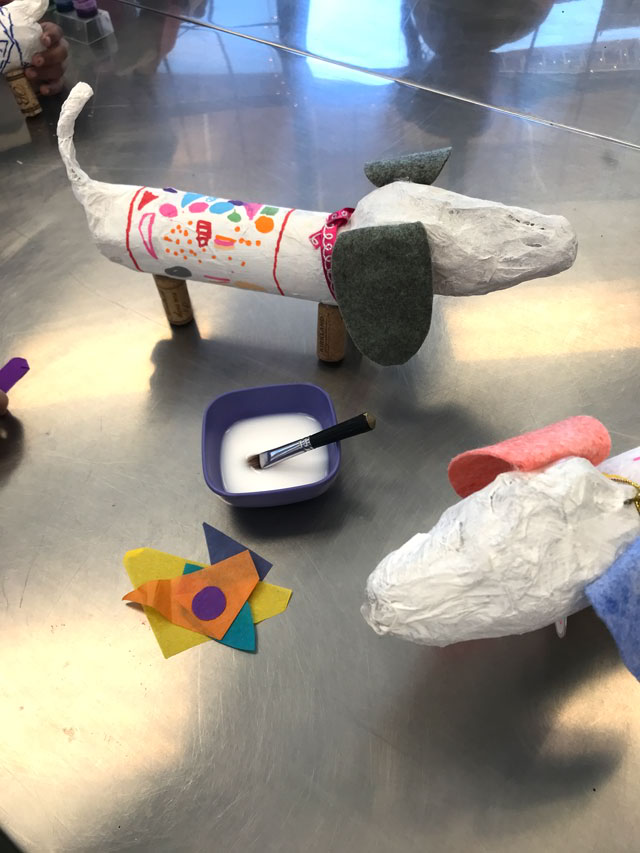
Next we start papier mache-ing. Dip the small pieces of paper in the paste (you can use Mod Podge or watered down school glue as well). Cover then entire thing until you can’t see any of the foil or the bottle.
Let dry overnight. We didn’t love the variation in opacity of the paper we used, so we chose to give them a quick primer coat of white paint. You can decide for yourself whether to do this step or not, depending on how you plan to dress them up.
We envisioned them white with fancy colorful sweaters but if you want a more traditional wiener dog that is brown or spotted, (or purple or orange…) then you’ll be painting them and probably won’t need a primer coat.
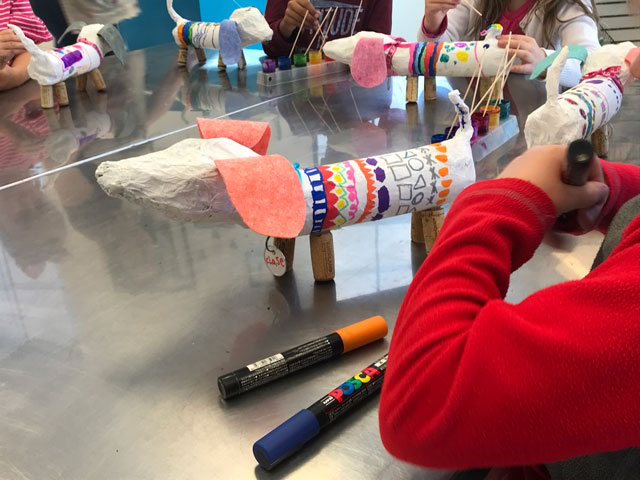
To decorate the dogs, we worked in phases using three main materials:
We started with these uh-maazing Uni-Posca paint pens (if you haven’t tried them, purchase them immediately right here! (affiliate link) They are the coolest things ever for non-porous surfacs! They go on wet but controllable like a chalk marker, dry chalky in a minute or so (depending on the surface), and are completely permanent. We use them on rocks, metal, paper… And the tips last forever, and don’t get chewed up when the kids try to put the caps on. All features I look for! And no, they didn’t pay me to say that but I could go on and on about these things! But back to the project…
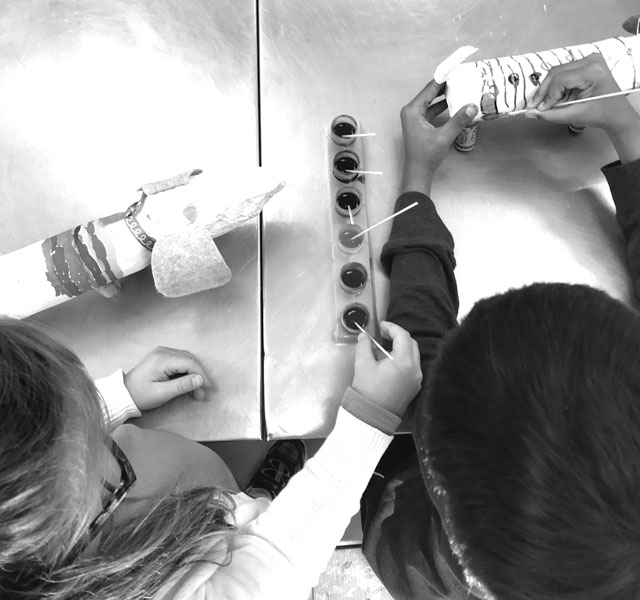
After the paint markers, we let kids add some details with liquid watercolor. We chose watercolor vs. tempera because with our primer coat of white paint, the watercolors soaked right in and dried quickly. The third medium we used was a simple tissue paper decoupage technique, with small colorful pieces of tissue paper applied with a watered-down glue. Students had to be a little careful maneuvering these three mediums so they didn’t all just smear together but they were pretty friendly together when applied in this order.
Tempera paint would also look fabulous, but obviously would take longer to dry before being able to add anything else.
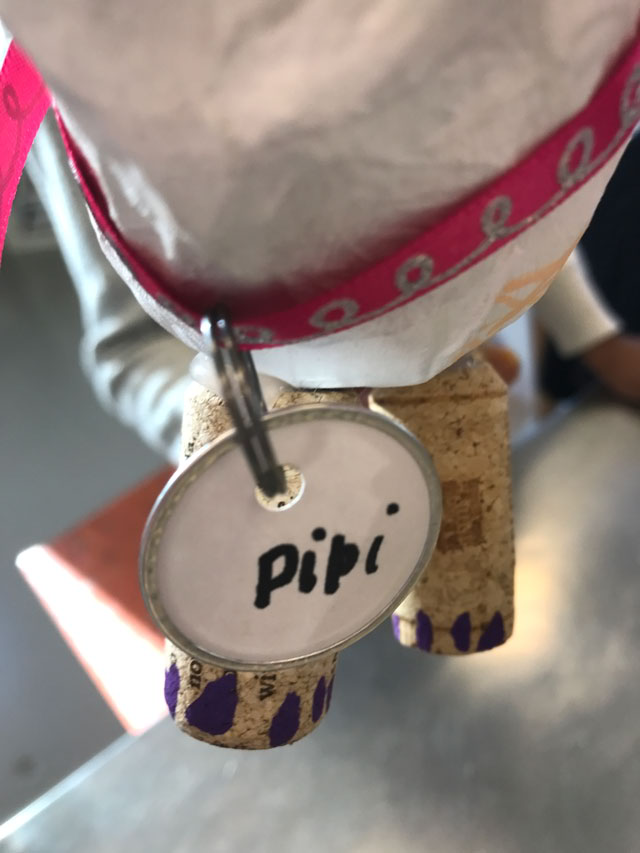
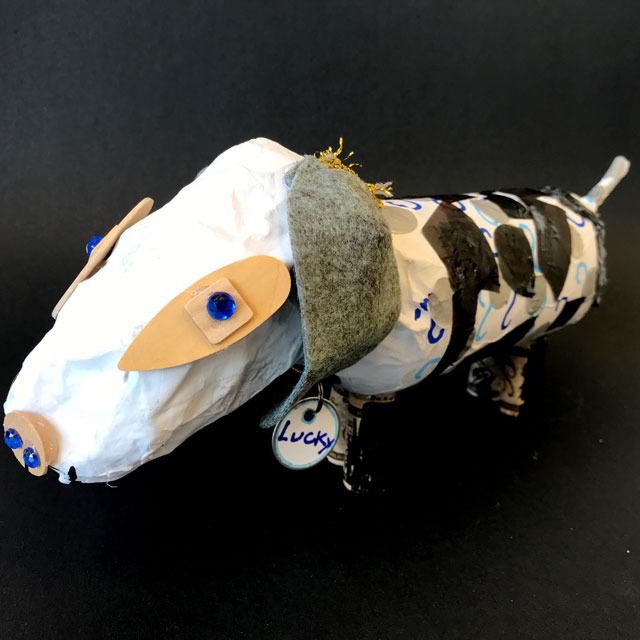
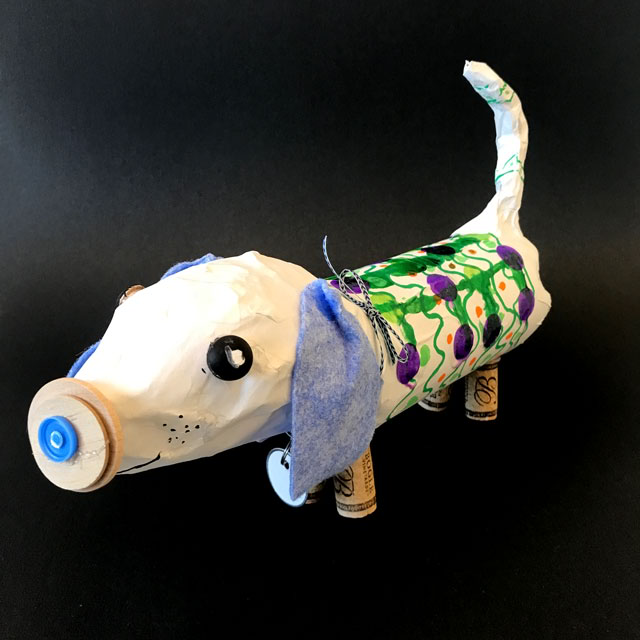
As you can see, hot glue the feet on in a manner that enables it to stand up and not fall on it’s face. <—- We just made that part sound really easy 🙂
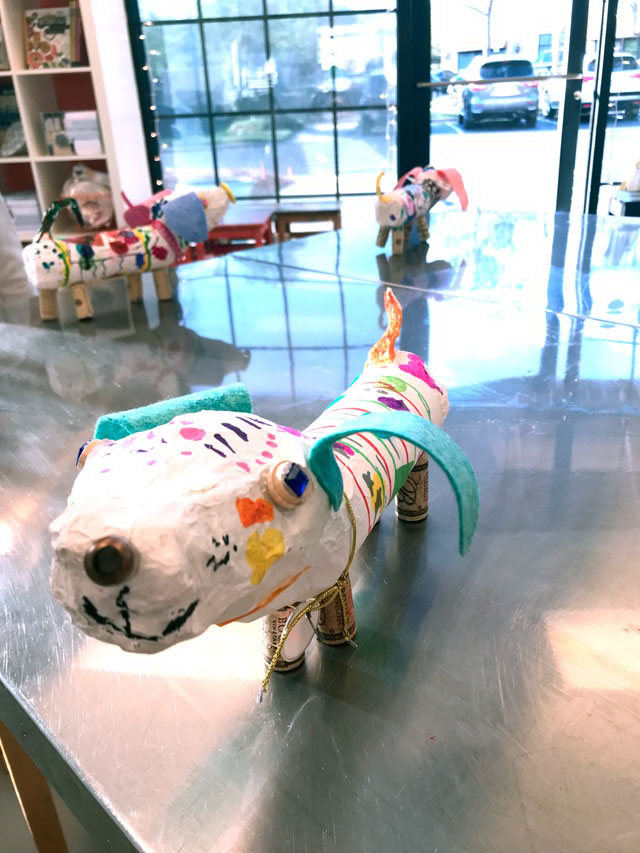
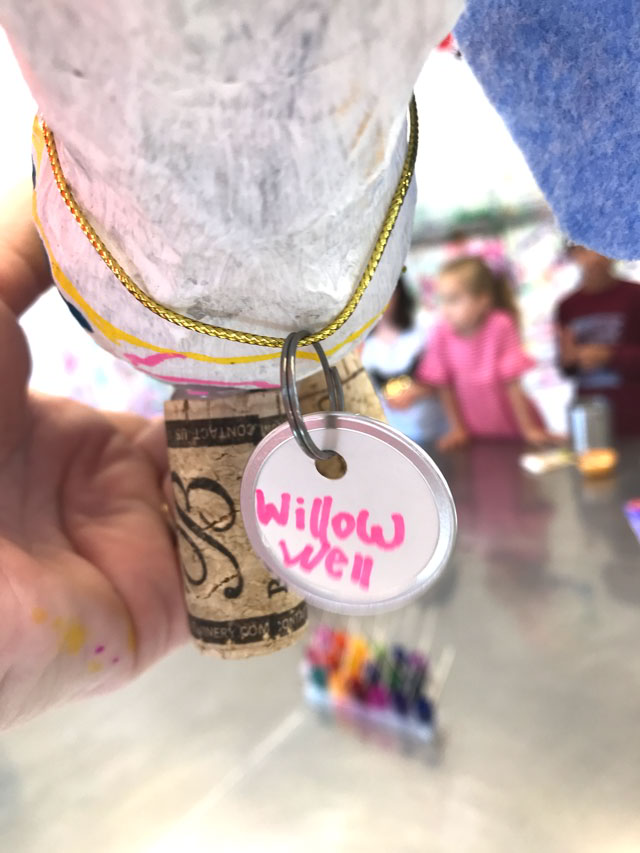
This is a great shot of how we glued the floppy ears on. We used a stiff felt.
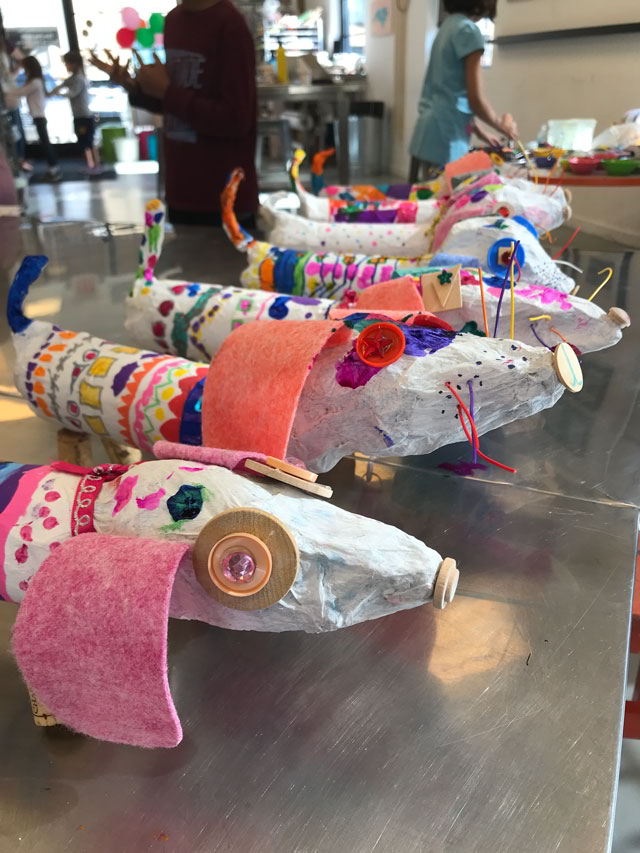
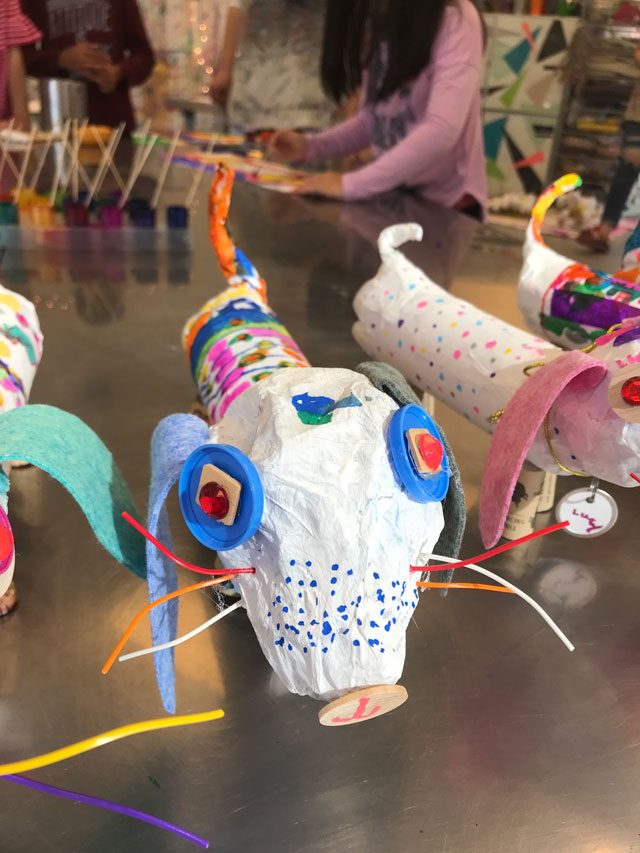
The last step was to just go to town with accessories! We encouraged a lot of creativity in selecting what to glue on for the eyes, nose, etc. We always prefer to layer interesting do-dads for the eyes vs. drawing eyes with sharpie or slapping on googly eyes (which we’ve never had in the studio anyway!).
We also gave all the kids ribbon for a collar and a cute little name tag!

These are the cutest thing ever! Will definitely give them a go! What age kids did you have for these?
I love this project! They all turned out so cute–I love the dog tags and the whiskers. If I lived in Charlotte I would be there all the time. Unfortunately I am far away in Seattle, Washington. Do you know of anyone doing similar things in my area? I’ve looked a little bit and not found anything–maybe you have connections. Thank you for all the great blog entries!
Hi Darian – Thanks so much! We’re actually making a whole new puppy pound of these adorable things this week in summer camp -they’re at the studio drying overnight as we speak! I follow a few people in Seattle, I actually used to live there for 12 years – in Madison Park – moved to Charlotte NC in 2001 🙂 There’s a studio actually ON Madison that I remember following and thinking oh that’s close to where I lived, but i have to look it up – the name is escaping me! Let me see who I can find and get back to you! We just franchised, maybe we can open a studio in Seattle soon!! I miss it!! 🙂 Thanks! ~Jennifer