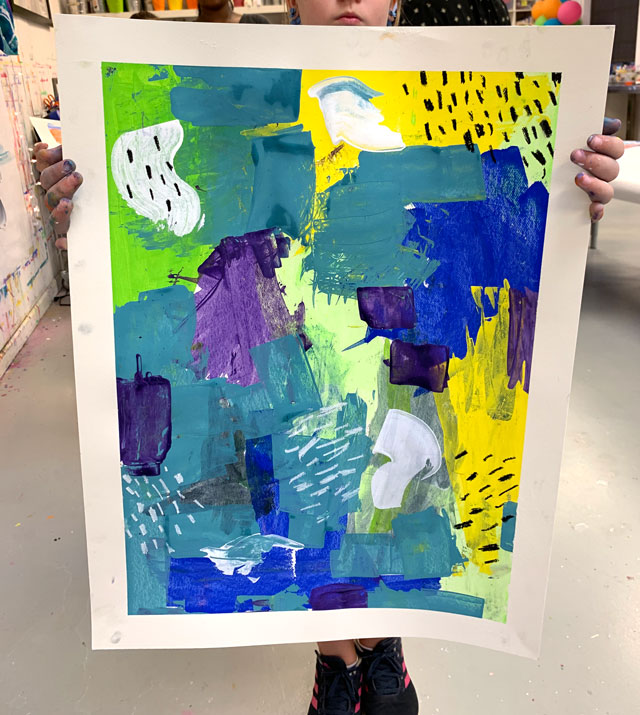
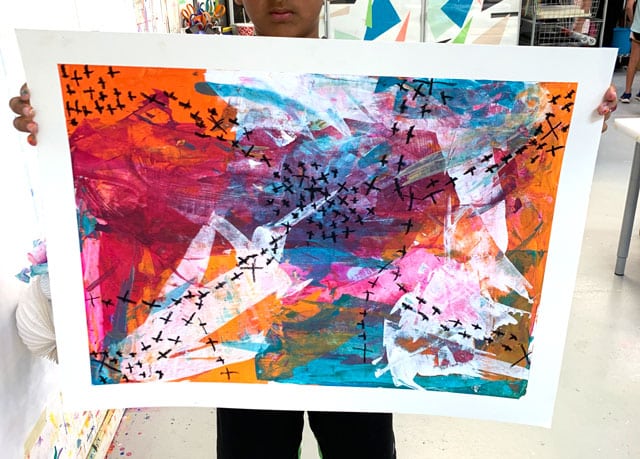
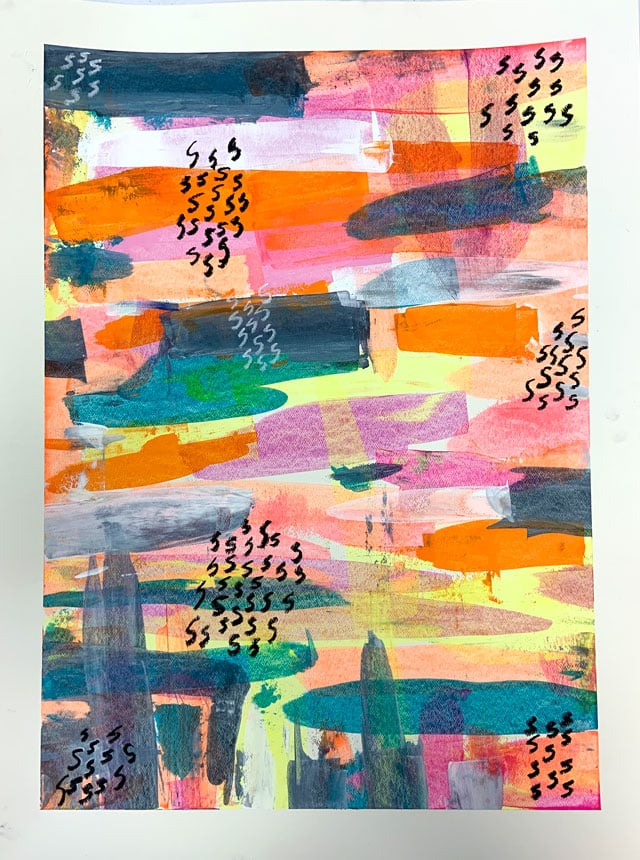
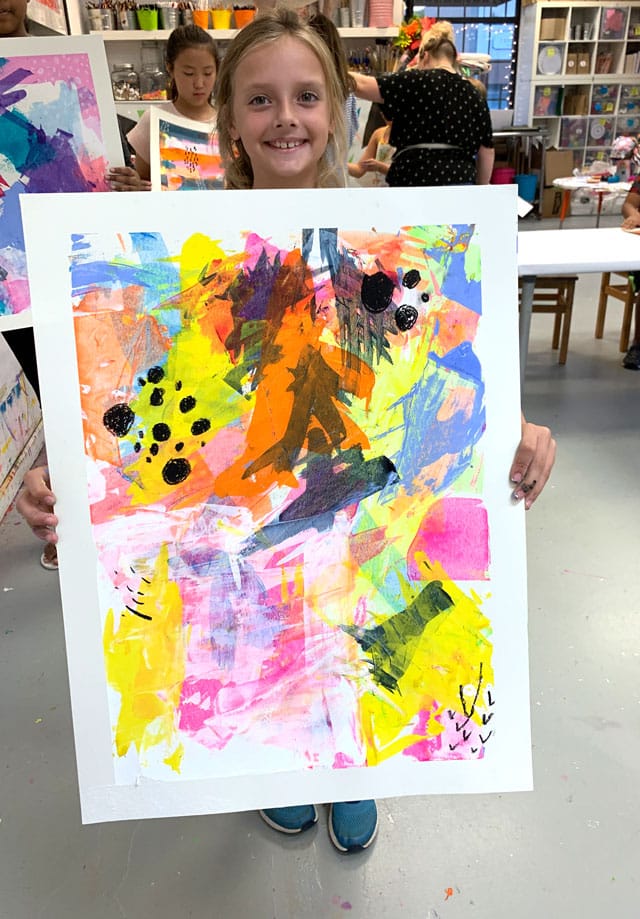
This abstract color block scraper painting was such a great project for our 9-12 yr. old class! It was a cool process, with big results!
This was our last class of the Early Fall session and these kids had been working on some pretty challenging, technical projects, so we wanted to let them experience a relaxing, non-objective painting with “color-block” scraper application + repetitive mark-making.
First, we prepped heavy 200# watercolor paper with a clean border of painter’s tape. These types of abstract projects look so nice with a crisp, clean border!
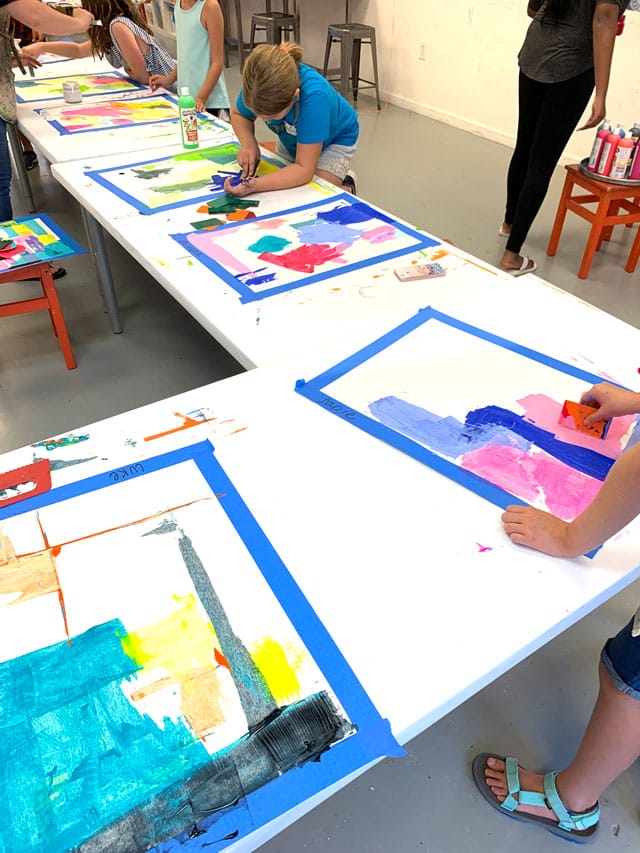
It’s fun to paint with something other than a brush, so we dove into this project “paint first” with a scraper application technique. We have a huge box of credit card blanks that someone donated, and we also used texture paint scrapers like this inexpensive set of four you can get on Amazon!
For paint, we chose to use a mix of Blick Premium tempera and Colorations BioColor.
Both have a nice thick, creamy texture and don’t crack or flake when dry. The BioColor is particularly smooth & creamy, and has an interesting opacity when layered.
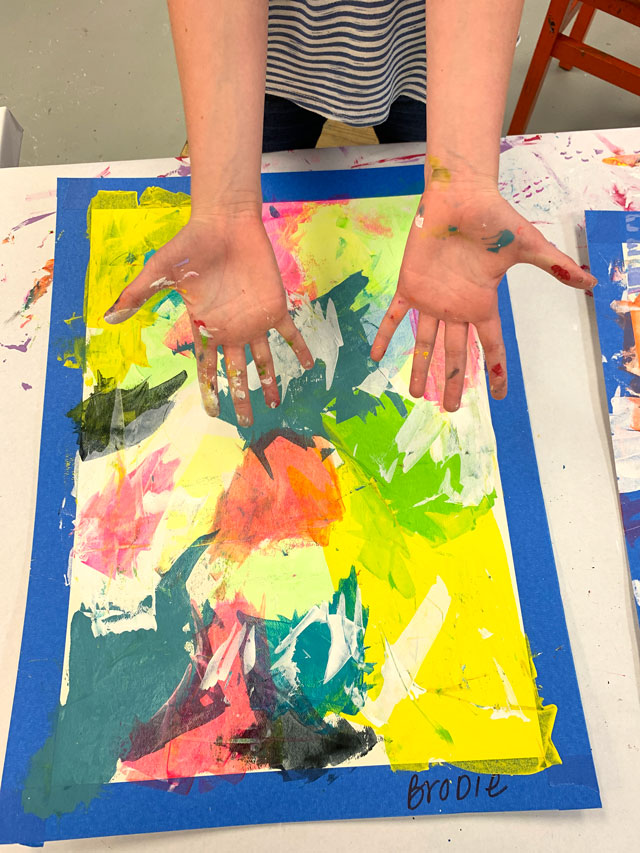
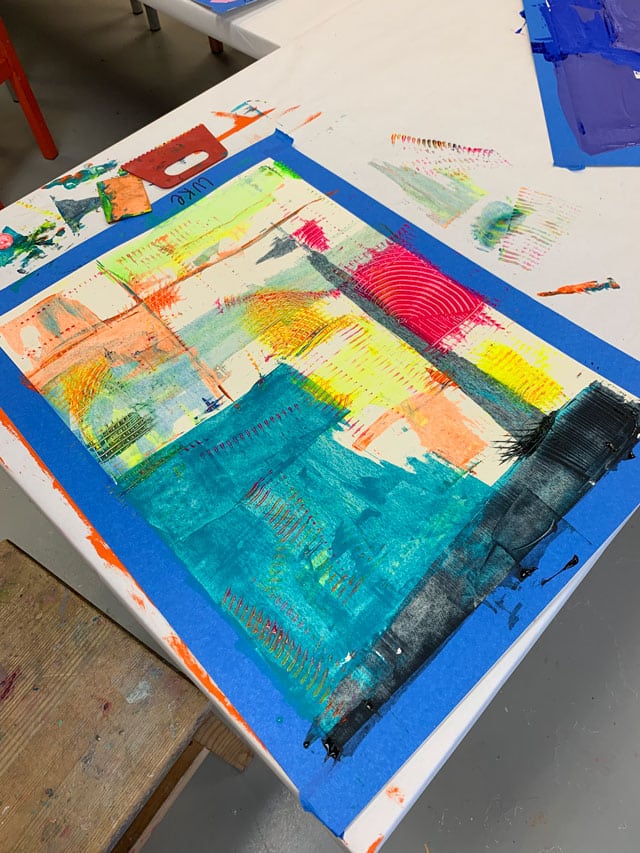
First, we had a quick refresher on color theory basics, and each student selected their own color palette and troubleshooted color mixing directly on their paper. It was important to work slowly -the goal wasn’t to see who could cover their surface the fastest, but rather who could put the most thought into their color choices and direction of their layered swatches of paint.
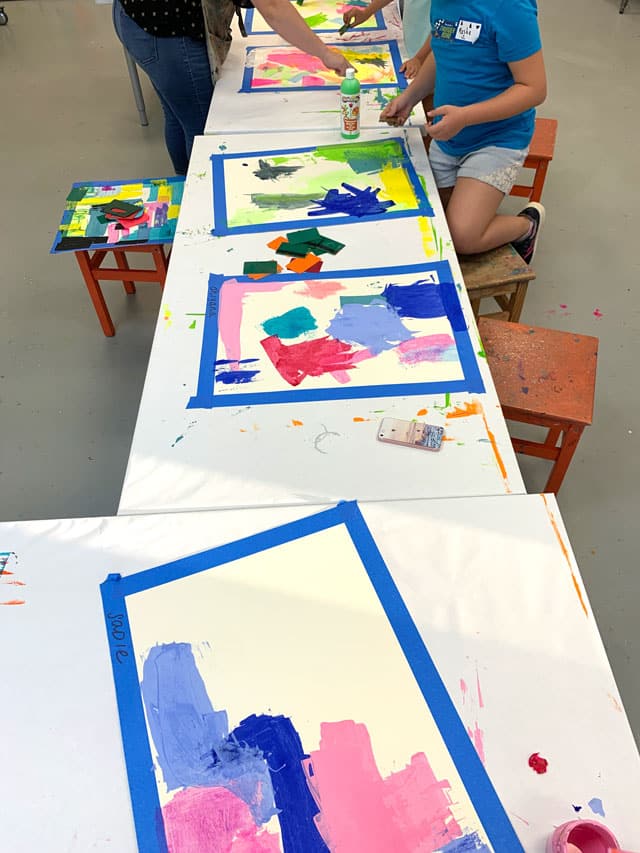
Students used their scraping tools to work their paint, by pushing and pulling it across the surface of the paper. We coached them on how to hold the scraper perfectly upright, vs. at a sharp angle. The harder the scrape, the more paint underneath is revealed. If they hold their scrapers at too sharp of an angle, basically all they are doing is “stirring” the paint. Each student was challenged to think through their “color-blocks” or sections of each color…. What shape is it? What happens if the paint overlaps? How do you create a design that includes overlaps but isn’t just a big mixture of colors? How do you directionally apply the paint so that you aren’t just making stripes?
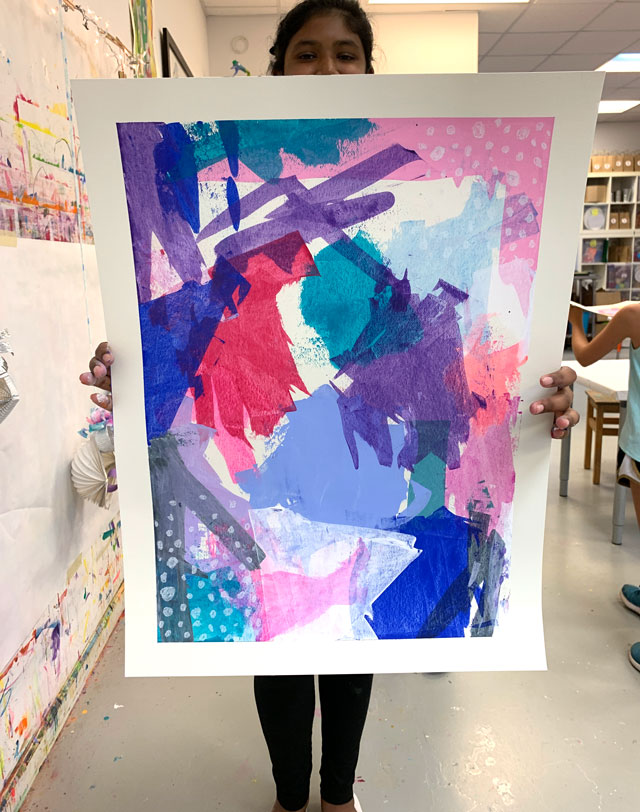
We really wanted them to think critically about their composition while enjoying the freedom of movement from this “go with the flow” type of painting. If you do this in a large class, you definitely have to be on the lookout for speed racers who will absent-mindedly turn their entire paper into a giant blob of brown!
The tempera paint dries really fast on the heavy watercolor paper, which makes it ideal for layering different colors. We demonstrated the importance of breaking up large dark sections of dark paint by adding white or other lighter colors on top. We also talked about unity and balance, and how if you have a single swatch of black paint up in the corner, it will tend to draw the eye up to only that spot. If a student was over-working a particular section, we suggested that they flip their paper in a different direction to work it from a new angle.
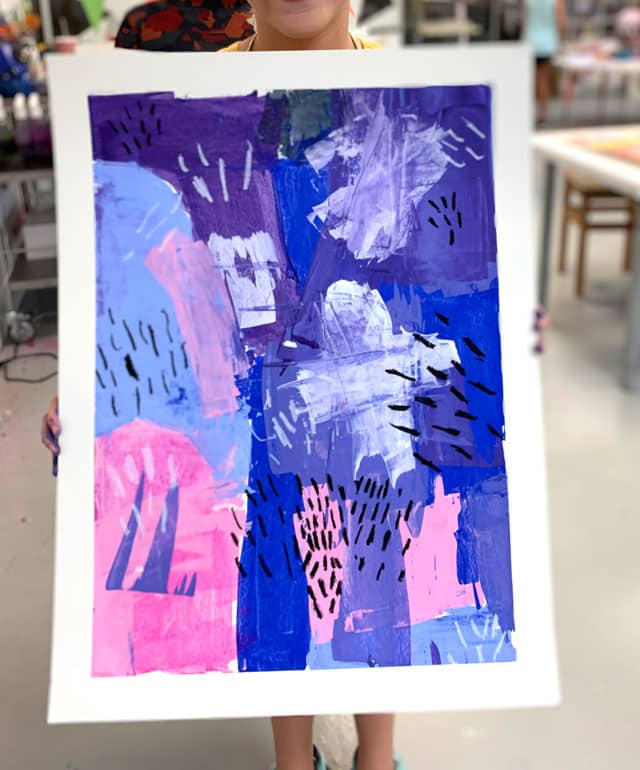
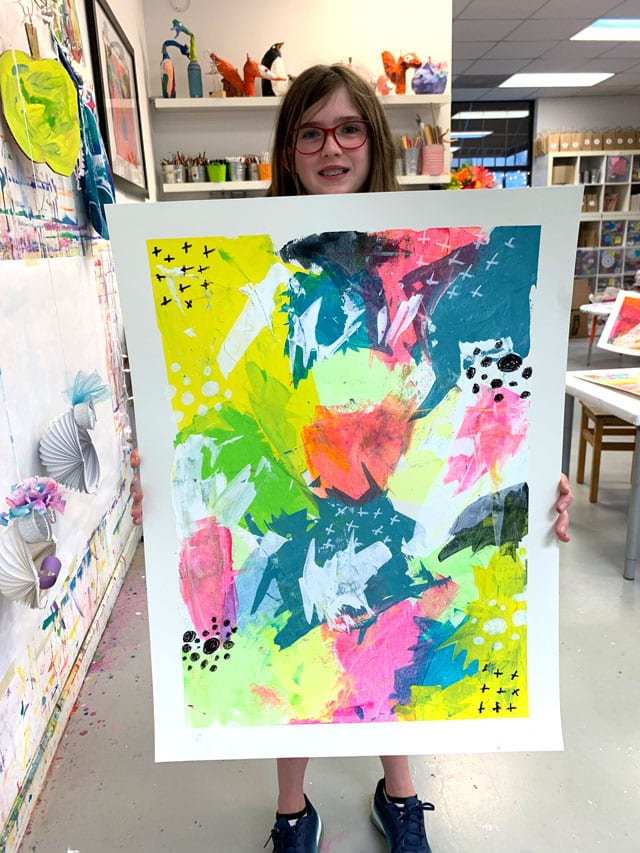
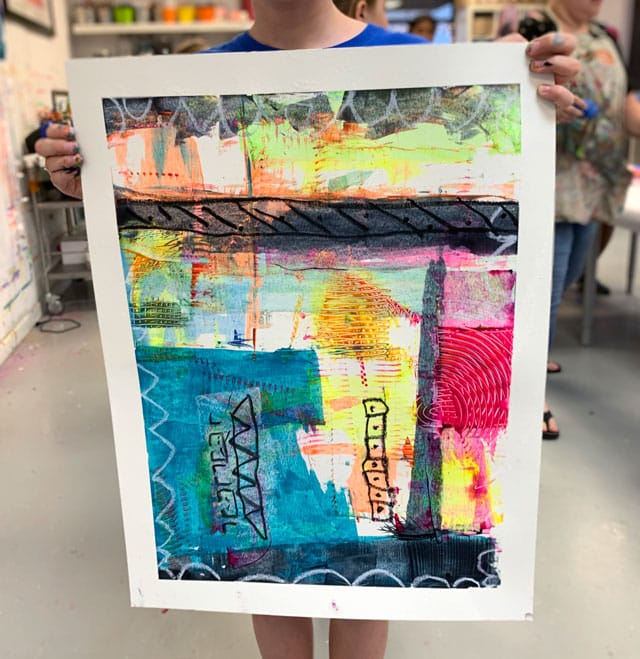
After creating their scraped sections, they worked back in with repetitive mark-making. For this step we used a neutral black or white oil pastel.
They were encouraged to think of a pattern, shape, or line to meditatively repeat. This wasn’t a stressful process of making it look perfect – it was a good experience of letting go (but with some restraint). Overall, a great project that we’d highly recommend you try either at home or in your classroom or studio!
-
[…] Abstract painting: https://www.smallhandsbigart.com/abstract-scraper-painting/ […]
Leave a Comment

Great work! All their paintings are amazing! It would all look great on the walls! Such talented kids!~
Love these! Can you link the watercolor paper you used?
I am SO impressed by this project and how beautiful each student’s art turned out…I wold hang any of those in my house! Thanks for sharing. I appreciated finding a post that incorporates the theory behind the decisions, the balance of colors, etc…you know what you are doing, and I bet the kids learned so much.
Would you do any online abstract art lessons?
What size is the watercolor paper? I’d love to do this with my art camp kids!
I believe this was 22×28
This is just stunning! I came across this post by accident via Pinterest. This makes me want to return to the classroom immediately to be an art teacher again.
I hear you!! I could teach these all day long! 🙂
Did they squeeze the paint directly from the bottles onto the paper?
oh heavens no!!!! LOL – only the teachers run around squeezing the paint – you barely need the tiniest little dollop – kids would never be able to squeeze with that much restraint! even *WE* squeeze too much half the time!
What paper did you use?
These work well on a heavy weight watercolor paper (like 200#) or we also use 6ply posterboard quite often – something with some weight so they don’t just srub or scrape a hole into the paper!
Curious, What size paper are you using here? Love this project!!
Hi Dari – we use 22×28 size a lot! BIG 🙂
Wonderful teacher you are! Which brand paint did you use? Thanks
I am impressed with the art these kids have created. Bravo to the teacher (s) who are able to guide these kids to listen to their guide within. Thanks so much for sharing.