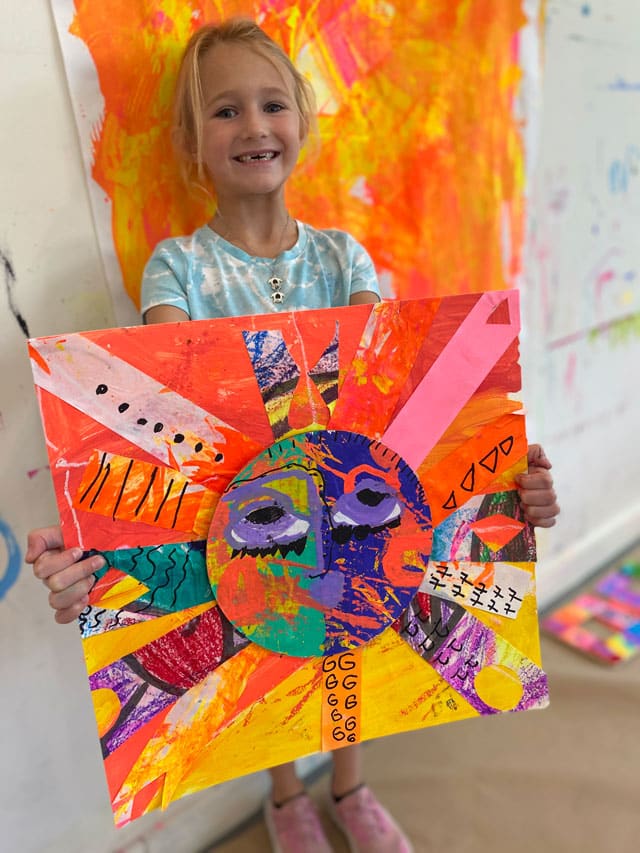
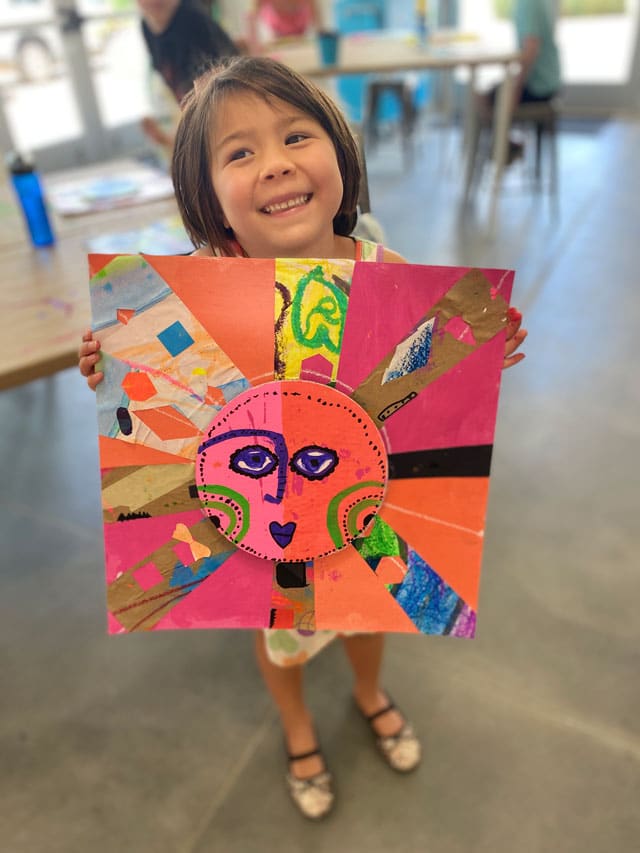
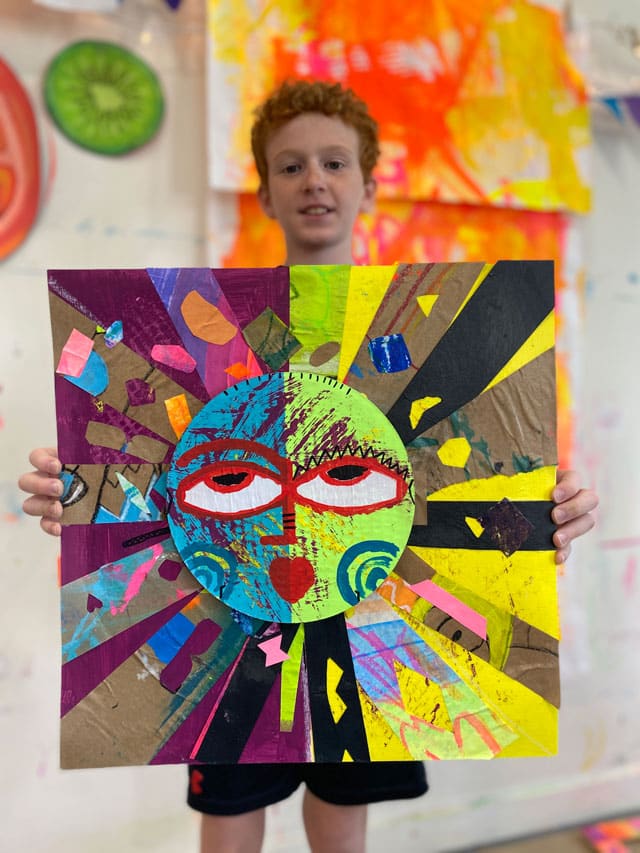
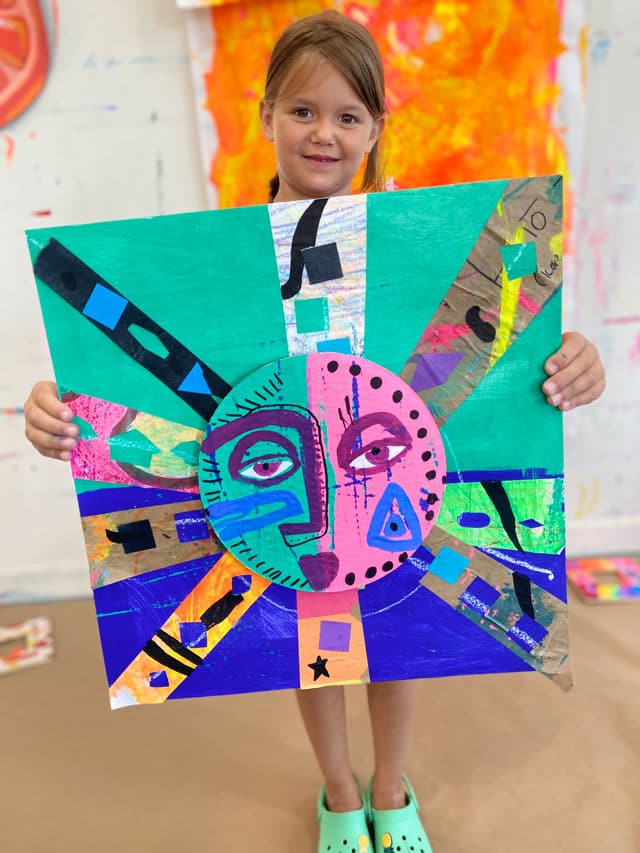
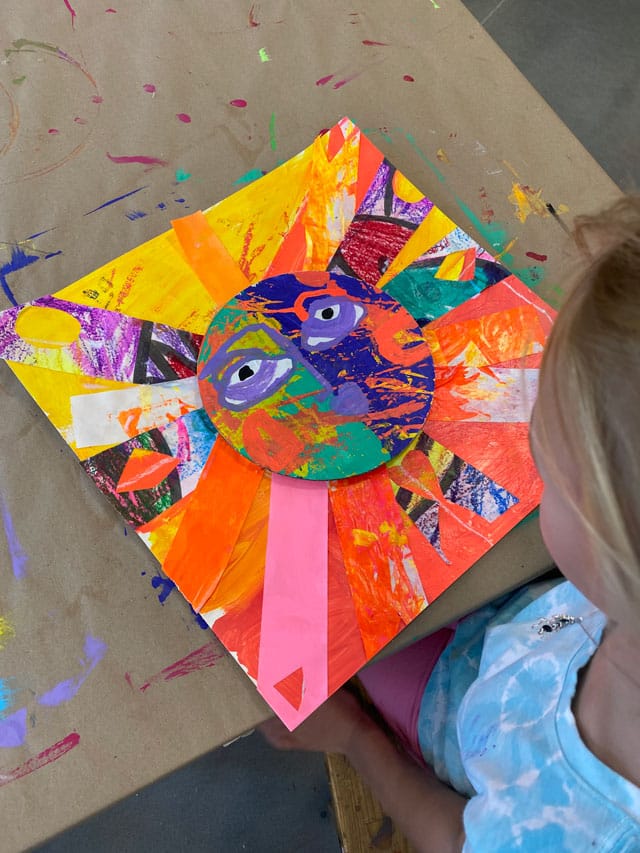
These bright sun collages were a favorite summer art project inspired by artist Clare Youngs.
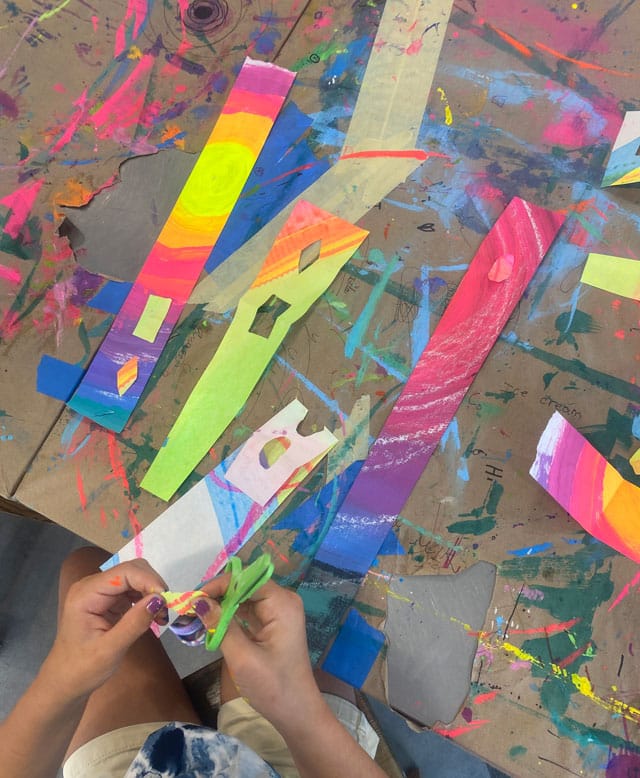
First we rounded up a supply of painted paper scraps! We even made some extra just to have on hand (hanging up on the wall in these photos).
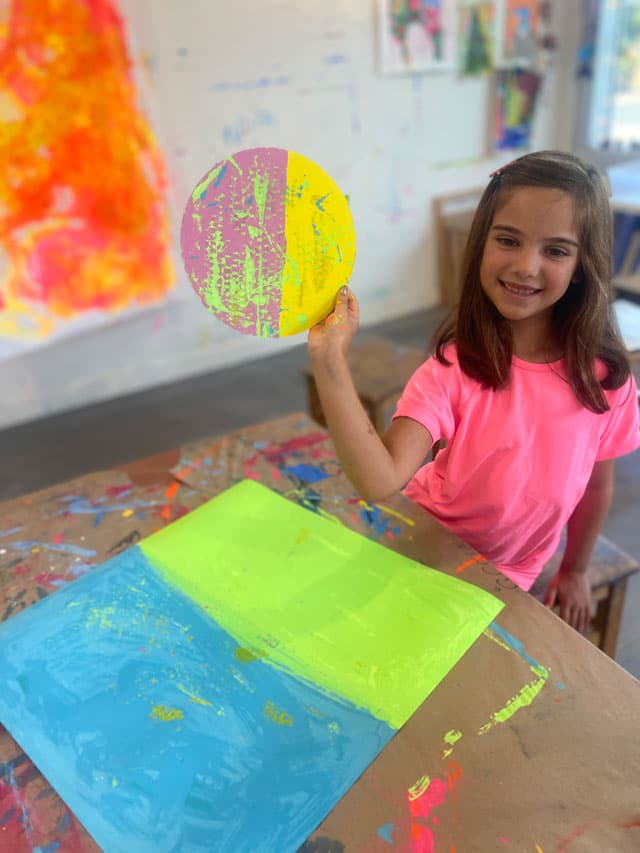
We used 8″ round cake circles for the face and divided it in half with a piece of washi tape to give kids a straight line to follow.
We painted with our bright colors of tempera paint and set the circle aside for a minute as we were painting our backgrounds. We simply instructed them to paint their background with two colors that they didn’t use on their face.
While both the face and the background were still a little wet, we have them make a “kiss print” by gently pressing them together. This is a fave technique of ours to help add visual interest and texture.
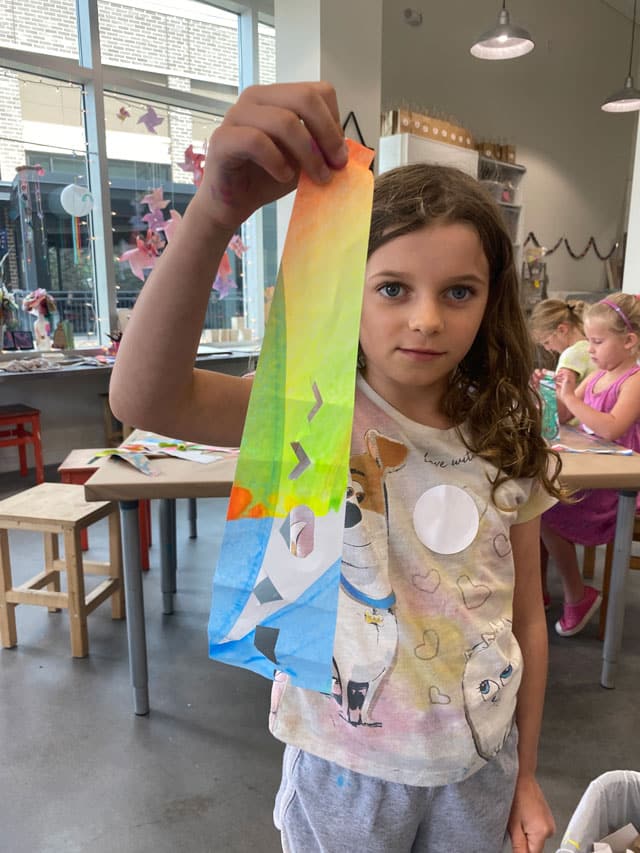
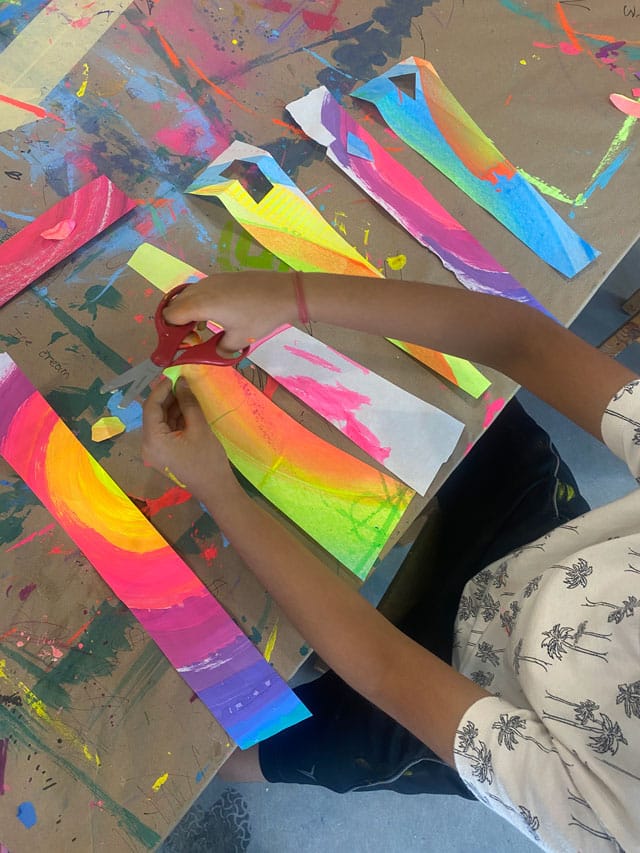
While the face and background were drying, we started cutting. And cutting. And cutting. We demonstrated how to cut shapes out of the strips of paper by folding them either vertically or horizontally. Kids were really fascinated by that and seemed to really enjoy practicing making cool shapes. We have them pile up their cut out pieces so we could use them in our collage later. We wanted both positive and negative shapes to use for our sun rays.
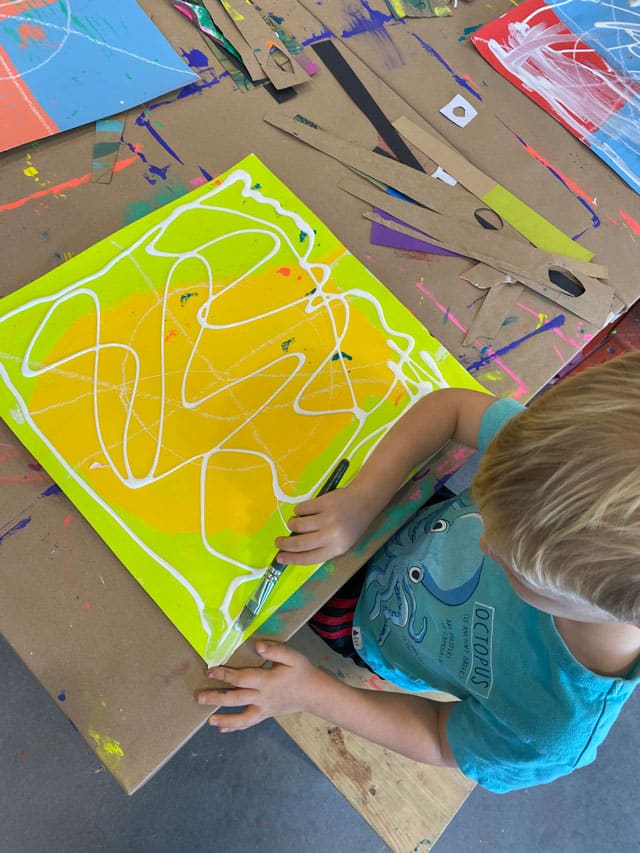
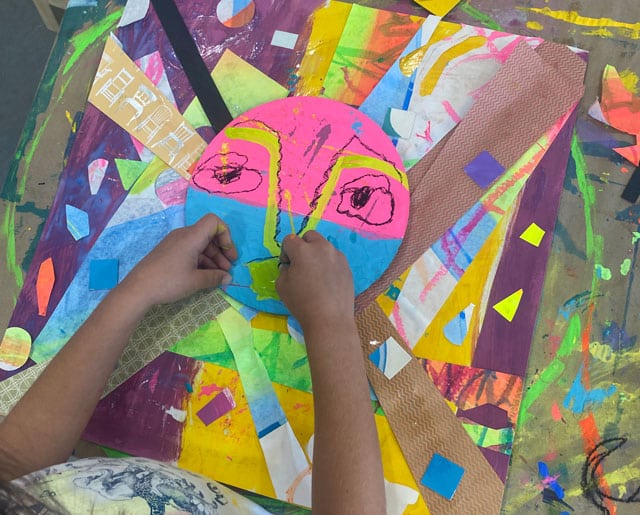
We covered the background with a thick layer of Mod Podge so that kids could just quickly arrange their sun rays in a radial pattern. We taught this in a mixed age summer camp – with kids as young as four and old as twelve. For the younger kids, it was helpful for them to draw light “guidelines” first -otherwise they got a little carried away slapping their sun rays on in every which direction!
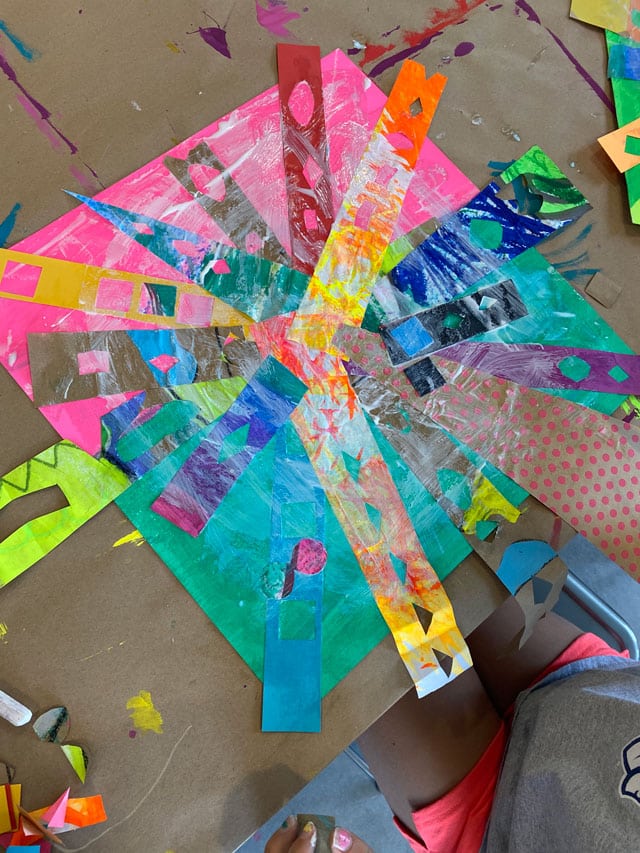
We have them work quickly to layer their shapes radiating from the middle. We just ignored all of the pieces hanging off the edges becuase we planned to trim them later.
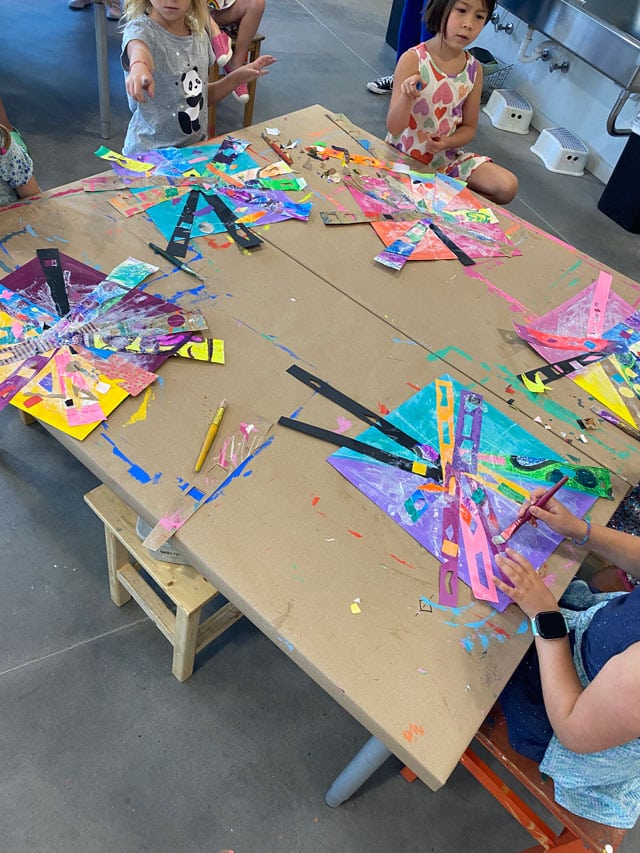
As you probably know, black makes all the other colors brighter, so weach student had to have at least one or two black sun rays.
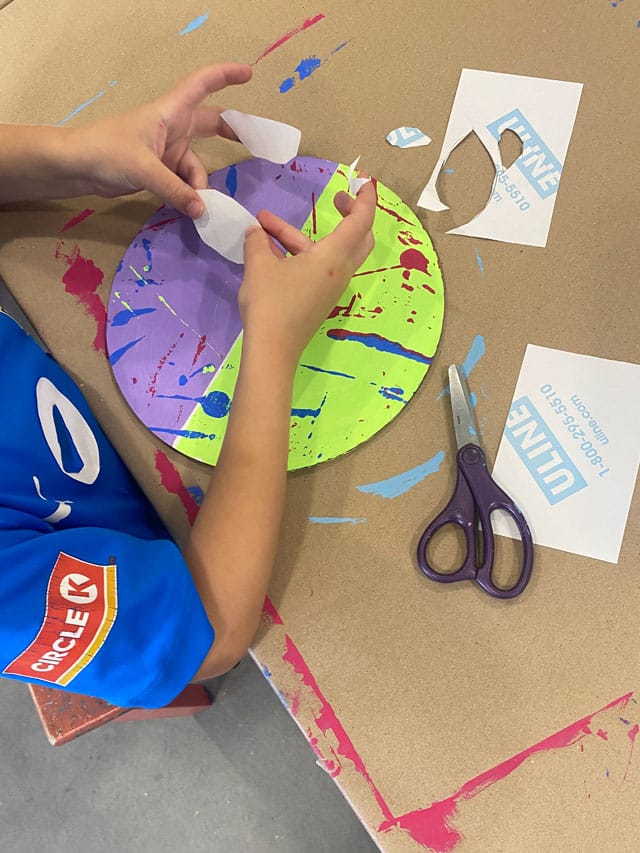
While our sun rays were drying, we got back to work on the face. We gave them some white adhesive labels to draw almond shaped eyes and stick on. Then we instructed them on either painting or drawing the facial features. We painted them in one class and drew them in another – I personally liked the painted versions better.
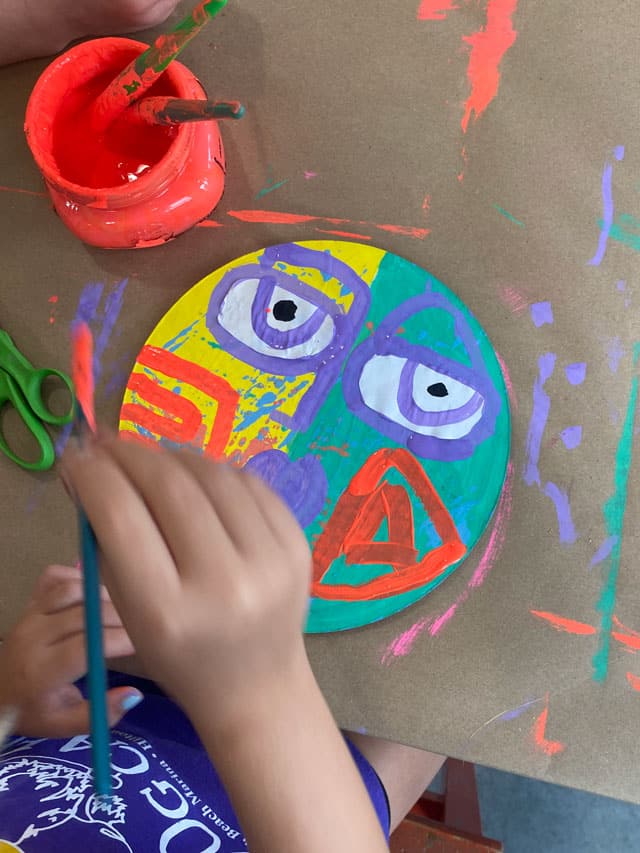
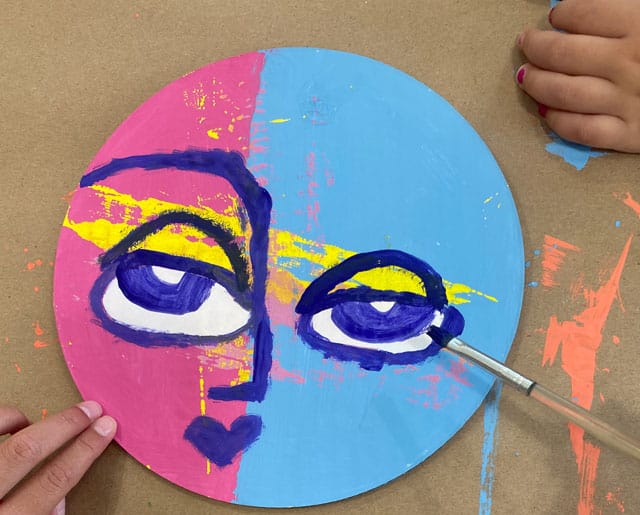
Lastly we hot glued the face on with some foam spacers so it was a little elevated off the paper. These were so bright & beautiful & the kids had such a fun time with them!
