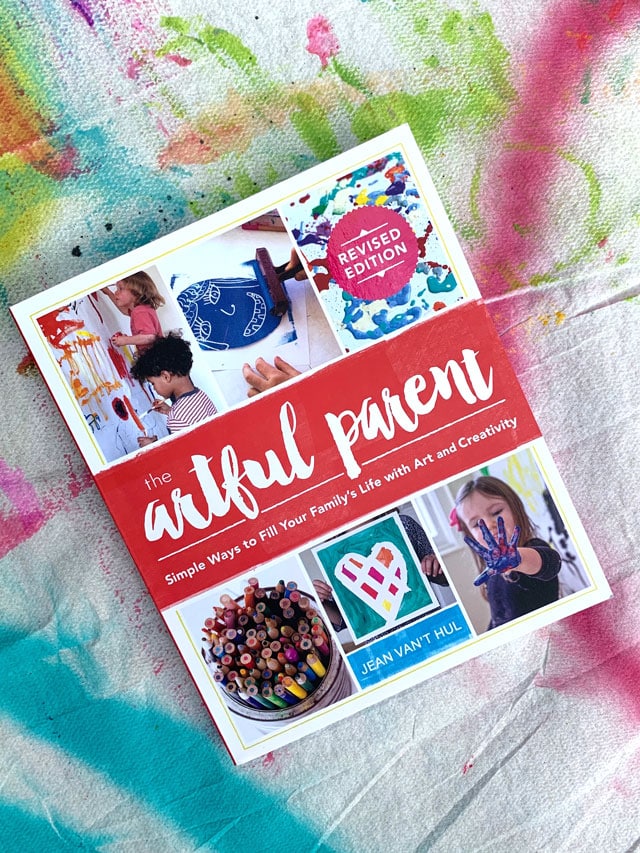
The revised edition of The Artful Parent Jean Van’t Hul’s book, “The Artful Parent – Simple Ways to Fill Your Family’s Life with Art and Creativity” is out, and it’s a GEM! It’s a complete update to the glue & play dough-encrusted, watercolor stained book we’ve all loved so well! Flipping through the pages is a feast for the senses, but it’s also making want to share a long-winded story…
I purged something recently that I wish I had photographed to show you today! It was a tattered manilla folder labeled “Art Studio Inspiration”, stuffed with torn pages out of magazines, online articles, & sticky notes. When I opened Small Hands Big Art in 2009, every image or printed word that inspired me went in that folder. Pinterest, before Pinterest. Back then, I could count on one hand the number of children’s art studios on the planet. And even fewer people writing about the joy of creating art with children. Jean was one those people. So many of her blog posts were saved in that tattered folder!
Jean has literally been inspiring me ALL. THESE. YEARS. Today, there are thousands of children’s art studios, & millions of moms doing amazing work nurturing their children’s creativity at home. Jean has truly been a PIONEER in fueling this “artful living” movement!
Shaving cream, salt + liquid watercolor, contact paper, melted oil pastels on a hotplate (my husband: “What’s that purple stuff on this pancake?”) – would we use any of these unusual art materials & tools if not for The Artful Parent?? Doubtful. We’re eternally grateful for her tireless churning out of new ideas, for modeling how to live a creative life, & for bringing together + giving this online community SO MUCH TO SHARE & celebrate!
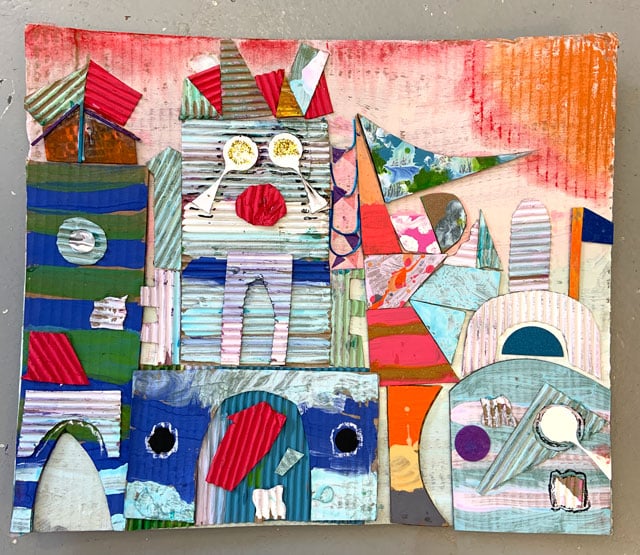
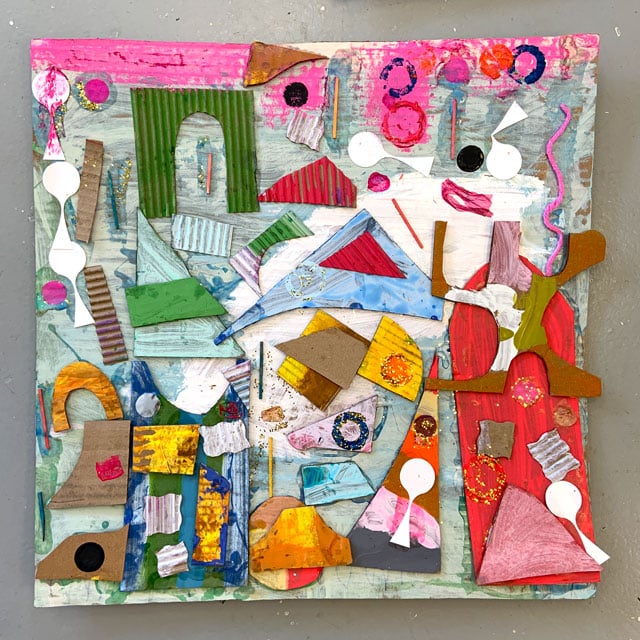
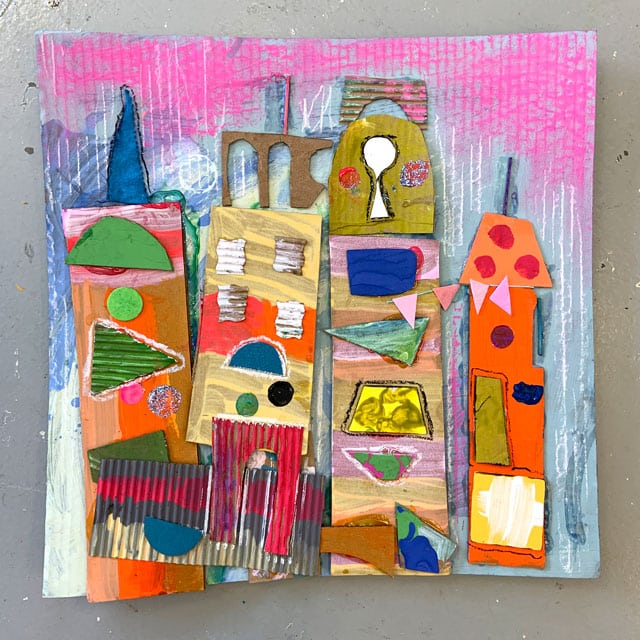
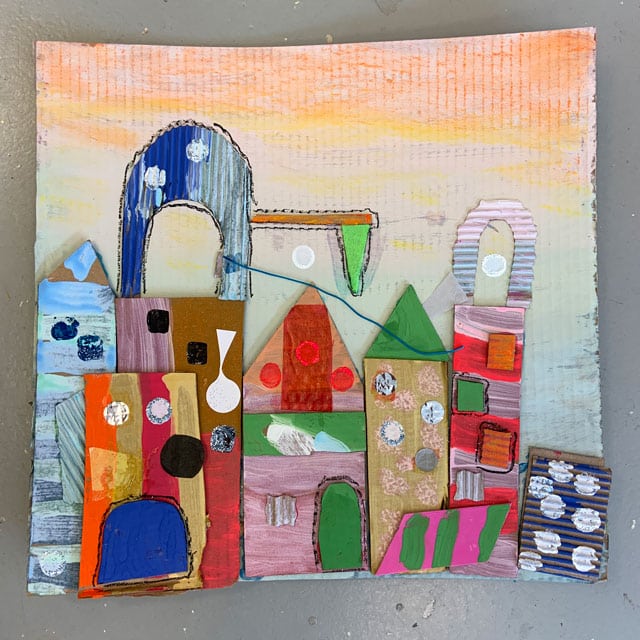
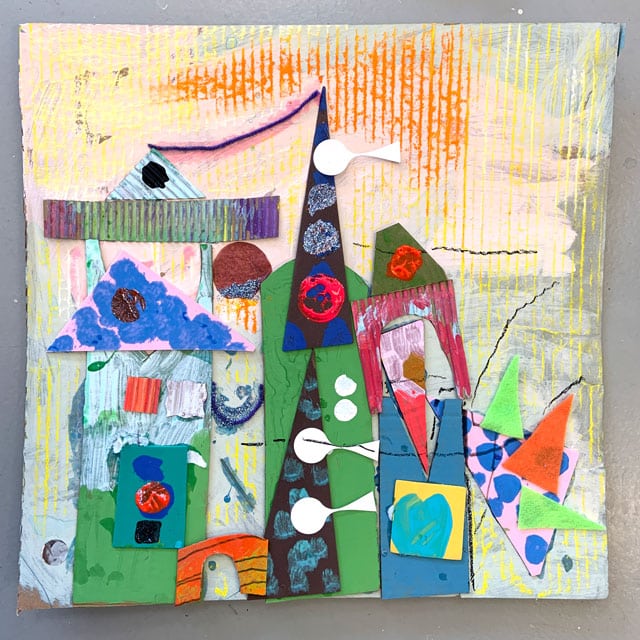
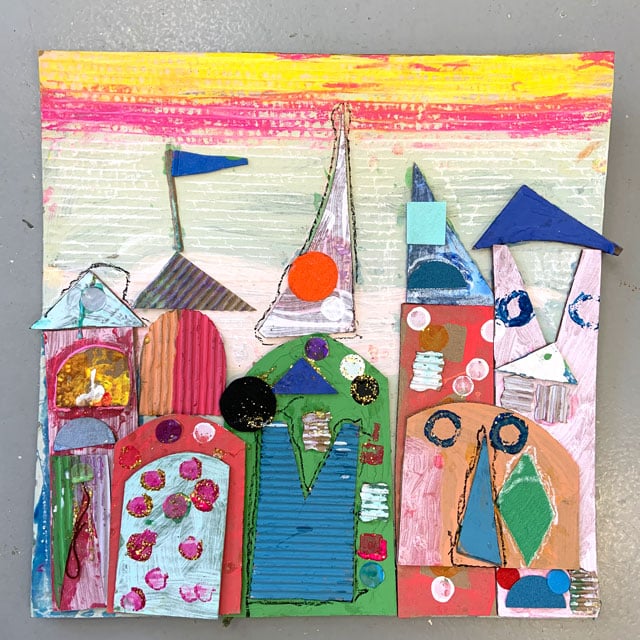
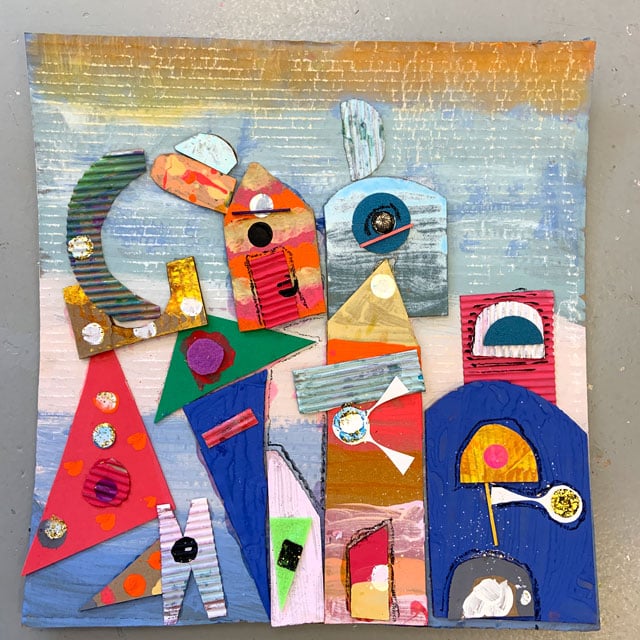
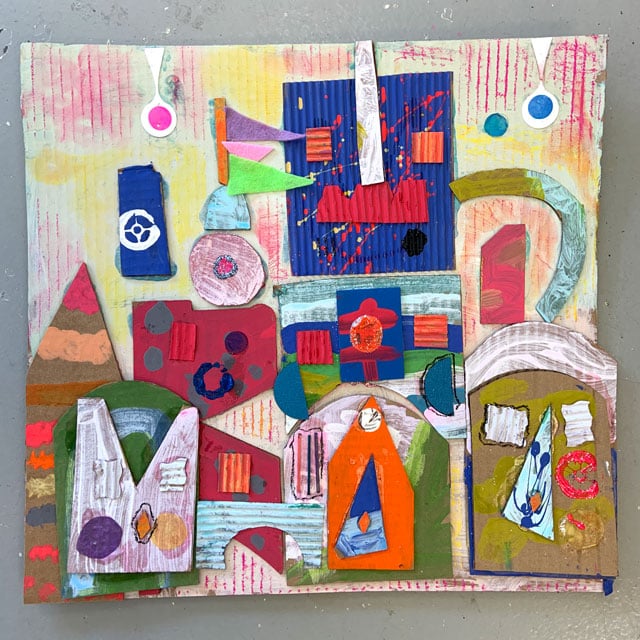
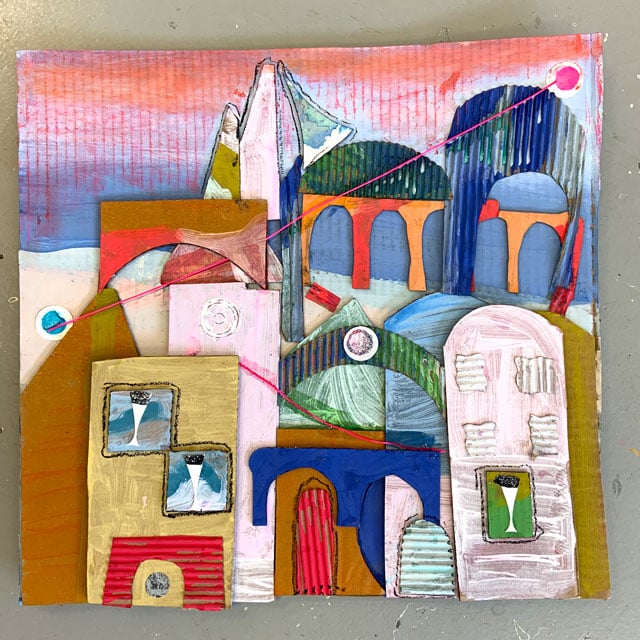
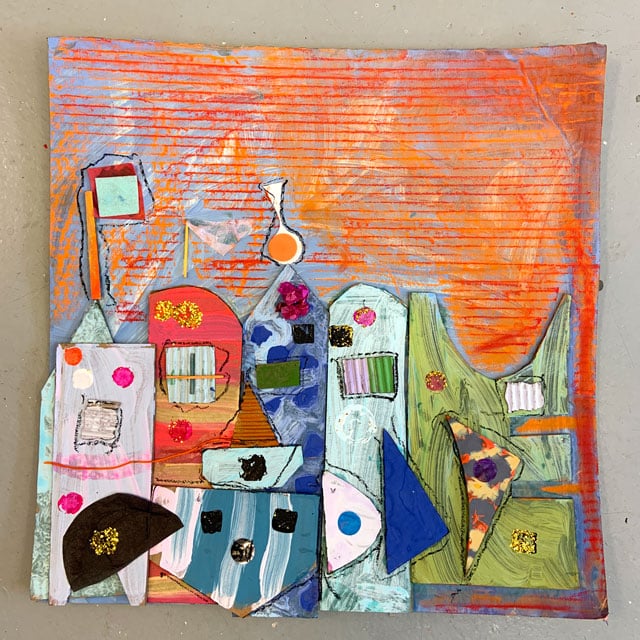
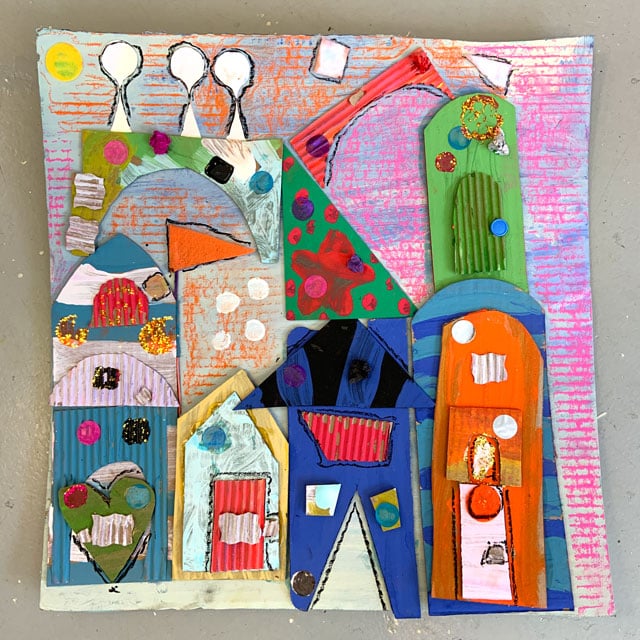
It’s Summer. Everyone is visiting one Disney or another. This “It’s a Small World” inspired cardboard collage pays homage to Jean & her wise, Artful Parent tutelage over the years! (Cardboard Collage, pg. 141) And with it I also send a collective shout out + heartfelt group hug to all the other pioneers and trailblazers like Jean (too many to name!). I’ll never be able to thank you all enough for the ways you’ve influenced my life! XO ~ Jennifer
WHAT YOU NEED
- Cardboard scraps in interesting architectural shapes (semi circles, exaggerated triangles, domes, etc.)
- Tempera Paint
- Chalk Pastels
- Oil Pastels
- Pre-cut felt shapes
- Adhesive foam shapes (kids can cut or you can use pre-cut shapes)
- White school glue in squeeze bottles
- Toothpicks or matchsticks to make criss-cross X shapes
- Interesting shapes to use as stampers (thread spools, bottle caps, etc.)
- Small stickers with numbers of letters would be cool!
HOW TO DO IT
I would like to lie to you and tell you that kids can cut cardboard. Adults can barely cut cardboard! So, no, the kids did not cut all of these shapes! We save almost all of our cardboard scraps and we had a whole bag of really cool shapes from cutting out a lot of hearts around Valentine’s Day and other projects. I stood with a really sharp utility knife for about 30 minutes and sorted & trimmed up the shapes, and cut shapes out of shapes (for example – a V into the top of a rectangle), so that we had a big pile of shapes that evoked It’s a Small World architecture.
First we just had a huge collaborative painting party! We hadn’t told them what we were making yet, just that we needed a huge supply of painted shapes of cardboard! When we are mass producing painted shapes we try to control the mayhem by having a warm table and cool table, the kids are not able to mix warm and cool on a single shape. They can, however, paint multiple colors of the same family on one shape. We encouraged them to do lines & shapes. They did this quickly and set them on the floor to dry. The cardboard soaks up the paint and dries fast, so by the time we got a good supply it was time to paint the 2nd layer. The 2nd layer could be the opposite color family. This process keeps the paint from becoming muddy.
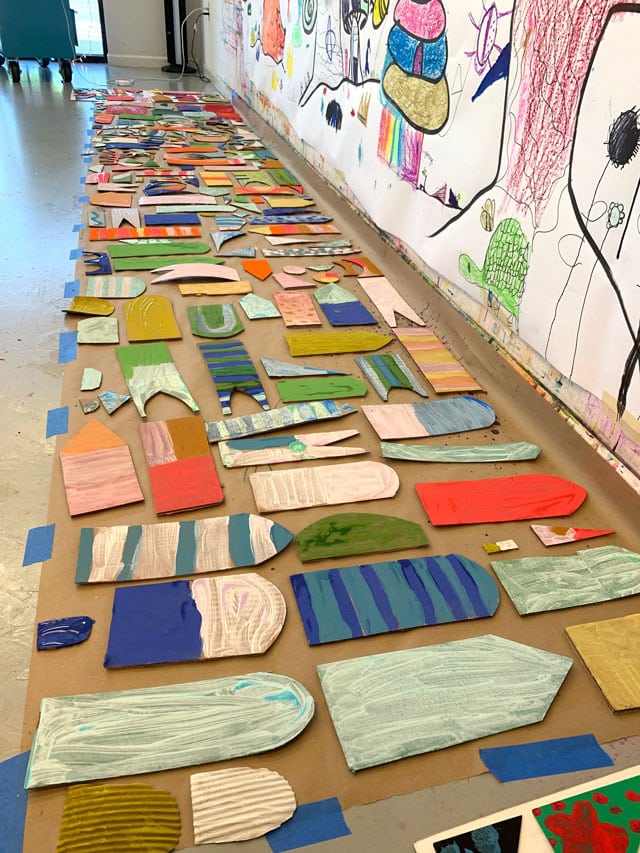
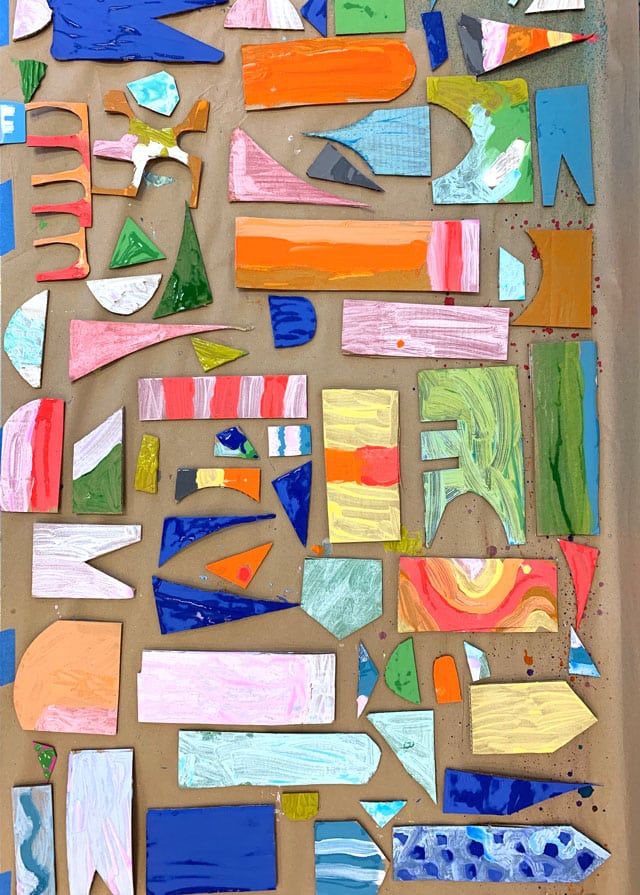
As the shapes were drying, students painted a large 18×18 piece of cardboard for their background with cool colors. We just went around squirting dollops of cool colors + white and let them experiment mixing & blending, with thick brush strokes.
In terms of timing, work up until this point took about an hour.
The next day, we let the kids “go shopping” and pick out their favorite shapes and start glueing! At this point we tee’d up the inspiration for the project by showing them images of It’s a Small World at Disney. Most had been there or could identify with it in some familiar way. I was surprised to hear a few horror stories of kids who had been trapped on the ride and traumatized by the experience. THAT was unexpected! 🙂
With their school glue dripping and oozing out from every nook & cranny, we set these down to dry. That evening we stacked some heavy stools on them to flatten them out.
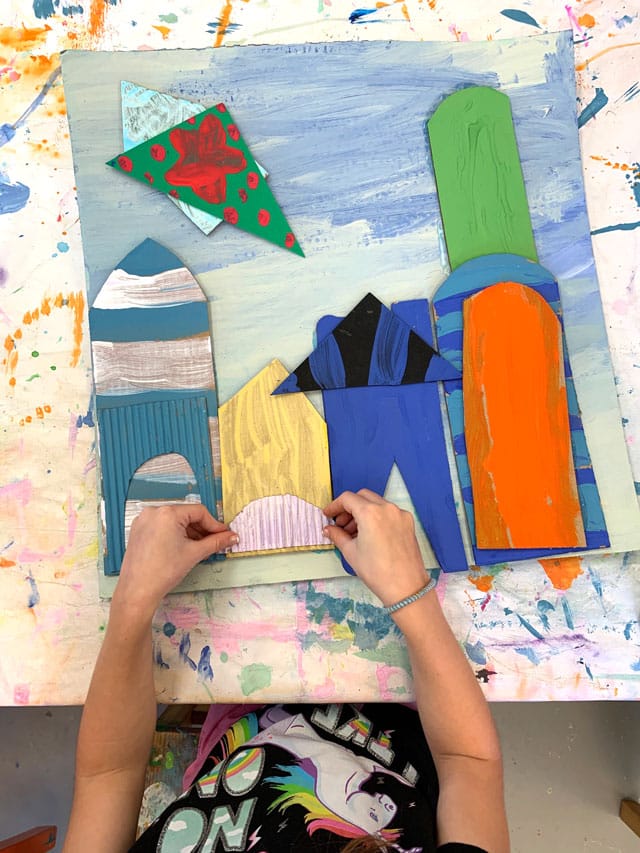
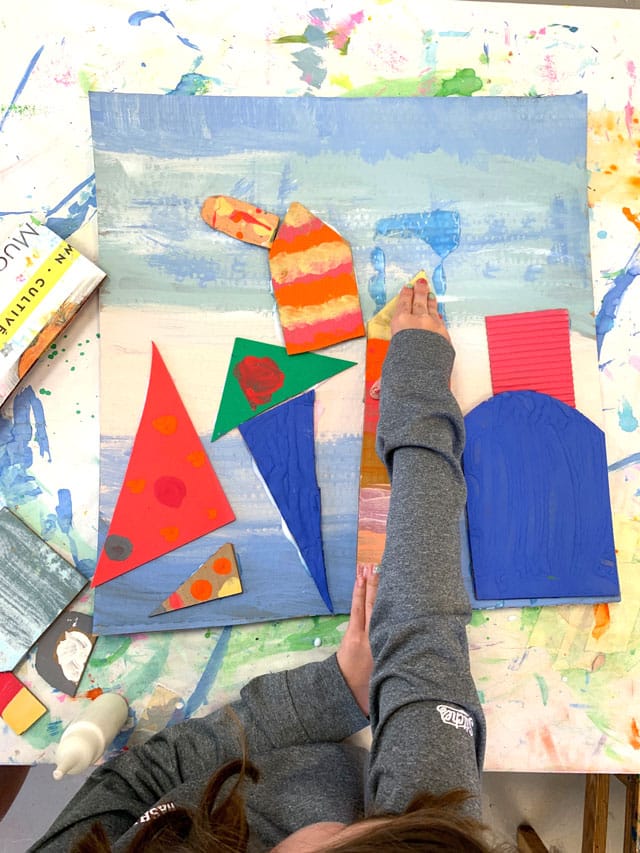
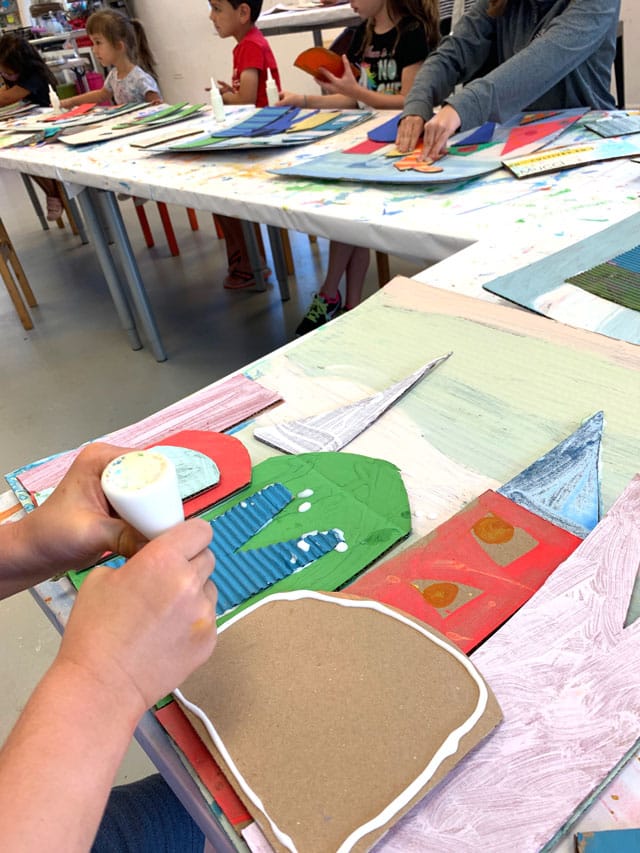
The 3rd day was set aside for layering smaller pieces, focusing on more intentional architectural design. The made spires, bridges, layered smaller buildings, windows, etc.
To really invoke the Small World vibe, we added a layer of chalk pastel to the top of the tempera paint (we love this technique – the tempera paint is very toothy and grabs the color! We had planned to decoupage some tissue paper shapes with Mod Podge as well but just didn’t have time – but that would add a cool layer of shapes as well! Something else that would really tie it to the It’s a Small World architecture, would be to add some small number stickers, or have the kids write numbers somewhere.
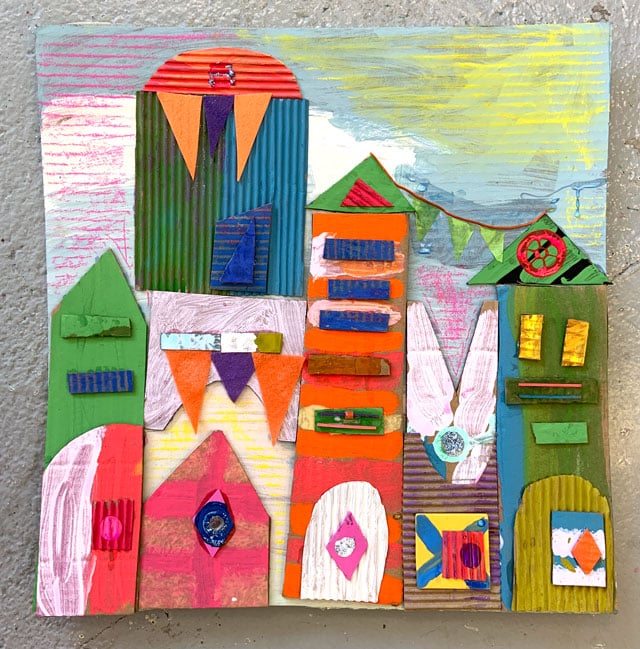
Gradually working in more detail, kids added shapes of felt and adhesive foam, yarn & ribbon, and then used odds & ends to stamp designs on top (thread spools, water bottle lids, etc.). We did this in a mixed age group summer camp- so we had kids ranging from age 4-10. A good challenge for the older kids is to have them cut their own shapes, and really push them on their design. We talked about repetition and pattern, and using a variety of materials.
A final (but very minimal) dash of glitter and these masterpieces were whisked out the door so fast we could barely get photos of them all!


[…] Source: Small Hands Big Art […]