By Katie Breaux
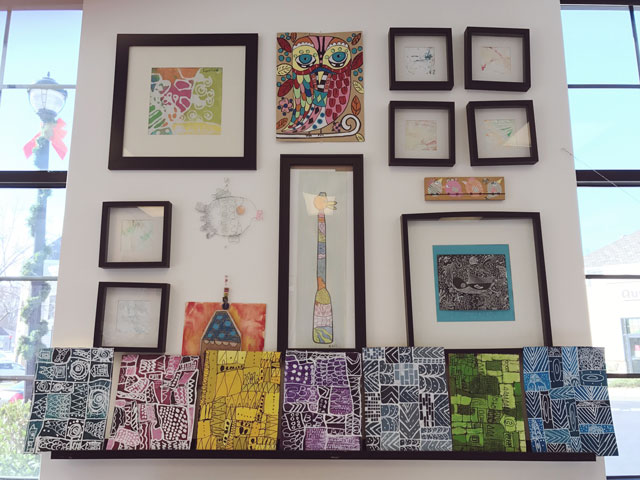
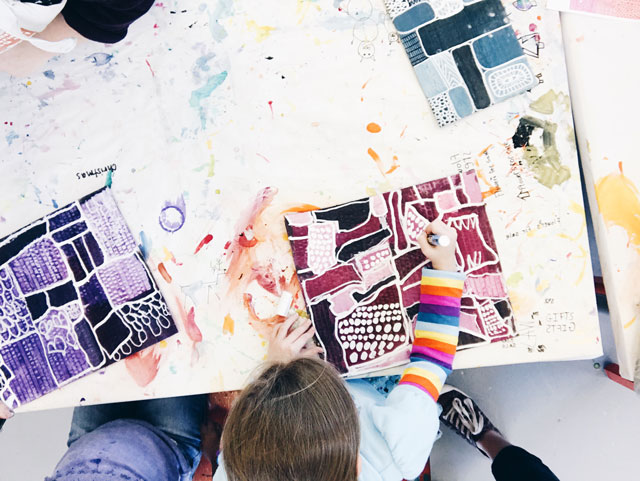
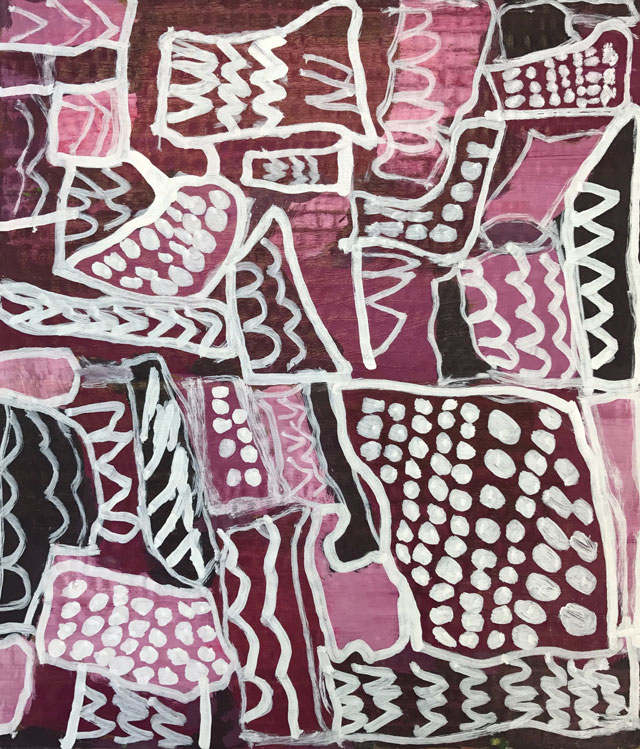
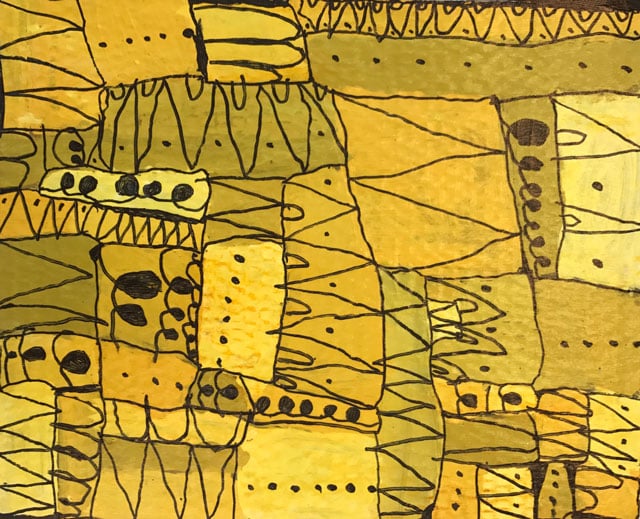
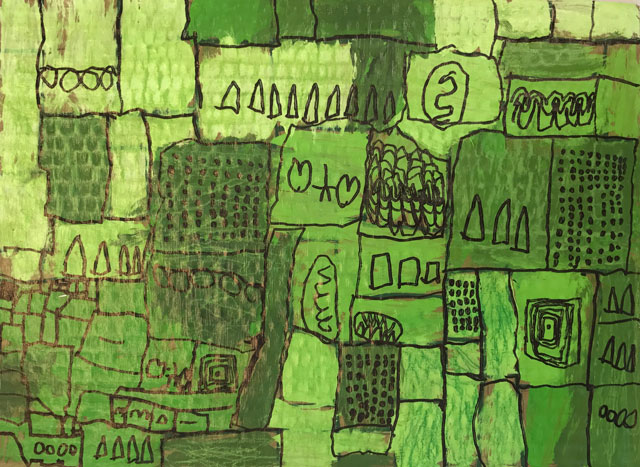
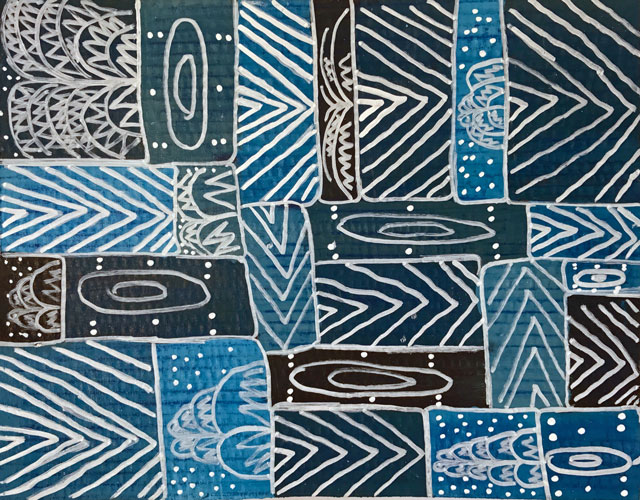
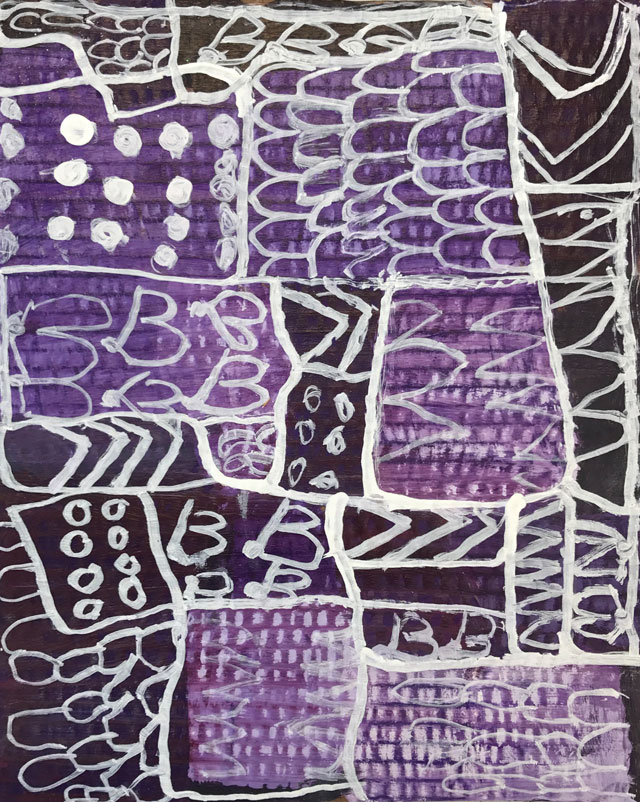
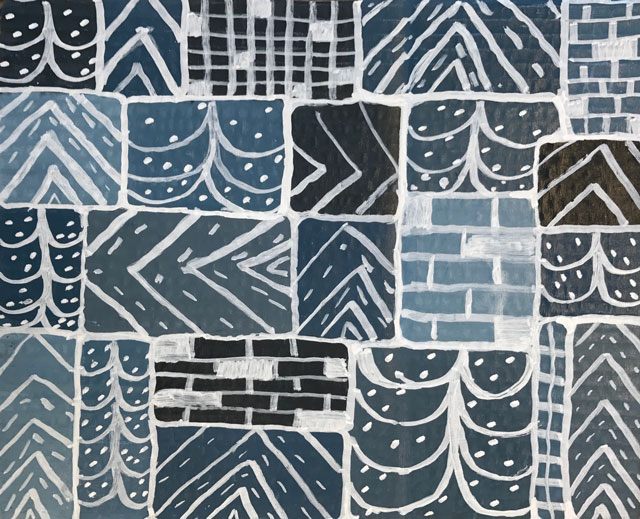
We’ve been getting our Lisa Congdon on lately. (And Sanna Annukka too – but that’s a different story.) These Lisa Congdon inspired geometric designs were a favorite over the holidays!
If you don’t know who Lisa Congdon is, we’re sure you would recognize her work if you saw it. She is an artist, illustrator + author whose creativity has basically exploded around the earth in the form of paintings + prints + books + coloring books + stationary. You name it. Her style is recognizable. Her colors are bright. The kids love it.
Our teaching team loves her too. Lisa Congdon’s blog is called “Today is Going to be Awesome” and who can’t appreciate her go get ‘em – and also honest – attitude. If you are looking for a low-key method of engaging with her style you can always pick up one of her coloring books from our shop the next time you are at the small hands big art studio or online here.
We took on these fun Lisa Congdon inspired mixed media compositions in a “School’s Out – Art is In” afternoon camp recently over the winter break. Here is the how-to for our fellow art teachers, art lovers & creative mamas:
PLAN
Start with cardboard. Using pencil, each child draws large four-sided shapes from one corner. They can be large squares or rectangles and they have to bump right into one another. No gaps/margins between each shape (or “sidewalks” as we call them in our studio). We show students the designs by Lisa where this technique is demonstrated.
TINT + TONE + SHADE
We gave each artist one color of tempera paint, some white, and later some black. Each child had the challenge of painting each geometric shape a different tint (color+white), tone (color+gray), or shade (color+black). We encouraged a lot of hopping around their project so that there weren’t any touching rectangles the same color. We love working with tempera on cardboard because it dries FAST. In addition, while working on this part of the project, we challenge students to practice wiping their brush + spreading their paint thin. That really helps the drying time! If you have a little extra time, add in a quick + soft chalk or oil pastel rubbing for a little depth. This pulls out the bumpy texture of the cardboard.
SEAL
Slather with Mod Podge. We applied a quick coat of Mod Podge and set these babies aside to dry. This step was important in achieving a smooth/shiny surface for the next layer.
CHALK MARKERS
Each artist began by choosing either a black Sharpie (if they had a light color) or a white chalk marker (we love Fun Chalk Markers) and carefully traced around each and every rectangle to isolate (and clean up) their sections. This was also a great time for them to learn how chalk markers work!
PATTERNS
Then, each student went in and chose three (and only three) shapes or lines. They added one of these large designs to each section of their painting. Once again, working hard to have no two patterns of the same style touching. After they filled each section with one type of pattern, they could then pick three new smaller patterns to add into their large patterns.
And so on and so on… We hope you agree these turned out so amazing! Thanks, Lisa, for inspiring such a fabulous project!
This post contains affiliate links to products we love!

I think my painting class kids would love this project!
I love, love, love these! Where did you find your chalk markers? Are the from the Maxxon brand?
Thanks Gloria! We love Fun Chalk markers, but really you can use any brand! Enjoy! ~Jennifer
Thank you so much for this lesson! I did it with a second grade class today and it was a huge hit. I can’t find Fun Chalk Markers. Could you share the link? Thanks so much. I LOVE your website and blog. Thank you for sharing and for your inspiration!
Thank you so much Gloria! Most of our projects are inspired by contemporary artists we love (figuring the masters are mostly covered in school, although we do a fair amount of those projects too!) You can find Fun Chalk via Amazon here…. get some!!! Thanks! Jennifer