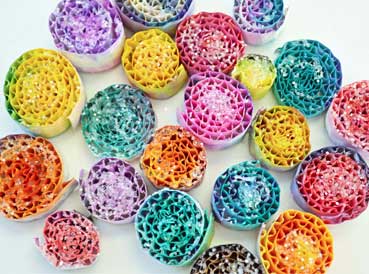
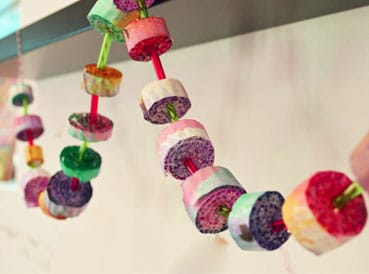
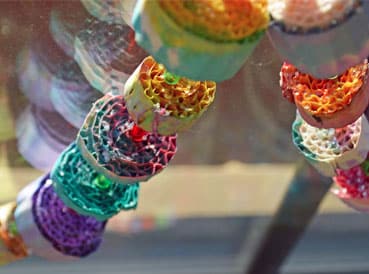
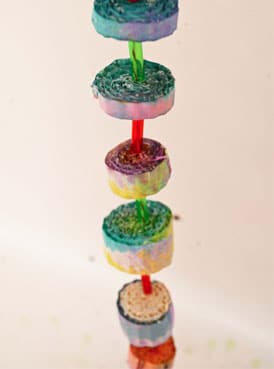
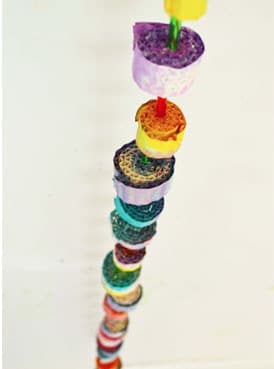
Feeling a little guilty because you ordered more stuff for yourself on Cyber Monday than gifts for others? (“one for you, three for me….”) When the boxes start piling up on your porch, we have a cool project that can help ease both your environmental and gift-giving consciences! These rolled corrugated cardboard beads make lovely necklaces, bracelets, holiday garlands, or other fab decor. They would also make wonderful gifts, if you can manage to part with them!
You Need:
1. Corrugated cardboard. Take a thin piece of corrugated cardboard from a lightweight box, and remove the facing on one side, exposing the ridges. You can also look for thin sheets of corrugated cardboard paper often used as a packing material.
2. Scissors
3. Strong tacky glue or hot glue
4. Paint. You can use watercolors (as in our example), or these also look nice with a more opaque acrylic paint.
5. Glitter. We used clear glitter – it provides just enough sparkle without obscuring the paint colors!
6. String, twine or yarn. We used red baker’s twine.
7. Embroidery or plastic craft needle.
8. Other beads or buttons (optional).
How to Do It:
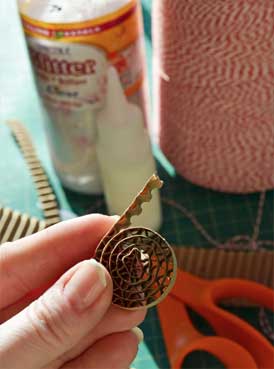
1. Cut the corrugated cardboard into thin strips, approximately 1/4 inch wide. The length of the cardboard will determine the overall size of your bead when it is rolled up. For larger beads, use longer strips. If you are making a garland, it looks nice to include beads in lots of shapes and sizes, so mix it up a bit!
2. Apply a thin strip of glue along the entire length of the cardboard strip, and roll it tightly with the smooth side of the cardboard on the outside and the corrugated ridges on the inside. Applying the glue to the entire strip of cardboard will help reinforce the bead and prevent it from unraveling when you string it. Glue the edge securely and let dry. Hot glue works best, depending on your level of patience here…
3. After making all of your beads, paint each side and let dry.
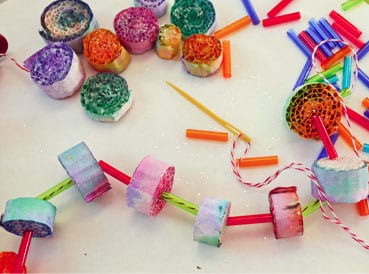
4. Dip the beads in glue and glitter, let dry. If you want your beads to be more long lasting and resistant to moisture, you could give them a liberal coat of Mod Podge at this point.
5. After the beads are dry, use an embroidery or craft needle to string the twine through the center of each bead, adding other beads or buttons, as desired.
6. Deck the halls!




VERY NICE…SOMETHING REALLY EASY FOR KIDS.