This 3D cardboard beehive art project was so fun to make and incorporated several great art lessons in one!
We started by giving kids huge pieces of cardboard and a few dollops of yellow, orange + brown tempera paint (we use Blick Premium tempera – opaque, thick-bodied, won’t flake off). Go light on the orange & brown, just warning you 🙂 Without telling them what we were going to do with these, we just wanted them to enjoy the experience of slathering the paint. We gave them small plastic cards to use to scrape the paint, as well as paintbrushes. The paint dries really fast on the cardboard – it really soaks it up! We obviously got no photos of this part of the painting palooza!
The next step was to tee up the fun idea of making a beehive! We sometimes just turn this conversation into a fun game and get them to come up with the idea. “Hmmm… what can we make with this now? What if we made something found in nature? What if it was a habitat for an insect?” — well, that question was too obvious, but something like that you get the idea.
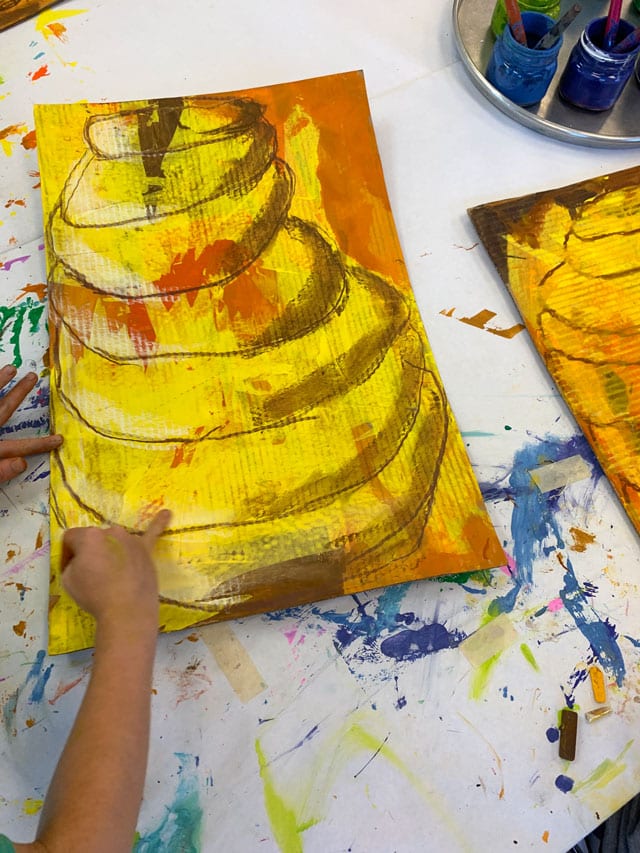
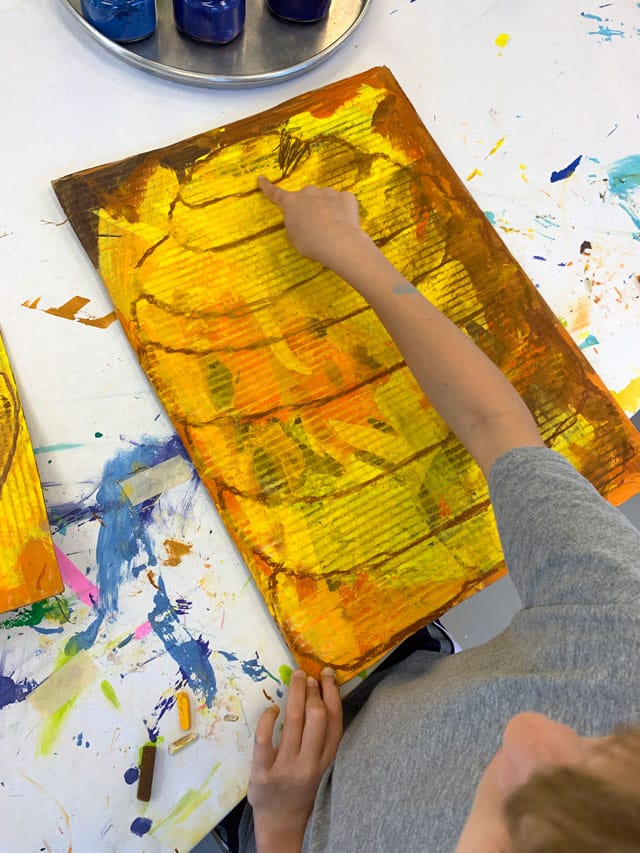
We taught them how to draw a beehive with a simple instructed drawing on the white board. Using a tan oil pastel and starting at the top of their cardboard with a smallish oval, we then demonstrated on the white board how to “connect” the larger oval underneath it. We specifically showed them how not to do it – i.e., layering two independent ovals one on top of the other. Of course the younger kids ended up doing that, and that was fine! Basically anything that sort of looks like ovals will work! We instructed them to eventually reach their ovals all the way to the edge of their cardboard, and if they would like they could start making them small again towards the bottom.
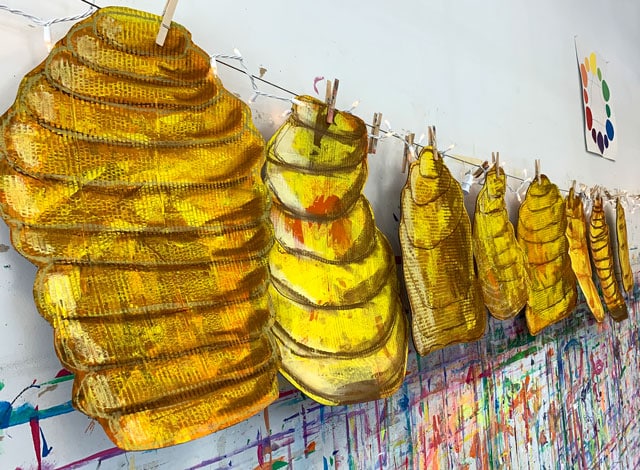
Next came the highlights & shadows. We talked about the cylindrical shape of a real beehive, and how can we make it look round when our cardboard is flat? Using brown & white chalk pastels, they applied y some shadows along the curved edges all down one side, and white highlights all down the other! With a little blending these really made them look 3D! This was a mixed age group in a summer camp, and even the 4 yr olds did a great job with this! It was pretty hard to mess up – if their beehive got a little “lost”, we simply instructed them to use the brown chalk pastel to go over their lines!

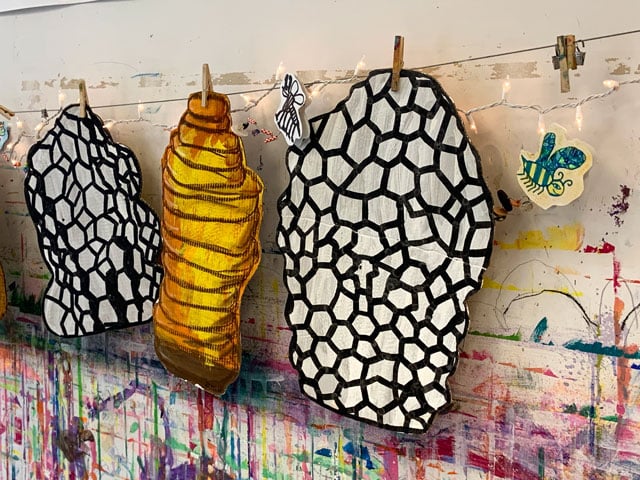
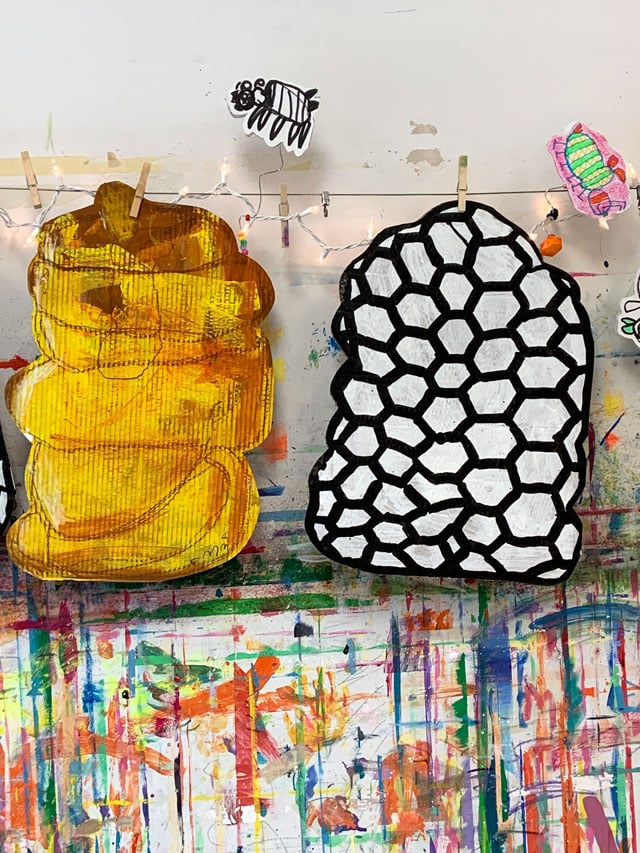
We wanted these to be hanging, which means you could see the back side. So the next day we brainstormed as a class what we could do on the other side! So many great suggestions! Some suggested a detailed drawing of the inside of the beehive. We took this a step further and talked about how fun it would be to make it whimsical – like a fantasy / imaginary drawing of what might be going on in this secret world that we rarely have an opportunity to peek inside of. Are there bees going to school? Bees living in houses or at a birthday party? What would be going on in there??
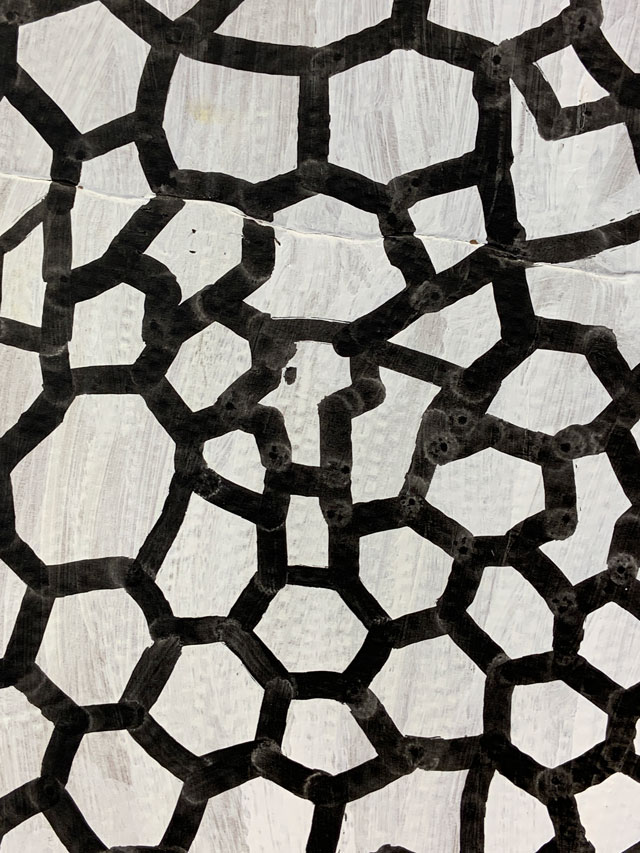
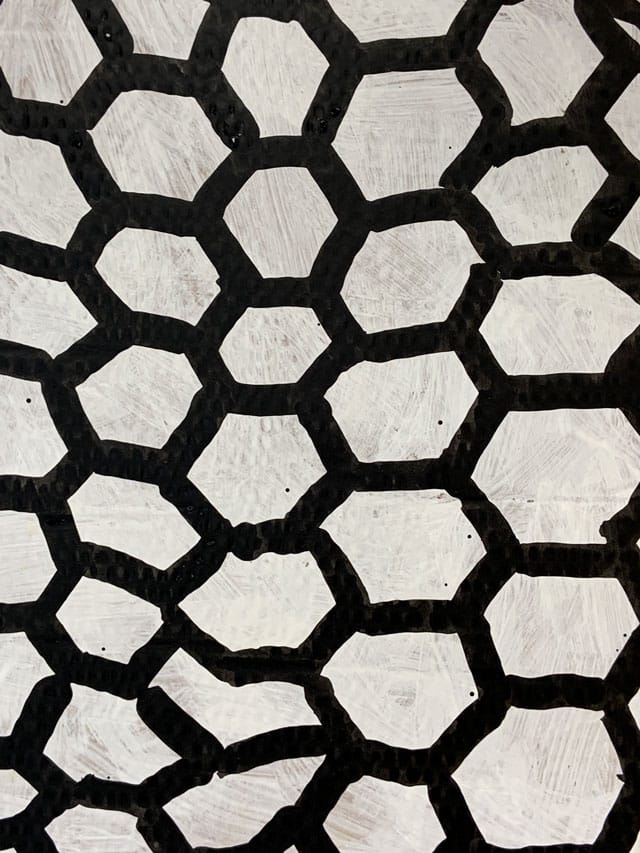
We ended up settling on an idea to learn how to draw the hexagon shapes of honeycomb! Students applied a layer of gesso (you could use white acrylic) – and then drawing with india ink dobbers. You want to make sure you use a permanent white paint so it doesn’t come off and ruin the tip of the dobber. This geometric drawing lesson was a great exercise! Of course the little ones drew lines that were very honeycomb-ish…but they were all super fabulous and took a lot of effort to keep their pattern going to cover the entire surface!
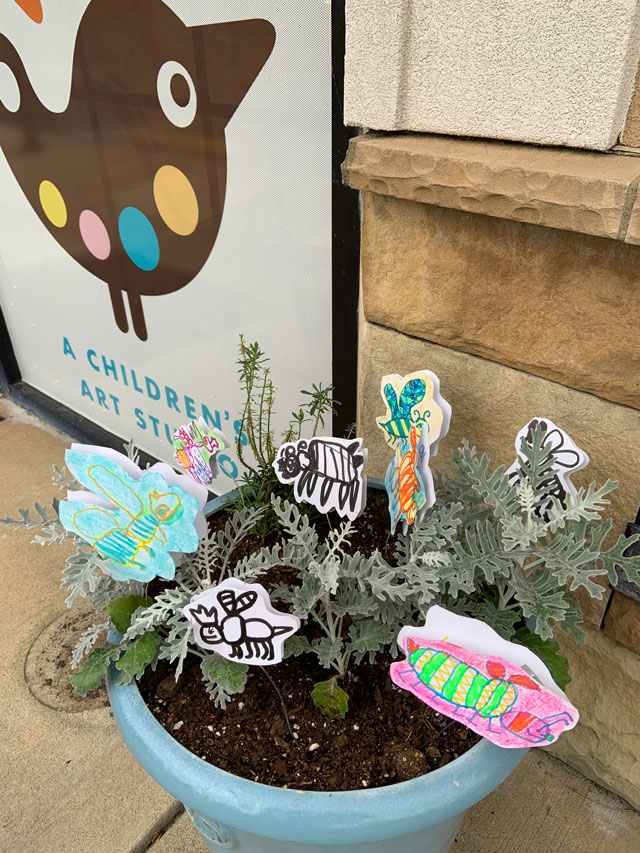
The last step was to concoct some 3D bumblebees (of course!). Here again, the students had tons of great ideas ranging from small sculptures out of up-cycle materials, to clay, to drawing a swarm of bees. In the interest of time we opted to go with drawing 2 sided bumble bees on thick poster board, and sandwiching a wire in between the layers so that they could be attached to the hive. They had to draw both sides (cut out 2 layers of poster board with the first side, so the back side could be a mirror image). But first, we let the bees enjoy some outdoor time pollinating our flowers!
We didn’t get a close-up, but basically what we did was stick the wire in between the 2 layers of cardboard to attach them so it looked like they were buzzing around the hive!