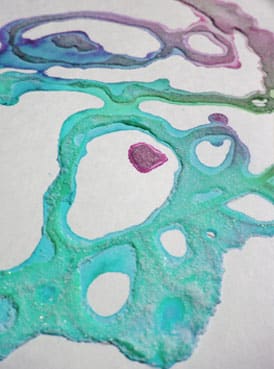
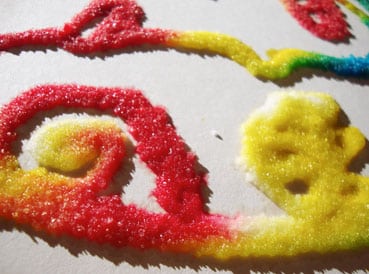
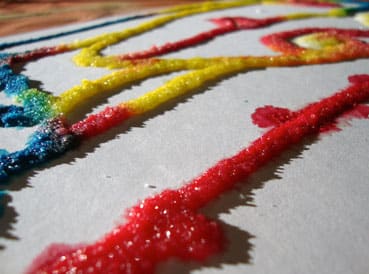
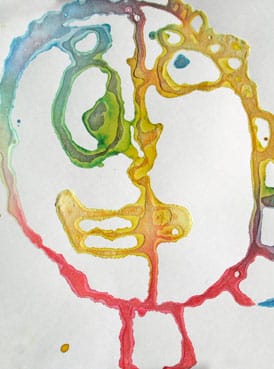
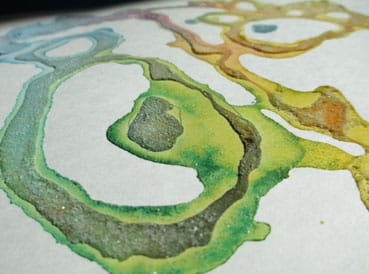
While we have yet to find a worthwhile art project involving pepper (anyone? Buehler?), salt painting on the other hand is a super fun art project for kids of all ages! We usually structure a salt painting lesson around a famous artist or a specific drawing technique such as a continuous line contour drawing. It’s also a great way for younger children to learn about primary and secondary colors, and to experiment with color mixing. An added point of interest is that it’s also “part science” in that, while the salt and glue mixture is wet, the salt helps “transport” and blend the adjacent colors with one another, and as the painting dries over the next few days, the chemicals in the salt tend to separate the pigments in the watercolor. The end result is a really colorful textured piece of artwork!
You Need:
1. Heavy weight paper or poster board. White is the best choice so that the vibrant paint colors show up really well.
2. Pencil (optional)
3. White school glue
4. Table salt
5. Shallow baking pan or plastic tub, slightly larger than the paper
6. Liquid Watercolors
7. Eye droppers or paint brushes
How to Do It:
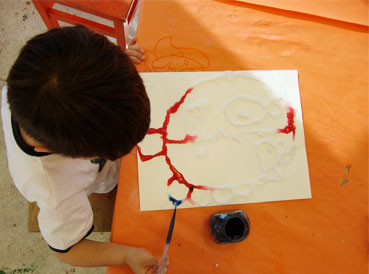
1. Draw a picture with a pencil. Our project was a self-portrait inspired by Picasso. The picture should be rather large and include a lot of connected lines.
2. Trace the pencil lines with the glue, starting at the top of the paper to avoid dragging arms and elbows through the glue.
3. Lay the glue-y paper in a shallow tub or baking pan, and generously sprinkle salt all over the picture. The glue lines should be completely saturated with salt, giving a raised, rough appearance.
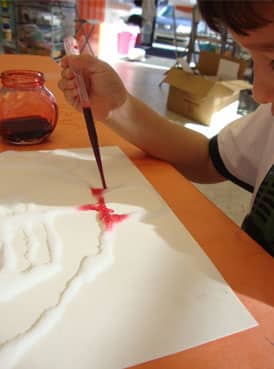
4. Using the eye droppers and liquid watercolor and hovering approximately 1″ above the paper, carefully drop one drop of paint at a time onto the salt/glue lines and watch it “travel” along the line. You can also do this with a paint brush by gently touching the brush to the glue (this technique is a lot harder to control and the brush obviously get’s covered in glue and salt).
At this point, it’s beneficial to discuss the definition of primary and secondary colors and encourage them to plan the colors that they want to touch each other. Where the colors touch, they will slowly blend to form the new or secondary color.
5. Allow to dry flat for approximately two days and then scrape off the excess salt outside or over a garbage can.

I just found this. I plan to use this technique for me. should the salt/glue mixture still be wet when adding the color? thank you
Hi Vicki – yes, the salt/glue mixture must still be wet – and then the paint will sort of travel along the salt/glue lines. As it dries, the salt separates the pigments in the paint, and when it’s all dry we just brush off the extra salt over the garbage can and Voila!