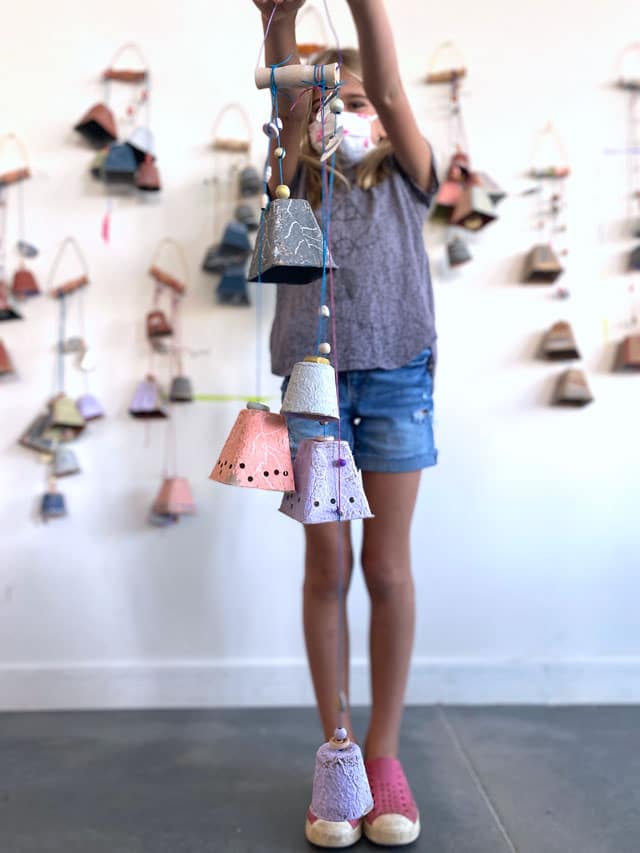
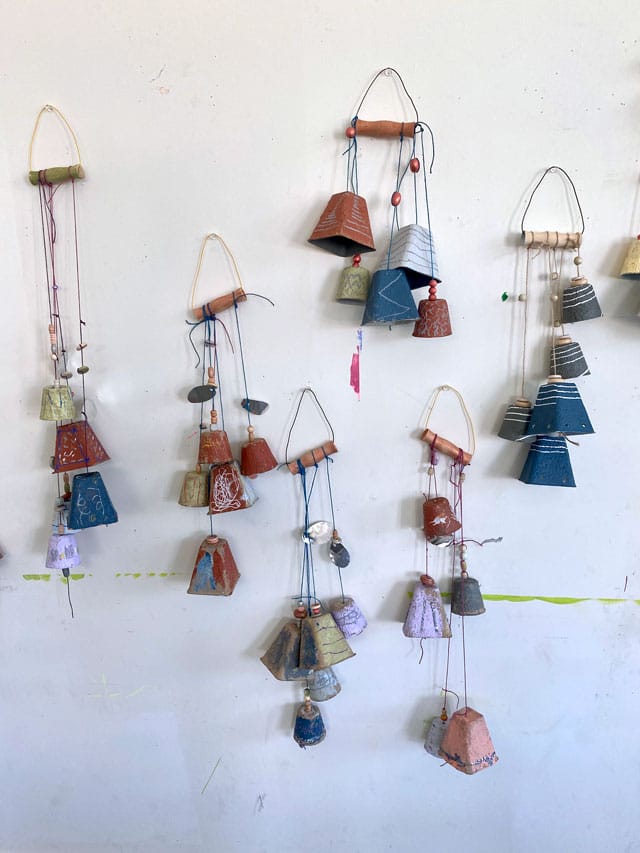
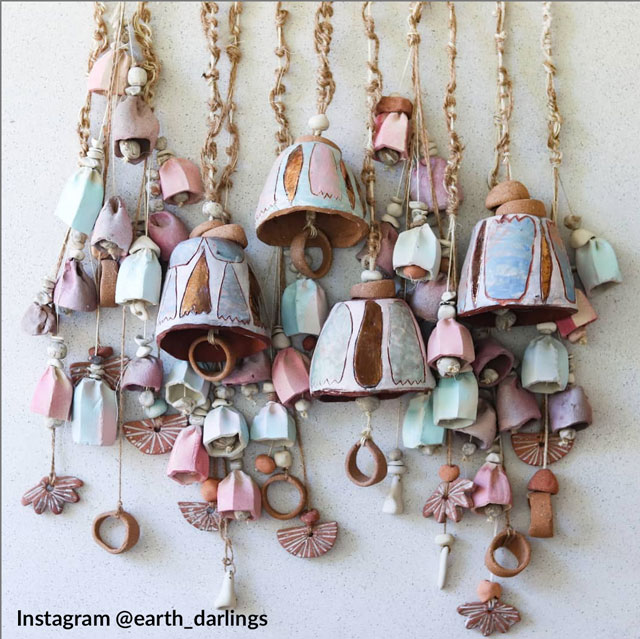
Sometimes you have a moment where a bell just dings in your head and you go YES! Super cheesy pun, but that’s what really happened with these “Bell Bundles” – a beautiful kids’ art project inspired by Earth Darlings Ceramics.
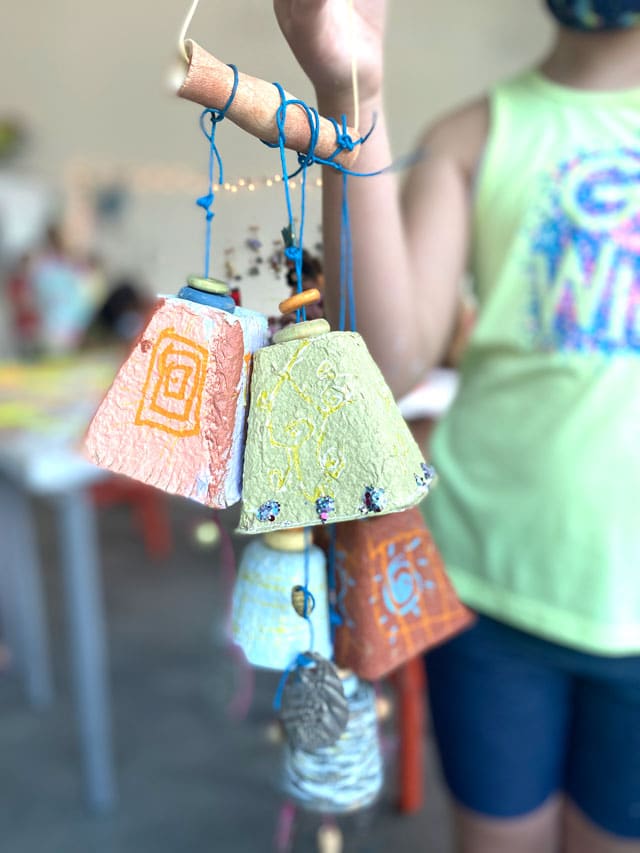
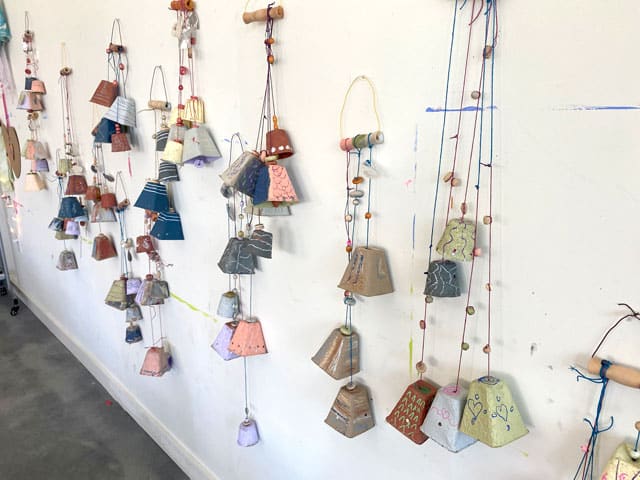
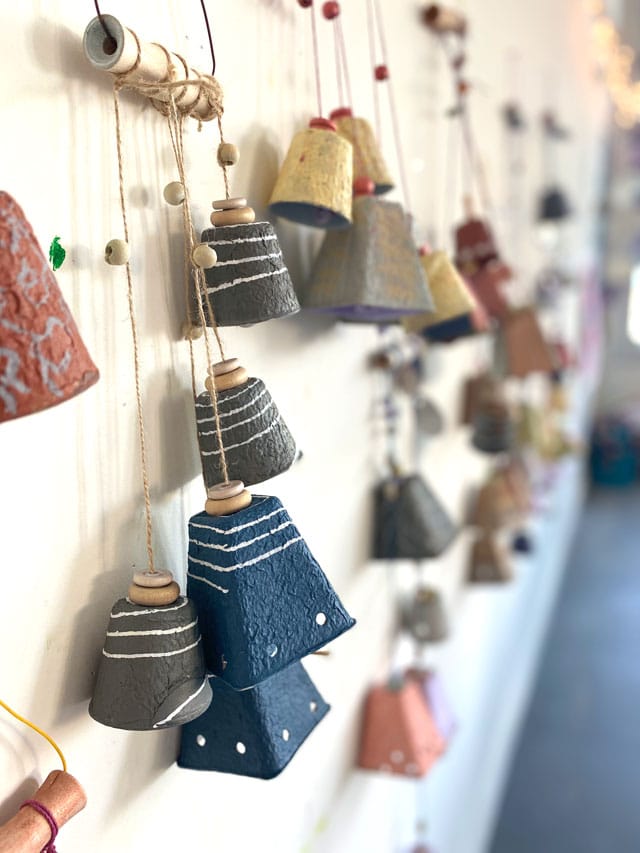
This is how it started: I was digging for something in my garage a few weeks ago and a package of little paper pulp seedling cups fell off a shelf. I literally can’t remember where they came from – whether a generous someone gave them to me when she moved to Santa Monica (Val??) or if I planned to start an herb garden one day when I finally become the fantasy version of my actual self?
I picked them up & held them in my hands and had an instant flash connection to an Australian ceramic artist that our Fort Mill studio owner, Jen, got me started stalking. Her name is Madeline King and she handcrafts magical creations from her shop called Earth Darlings Ceramics. If you don’t already follow Earth Darlings on Instagram, run do it now! Don’t you just love every single thing about her whimsical, rustic aesthetic? And what a fitting shop name for such adorable bells and pendant lights + lamps – all made from rich terra cotta clay, formed and glazed crudely by hand using simple, organic materials & techniques. -As she describes her work: “To look at, they are expressive and mysterious. They hold personality and authenticity. To use, they are practical and thought provoking.” I’d insert the word “dreamy”. Don’t you want to own a whole bundle? Or 20?!
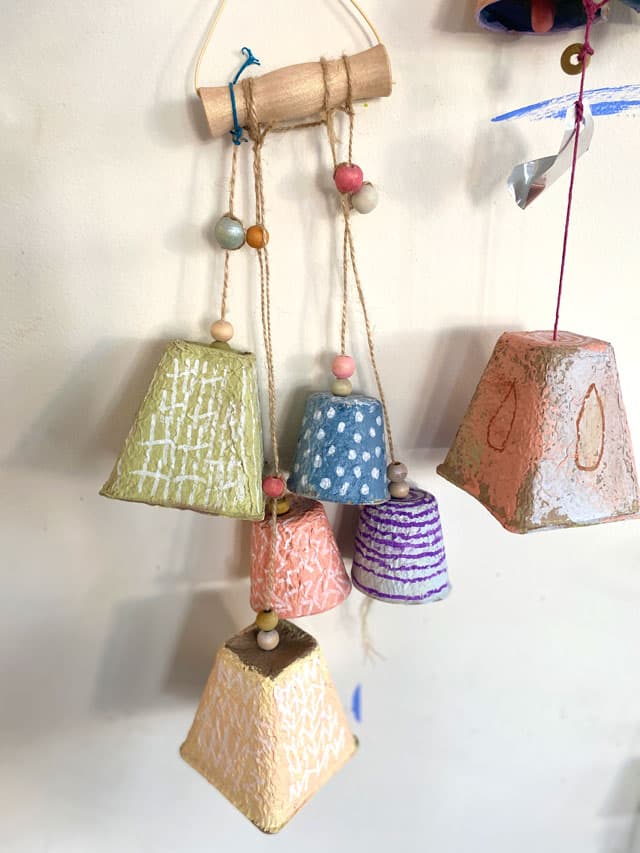
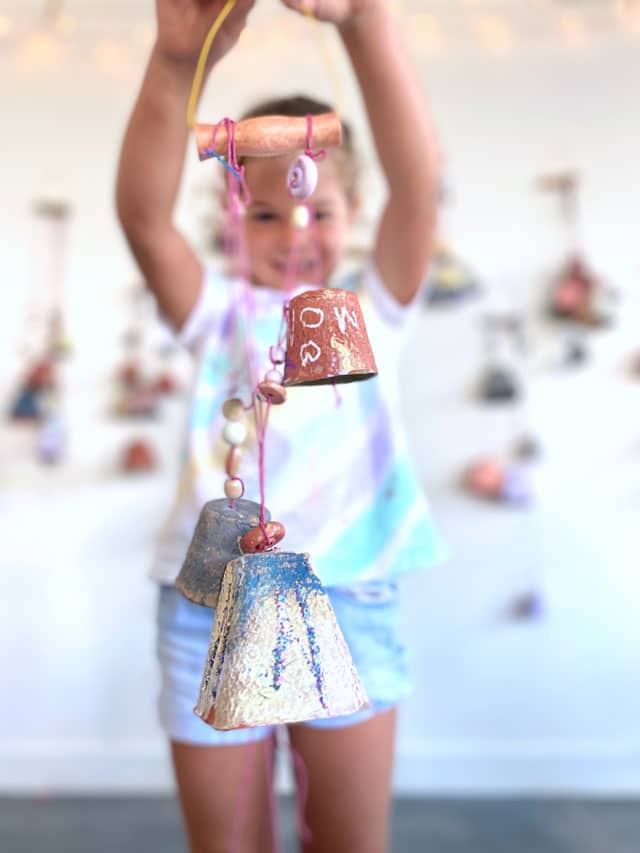
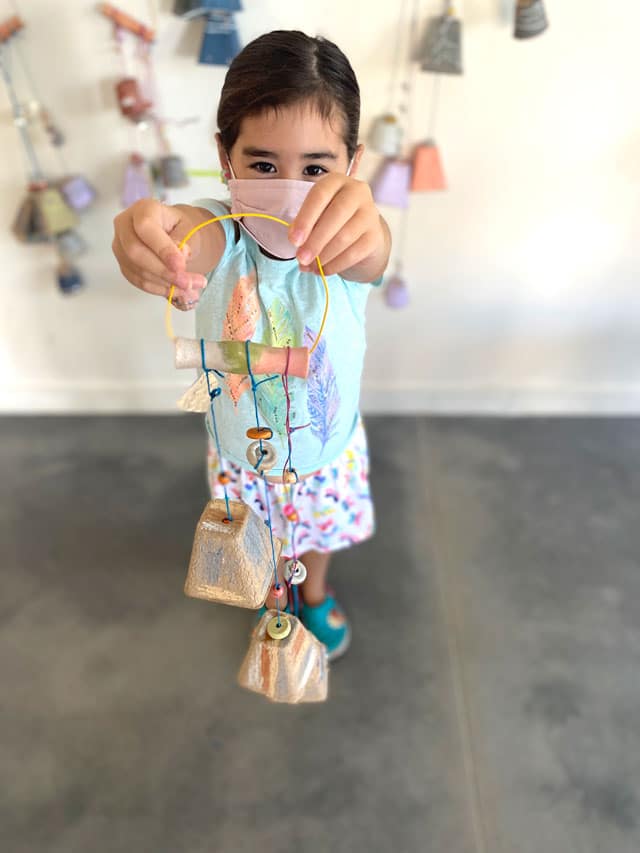
Inspired by Earth Darlings’ whimsical creations, we decided to create our own beautiful bell bundles using the paper seedling cups that fell on my head. Nothing could quite compare to the originals, and of course ours don’t make a magical sound like I imagine her bells do, but we sure hope she approves!
By the way – I just found those little paper pulp seedling cups on Amazon in quantities of 100 for only $6.95 (!) – all different shapes and sizes! If they’re out of stock by the time you order, it’s because I’m obsessed with stockpiling more and making other fancy things with them! Have you ever used them for a project?? If so, please share in the comments!!
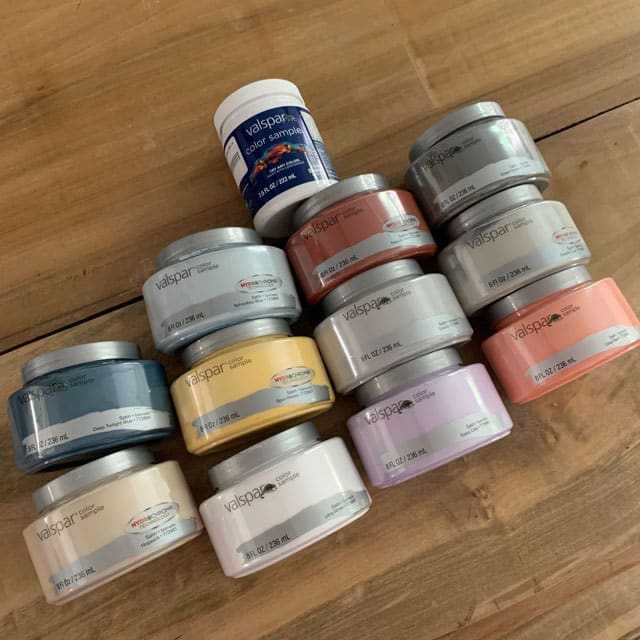
For the paint, I had this collection of Valspar paint samples left over from a quarantine home project last year – the muted colors were the perfect palette for this project! But any tempera paint would work just as well. And probably watercolor too!
We rounded up an assortment of wooden wheels and beads to paint as well, and several colors of hemp twine and natural jute to string them.
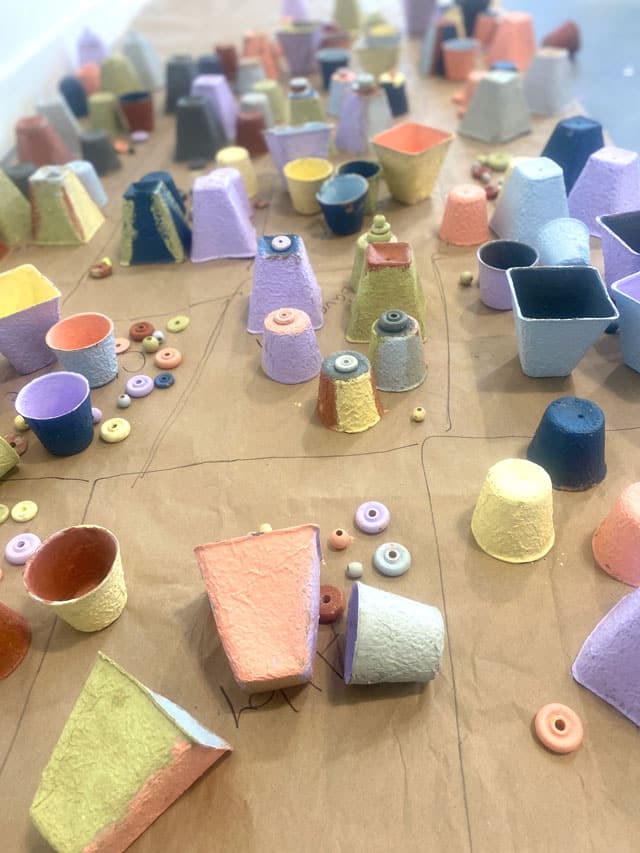
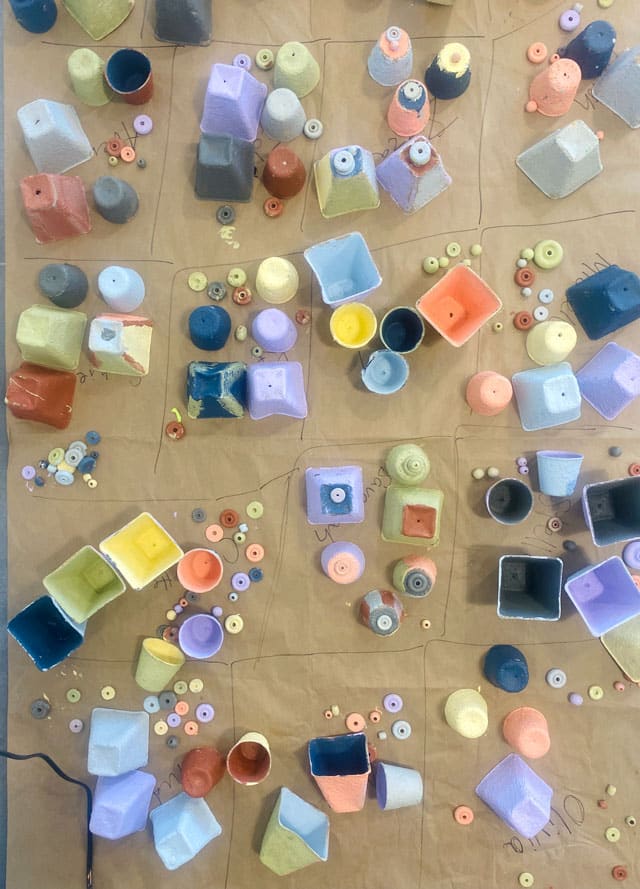
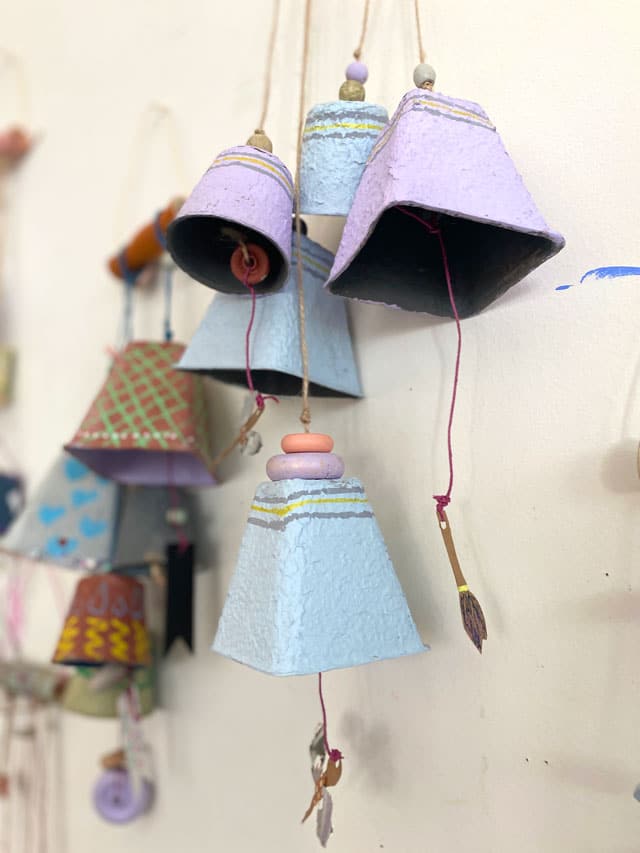
The photos above were from the end of day 1. After the paint dried, we went on top with our fave Uni Posca paint pens, making lines, designs & patterns.
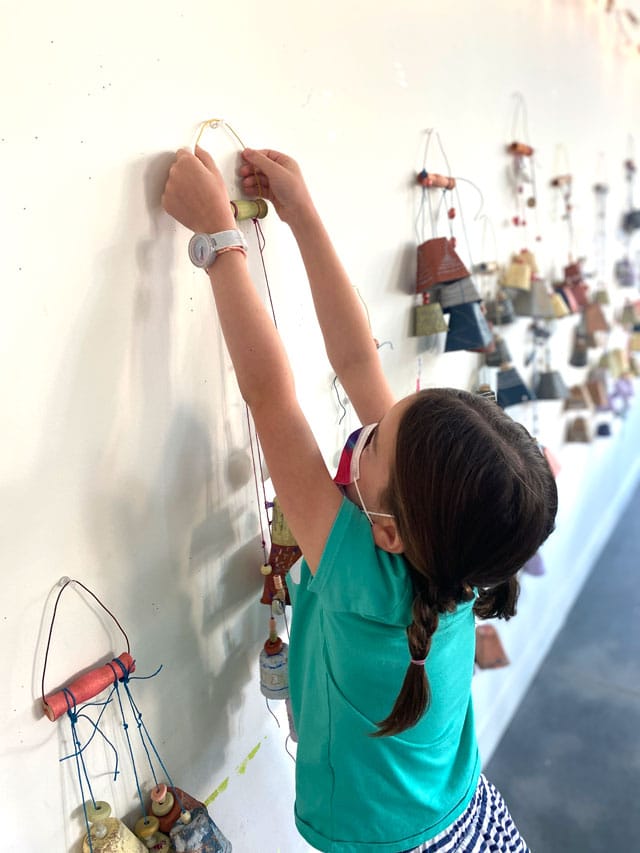
Day 2 was for assembly! This was the ultimate fine motor skill project! We have kids ranging in age from 4 – 14 in camp, so quite a range of motor skills (or lack thereof) all in one room! Here are a few tips for how to make this part go smoothly! We pre-tied an “anchor bead” on every piece of twine, and then we showed the kids how to thread the twine through the bottom of each cup. For the beads on top, rather than just stacking them all on top of each other, we showed them how to loop the twine through the beads twice, securing them in place along the strand. The anchor bead intentionally had a big enough hole for the kids to be able to double loop and dangle other beads and charms later from that hole, without having to tie a knot.
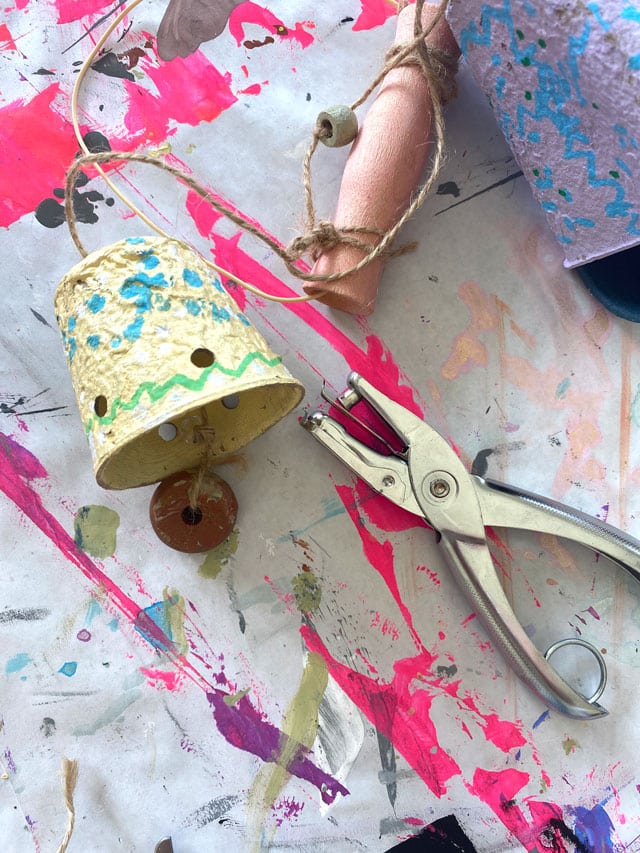
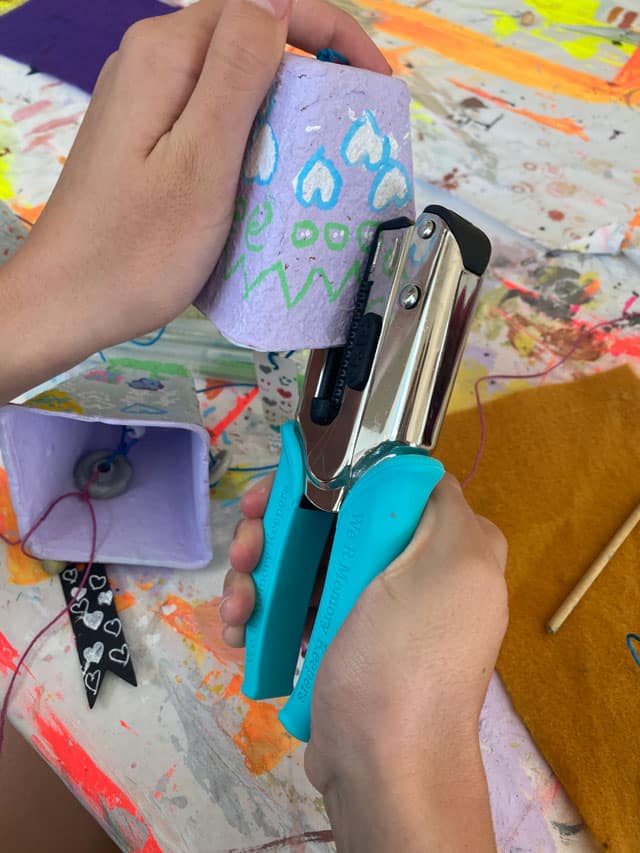
We showed the kids how to punch a few holes with a hole punch, or cut “fringe” along the rim of the bell (I thought that looked really cool, but I think only one kid like that idea) 🙁
For the handle of the bundles, I’d love to tell you where to buy these super cool wood handles with a hole running through them, but they came in a Creativity Street Treasure Chest of Wood from Michael’s. Its sort of a surprise box of wood scraps and pieces – no two boxes are ever alike. I have to tell you when I opened that particular box and saw it packed to the gills with these odd looking wood handles I was at first so annoyed at the lack of variety in the box (we’ve also scored some really good boxes, it’s really always a total unknown!) – but I guess this is how any good creative challenge starts, right? And it turns out we were so happy to have them! I’ve tried googling them but I don’t even know what to call them – if someone knows what they are, let me know and I’ll post an update! You might just have to come up with your own contraption for bundling these!
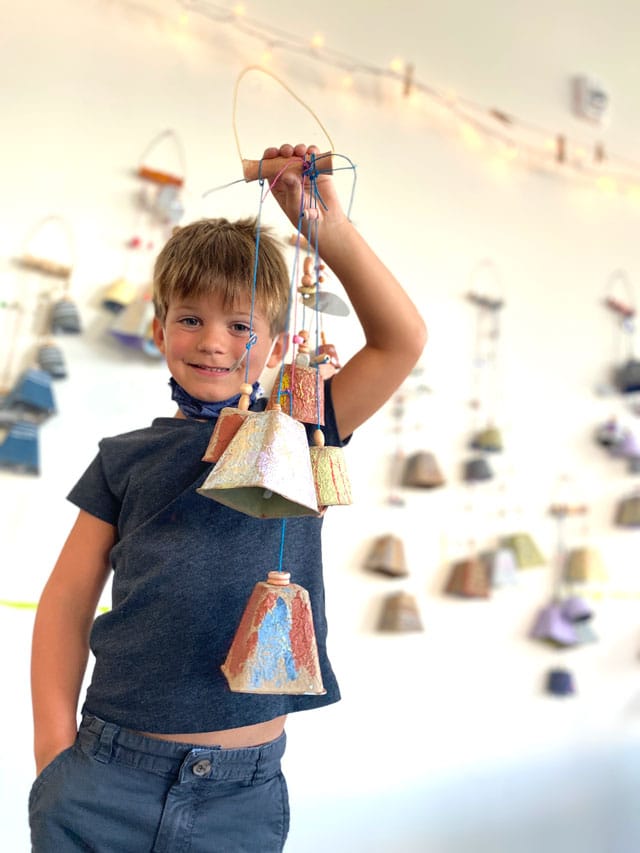
Tying them to the handle was, well… I’ll be honest… painful. We basically had to do it for almost everyone -they all gave it their very best shot, and we gave the credit for working so hard trying! But in the end, if we wanted these things to not fall to pieces, we had to go around securing them all ourselves. I had a brainstorm towards the end of this process to tie two bells together and then the kids could just loop them over the handle twice -resulting in a little pulley system where you could raise or lower the height of the bells to your hearts content. I didn’t get any photos of this, so hopefully you can visualize that! Then we ran a piece of wire through the hole in the handle to make a little loop to hang them.
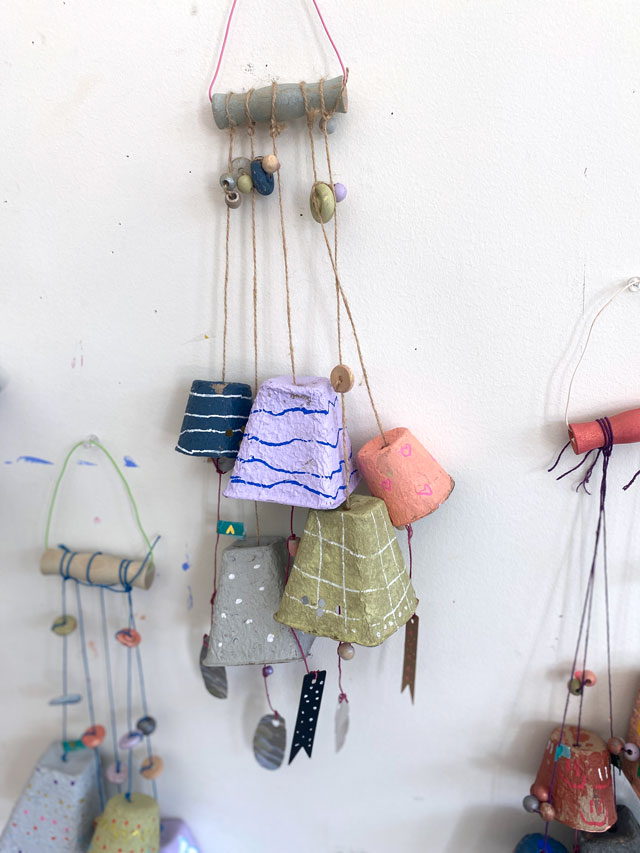
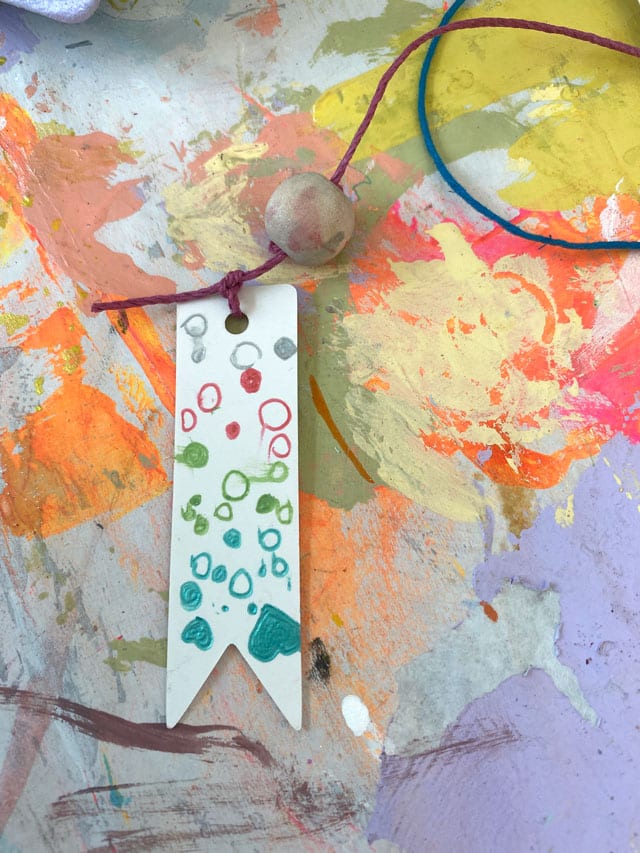
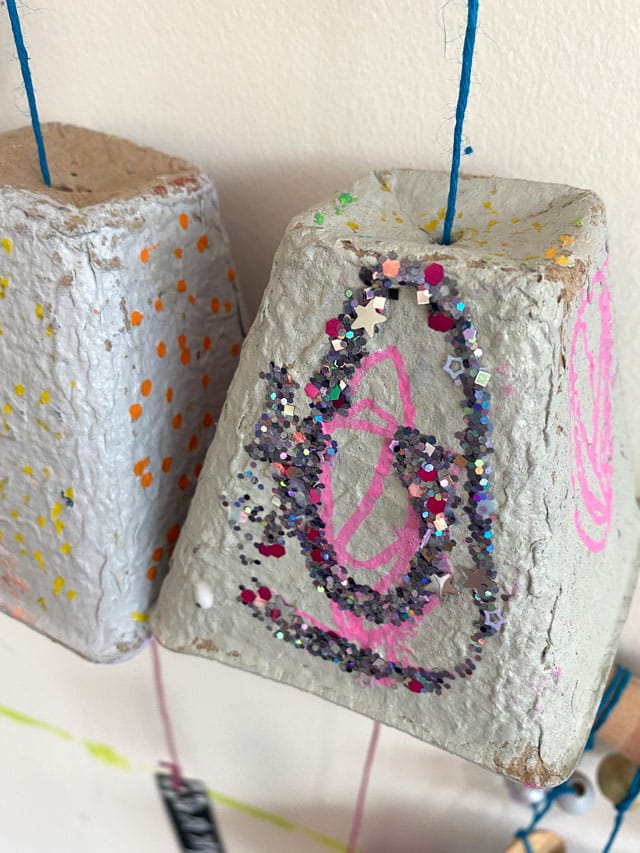
We experimented with adding a tiny bit of glitter to one or two bells, and dangling some other do dads such as little teardrop tooling foil pieces, or little gift tag flags.
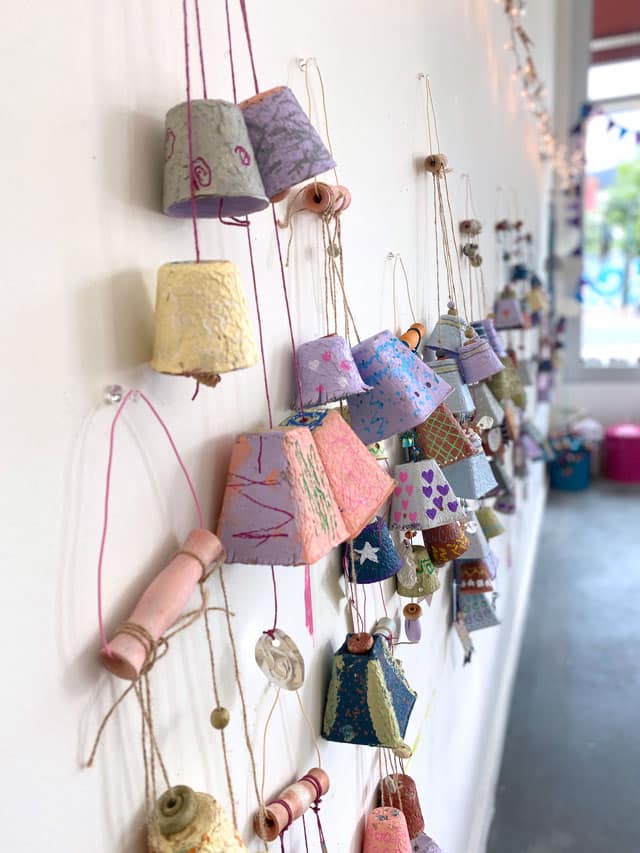
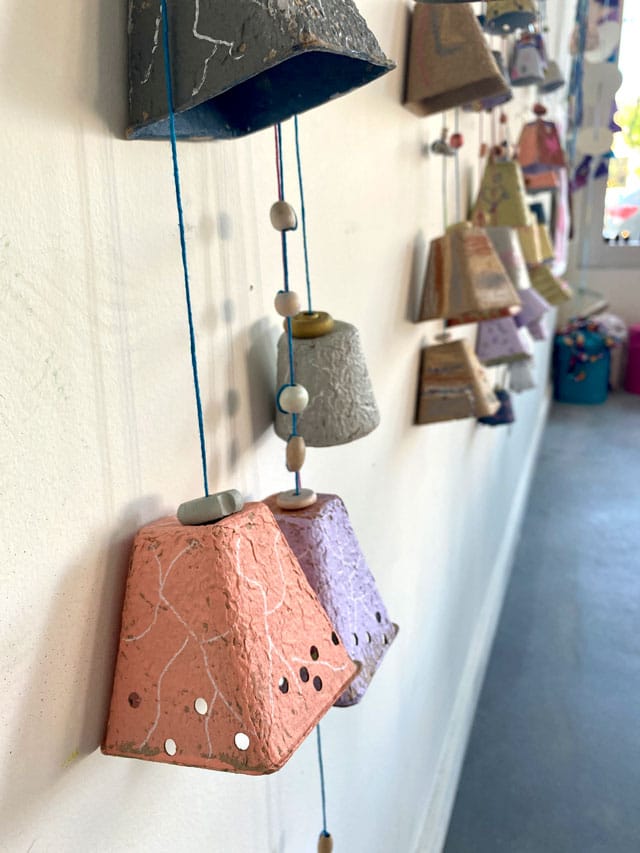
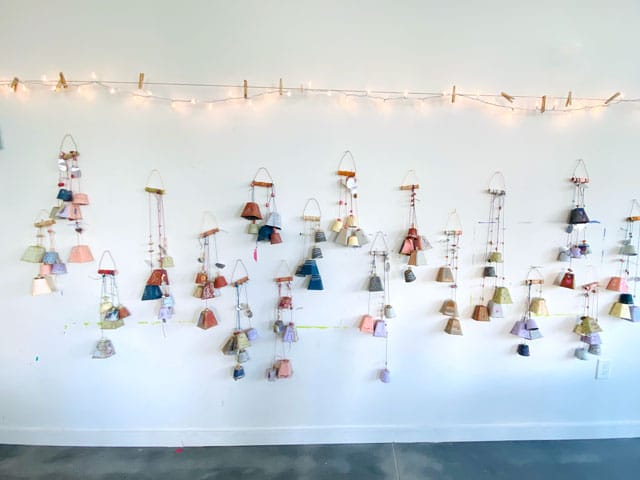
We were literally CRAZY about how they turned out! The kids loved them, we loved them… I ran out of film photographing them – I couldn’t stop!! So thank you for indulging me… enjoy this little photo overload!!

Love, love these! The muted palette is just perfect and I’m thinking about all of the low fire terracotta clay I have sitting in my classroom?