

There are many reasons we love our 12-15 year old class.
But one of the biggest is because we can pull out all the stops. Almost no project is too big or daring to try with this age. They are game to experiment with nearly everything! Plus, exposing them to different and unique art forms is key to their continued interested in and appreciation of art as they get older. One Thursday afternoon, I walked into the studio, hot chocolate in hand, and found Katie beaming…which either means she’s been playing with glitter or she has news.
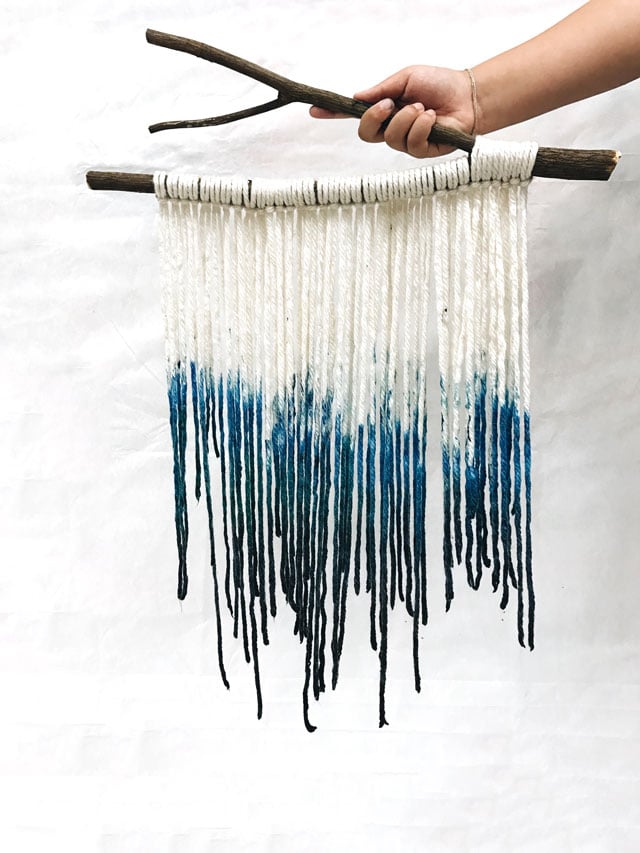
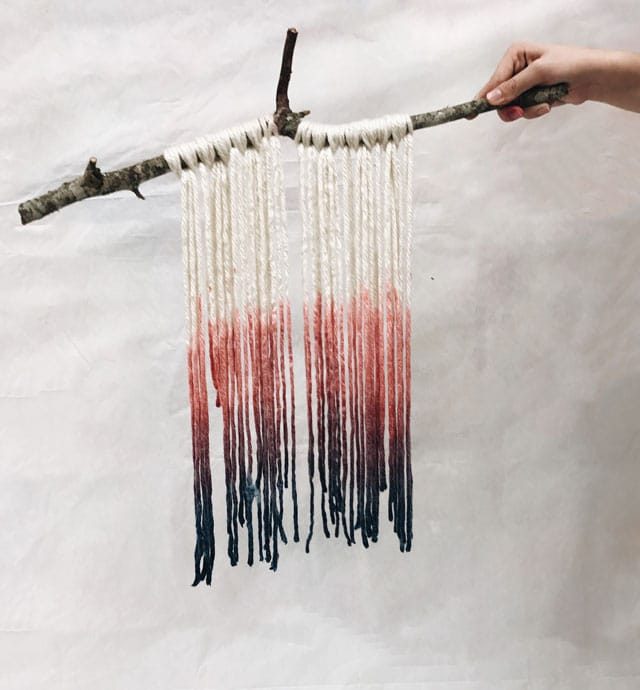
As it turns out, she was lesson planning for our 12-15 year old class and had just finished deciding on hand dip-dye tapestries. If I recall correctly, words like “bohemian” and “copper or wood?” were thrown around. Her enthusiasm quickly caught fire around the studio. When our crew walked in the door one Thursday evening weeks later, they too were jazzed to learn more about that night’s project.
We looked through photos of a local artist’s work, Chelsy of The Dreamy Gypsy. We discovered her through instagram and were super impressed with her work. Chelsy creates jaw-dropping large scale dip-dye tapestries and custom pieces and is a master of the dip-dye process. (If you’re looking for a grown up version of this project for your house, check out her etsy shop!)
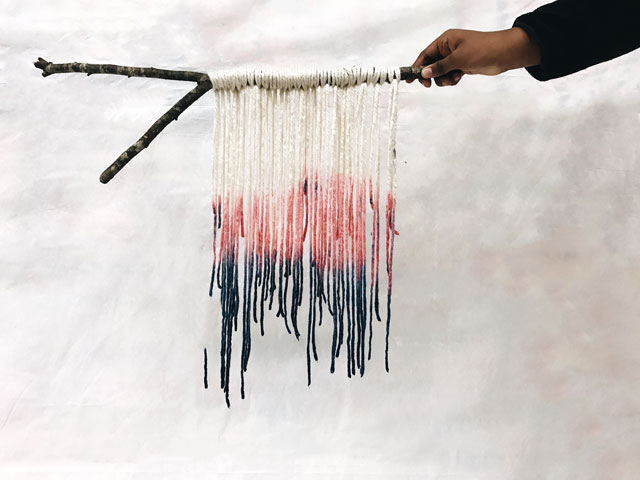
After getting our creativity on, we got to work cutting and tying our yarn pieces on. All wood pieces were harvested from dead branches from the woods around Jennifer’s mountain cabin. The raw lines and angles influence the shape of the final piece. We encouraged our artists to think carefully about how to balance their tapestry.
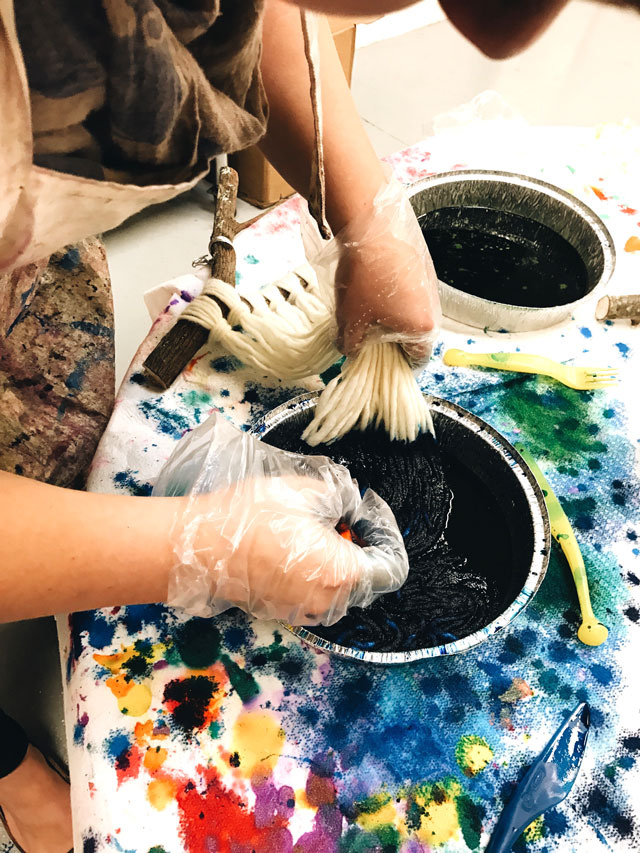
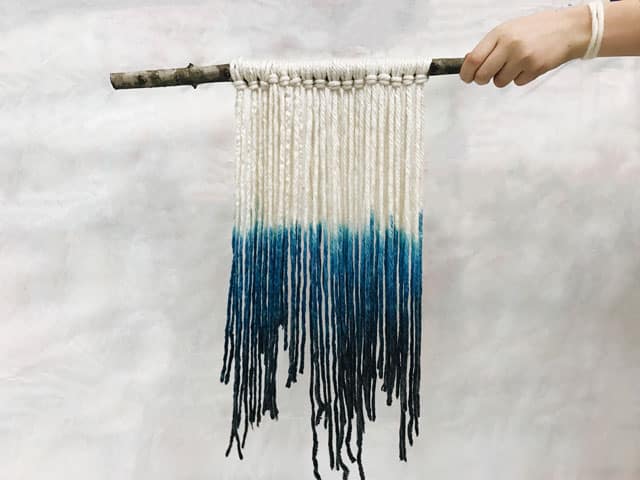
Katie prepared the powdered Rit dye prior to class in aluminum tins. We all suited up in aprons and plastic gloves and started dying. Then we gave the cotton yarn a quick cold bath in the sink. This helps the yarn fibers open so they can absorb the dye instead of resisting it. (If we were dying fabric that would be washed repeatedly, we would have pre-soaked the fibers in soda ash to help the fiber react to the dye and create a super permanent connection. That wasn’t really necessary with this project – wetting the fibers with water was sufficient).
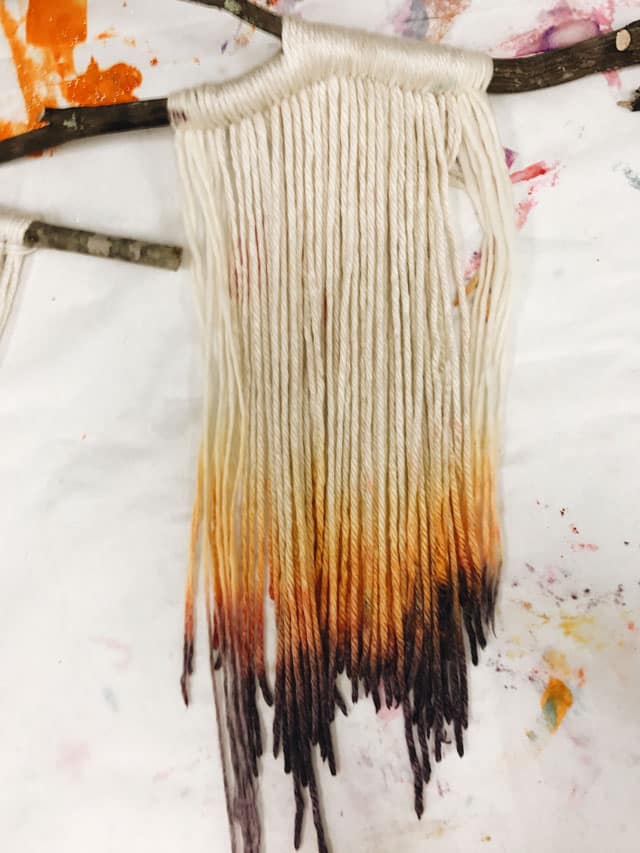
The trick when layering colors when dying is to think carefully about what colors overlap. Lighter colors like yellow or pink tend won’t be visible if dyed on top of a very saturated color like purple or blue. We encouraged a light to dark dying approach to keep it simple. After each dip, we squeezed the excess dye out into the tin. And then repeated the process a few more times before laying these dip-dye tapestries out to dry.

We loved how these dip-dye tapestries turned out and have heard that art artists practiced their 70’s housewife macrame skills with them. We might have left the studio with blue hands and avoided entering any department store or bank over the course of the next week, but we haven’t stopped plotting our next dying adventure…perhaps this dip dye tassel garland is next! Who knows….

