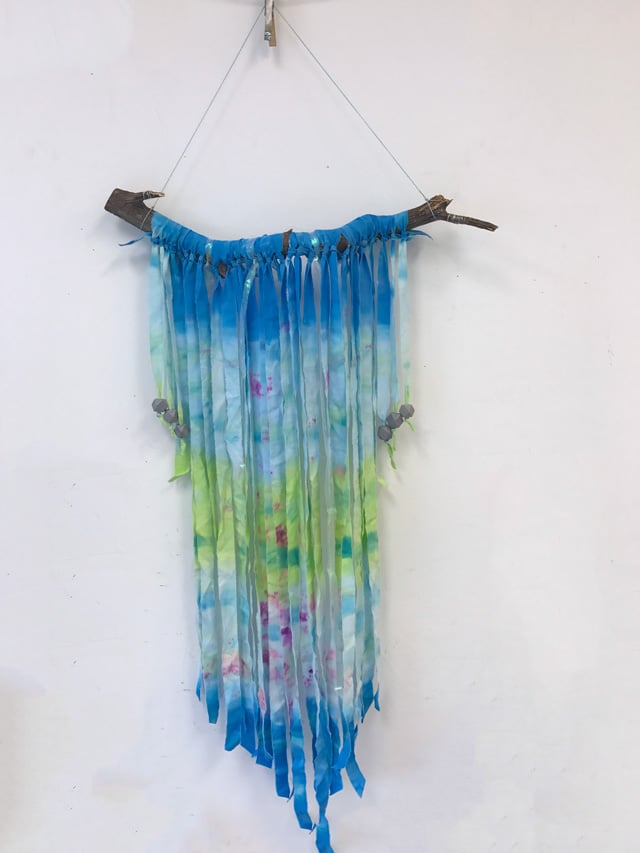
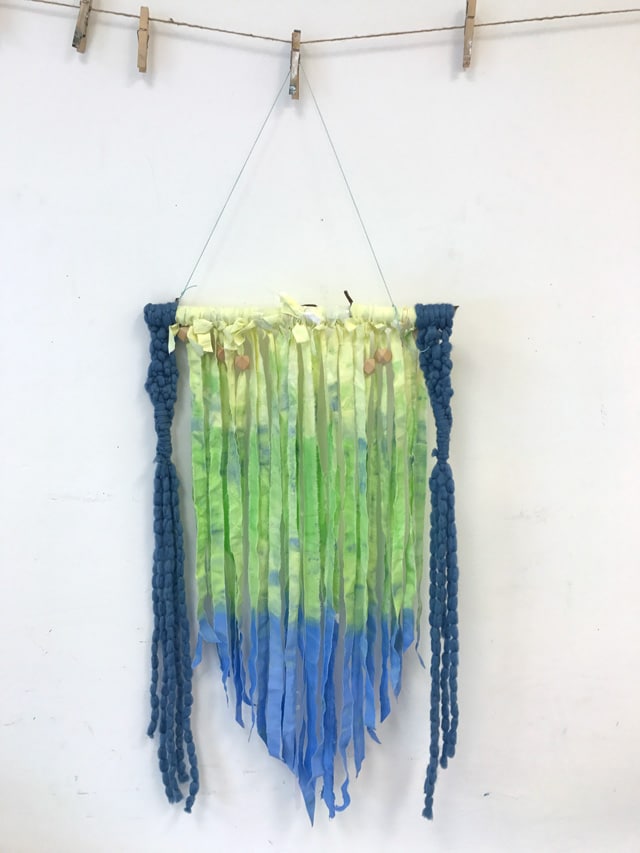
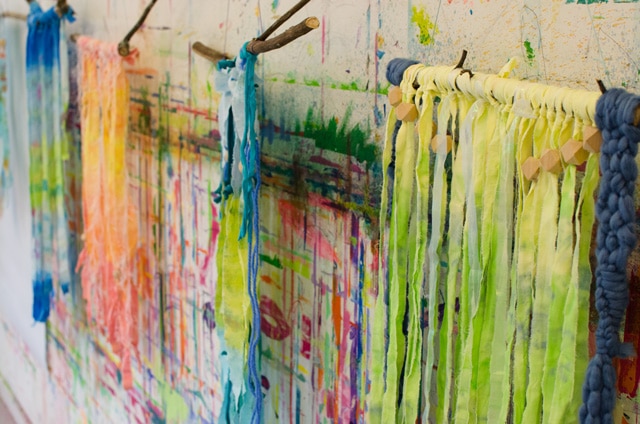
This painted fabric wall tapestry is a great project for teens and tweens & uses old sheets!
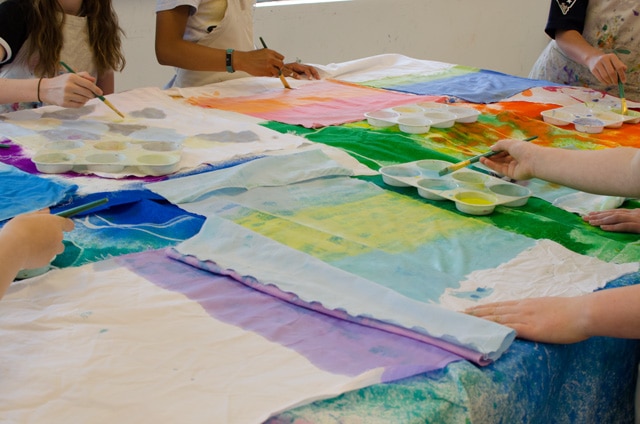
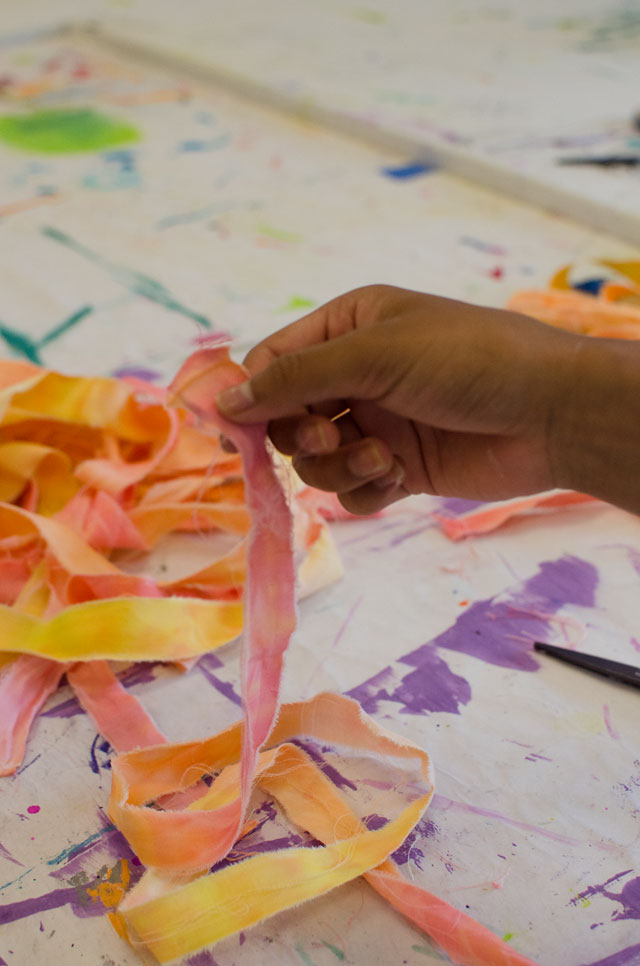
We did this fabric painting project with our 11-15 year old students. Each student received a long piece of cotton, roughly 18” x 36”. We often work with white sheets that are picked up from the local thrift store, bleached & washed. We make a simple snip into the edge and then use that as a guide to make long, straight tears from selvage (factory finished edge) to selvage. This is also the process the students used to tear their painted fabric into fringe.
One of our favorite methods of painting fabric in the studio is to make our own watered-down acrylic wash. We go through bottles and bottles of acrylic paint each season and when the bottle gets down to the bitter end, we fill it about ¾ full of water, give it a good shake, label it, then store it for a fabric painting project. The colors do become less vibrant when watered down but you can vary that with your water-to-pigment ratio. We also like working with thinned out paint so that our students aren’t working with temperamental fabric dye. With this consistency, the color is easier to spread than straight up, goopy acrylic paint.
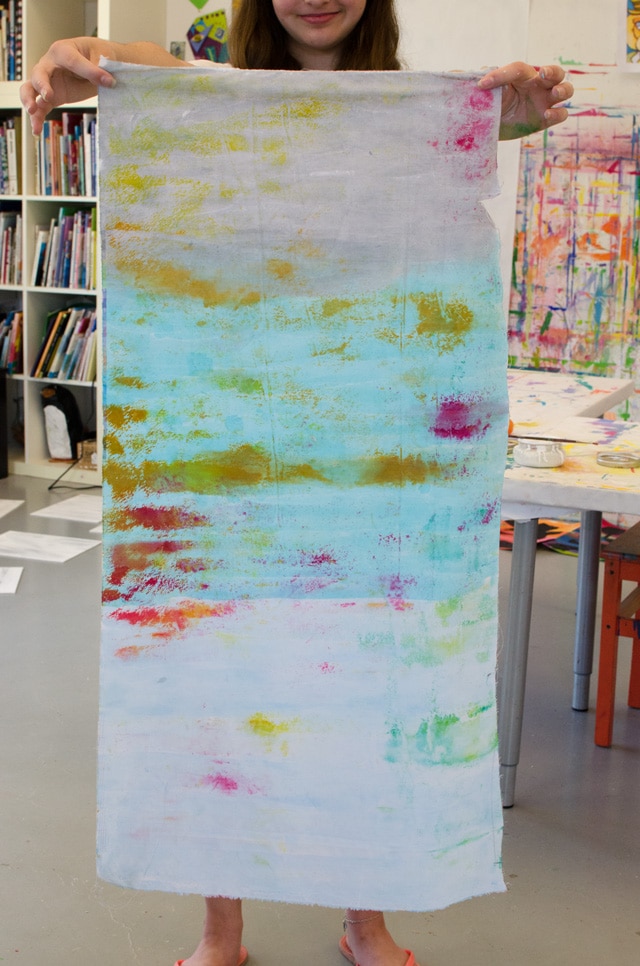
In this project we talked about an ombre effect and how, by using a color palette that blends together nicely, they can work from one wet color into another and create new blended areas with their paintbrush. Each student decided on their design – simple lines, color blocks, organic shapes – without knowing that we were going to tear them up.
Sometimes with this age group, we like to give them just enough information to feel in control of the next step, but not enough to see the entire project.
We do this because we start to see so many kids at this age fall into the “it’s not good enough” and “I don’t like it” or “it’s not what I had in my head”. There are lots of other projects where we develop their skills of observation, and how to create what they see in their head, but we also like to loosen them up, keep them on their toes, and throw a creative curve ball their way.
Another interesting aspect of this project was we laid out their cotton on a regularly used drop-cloth from the studio. Some of the students’ work picked up unforeseen accent colors from the water soluble pigment already on the drop cloth – others did not experience that. You can intentionally create that scenario or lay down clean drop cloth, paper, or garbage bags if you want to keep your designs exceptionally clean.
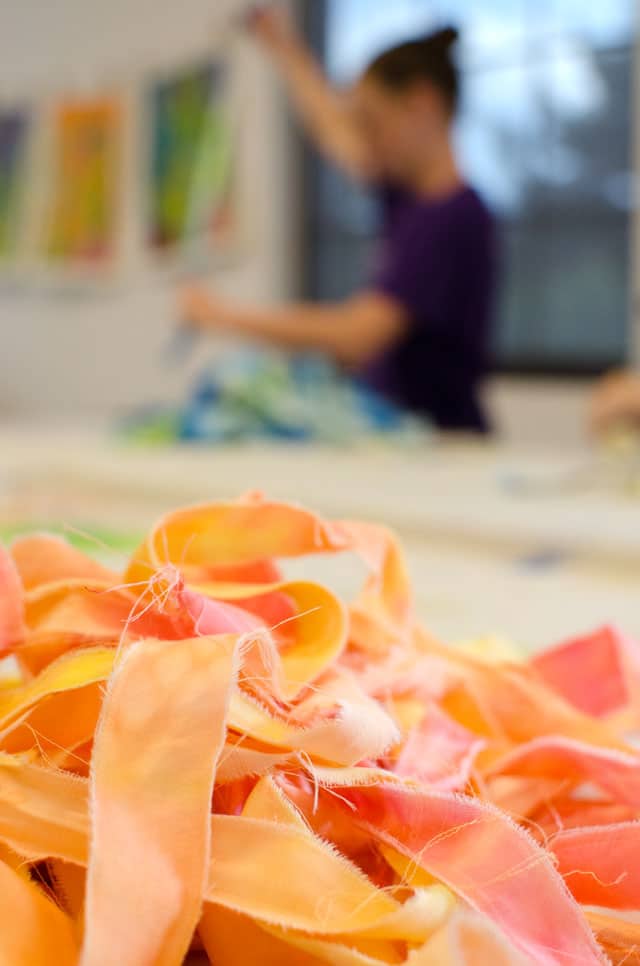
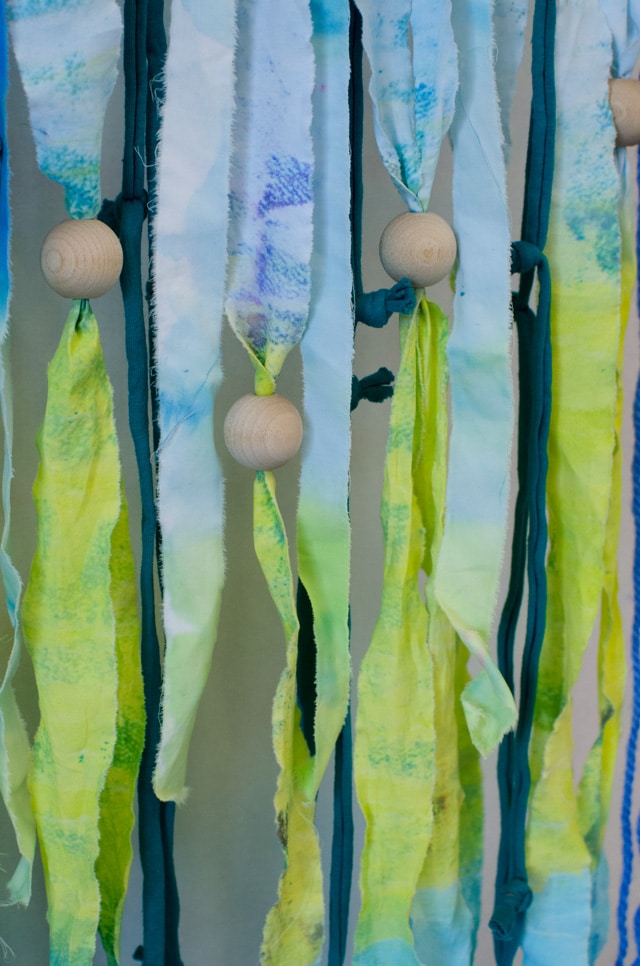
When we create batiks or fiber projects to be worn, we always let the color dry and then wash it regularly in the washer and dryer to set the color. This project was simply a wall decor piece so the students set their cotton to dry in the sun on the sidewalk and we worked on another activity. Once dry, each student snipped the edges of their selvage into roughly 1” strips and then tore their fabric into long strips of fabric “yarn”. It takes a little time and effort to pull off the excess thread and fringe once done.
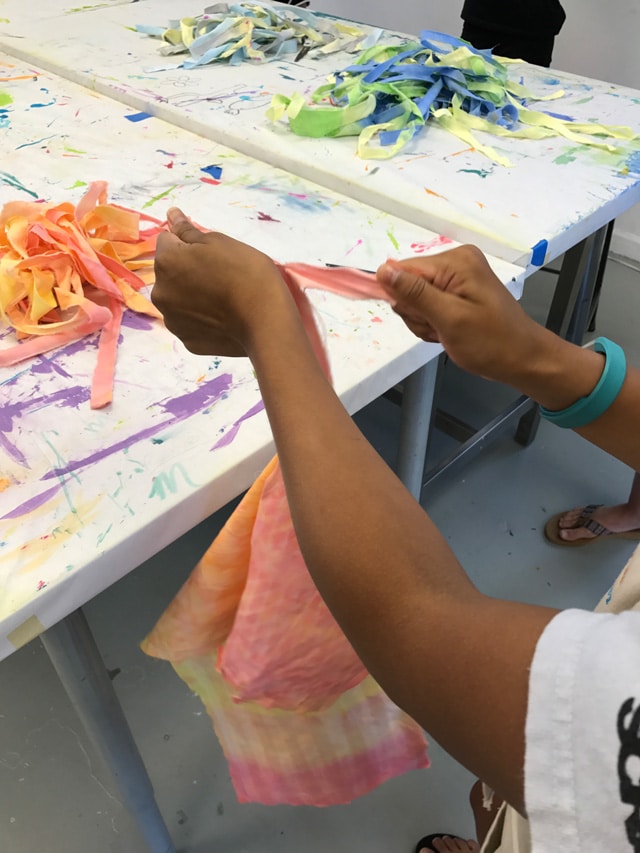
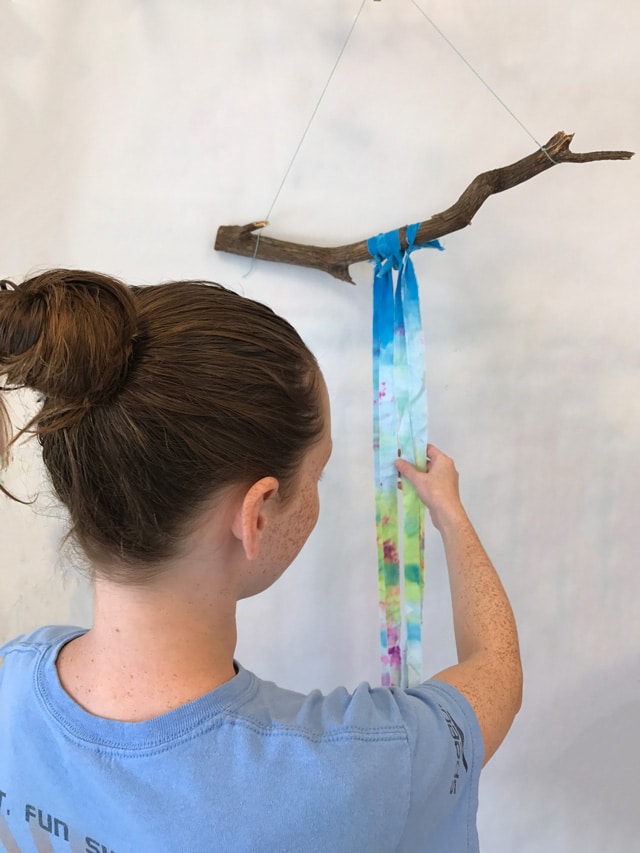
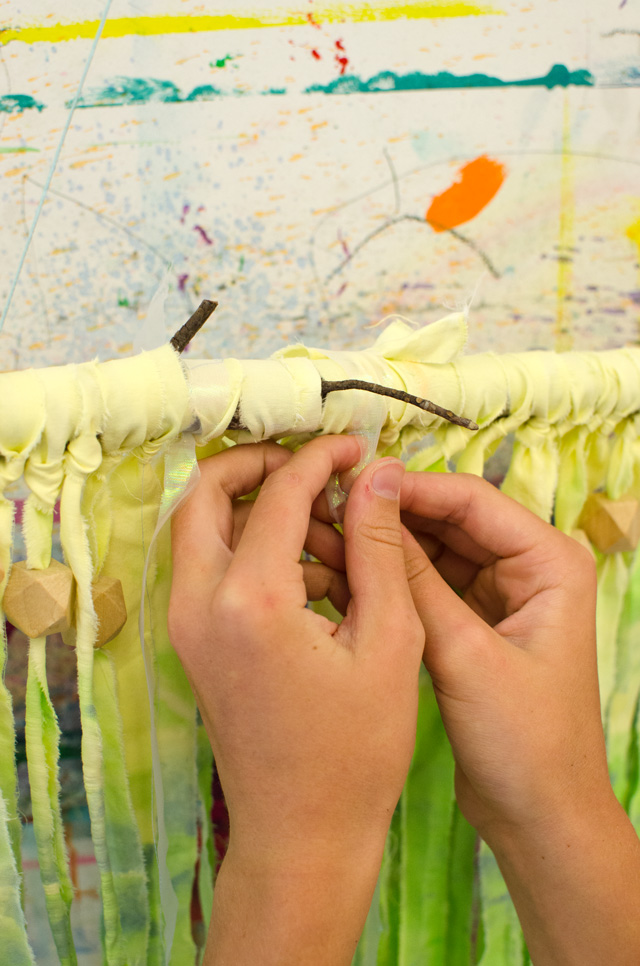
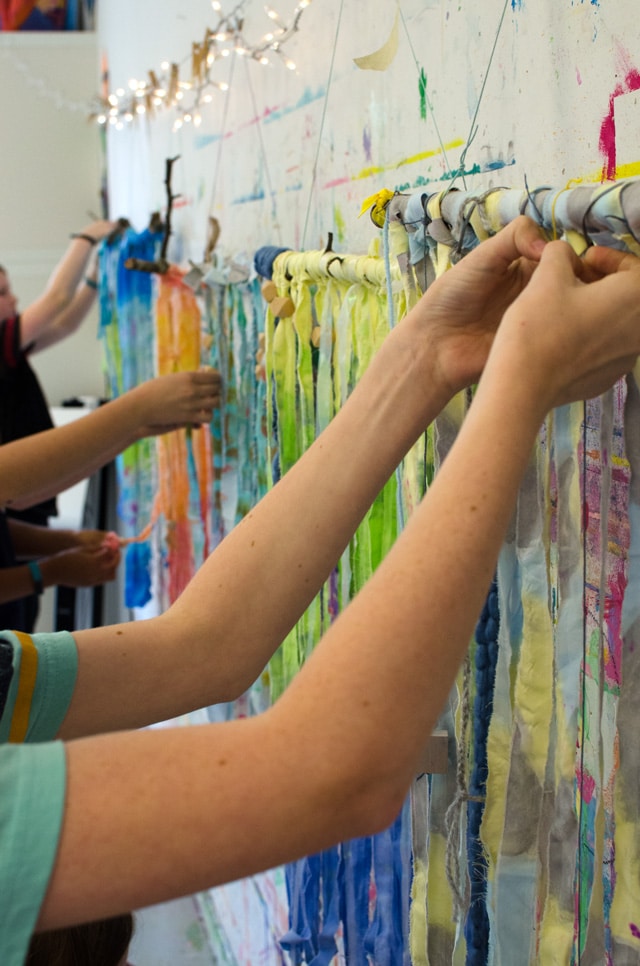
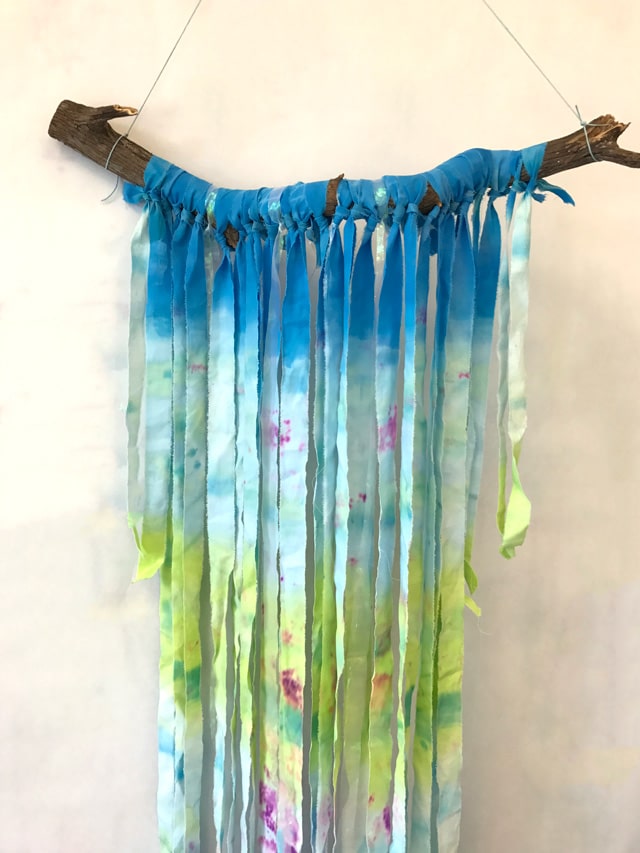
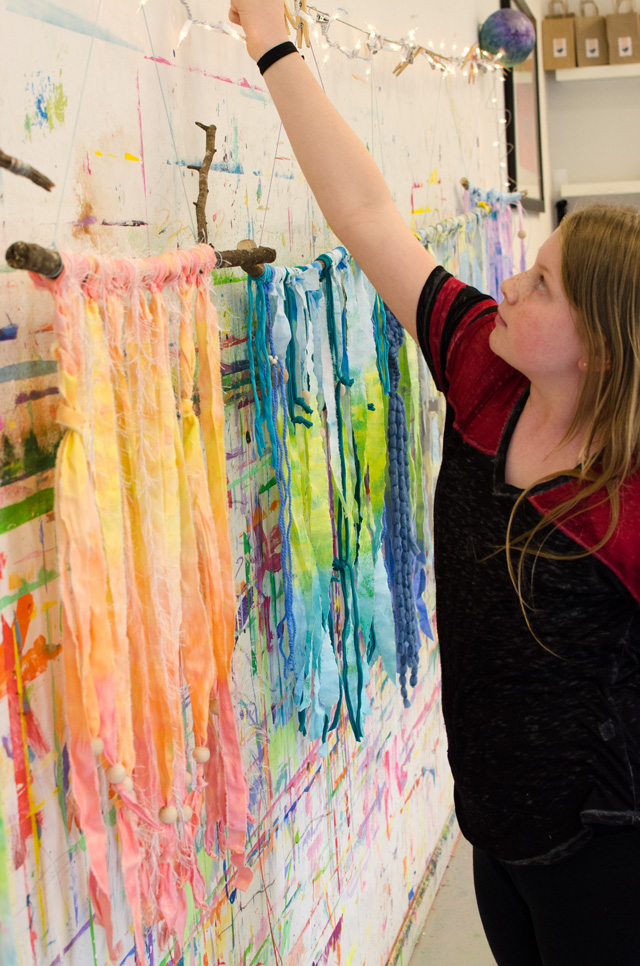
We talked through multiple techniques of attaching their fabric yarn to their branch. Simple knots, loops to create a double strand, etc. as well as their desire to keep their painted pattern recognizable or to add their yarn any which way they saw fit. Some choose to keep their ombre continuous, always working with yellow on top. We also integrated sections of yarn, string, wire, and beads to either work within their color palettes or serve as accent colors.
Once their branch was full of fibers, they had to decide on a shape for their bottom edge: organic, angled, straight, pennant. This project was a great way to incorporate painting and fine motor skills into a three dimensional composition!


These look stunning, great way to ‘recycle’! Congratulations.