

By Katie Breaux
I am C R A V I N G Fall.
Every morning this week I’ve gotten dressed and put on a cozy scarf, I walk out onto the deck hoping it will feel like a crisp, leaf crunchy, hot tea kind of morning. I start sweating 3.04 seconds later and head back into the house while removing my scarf. My husband smirks at me over the rim of his coffee mug and shakes his head. I forget I live in the Carolinas where we have 85 degree sunshine filled days in the end of September. The struggle is real for this Minnesota girl. Therefore the only way to embrace my penchant for my leaf changing – pumpkin spice tasting – s’more roasting heart… is neon feathers. Naturally.
We took on this large scale project with our 5-9 year old students but these beauties would be rockable as soon as you can grasp a paintbrush and until you can’t hold one anymore.
THE SUPPLIES
– White poster board – tall rectangle (you could use heavy paper or art board)
– Black poster board – tall rectangle (you could use heavy paper or art board)
– Pencil
– White acrylic
– Thin brushes
– Small circle and line shapes for stamping accents (edges of old credit cards, spools, back end of brushes, etc.)
– Colorful Paint. We started each student with a palette of 4 colors. We are currently obsessed with scouring the aisles of Lowes requesting embarrassingly large quantities of Valspar paint samples that span the entire color wheel. Don’t worry – just tell the paint guy you are with us. Literally, $3.48 for 8 oz., and the colors are AMAZING, fast drying, & have a beautiful finish.
THE DETAILS
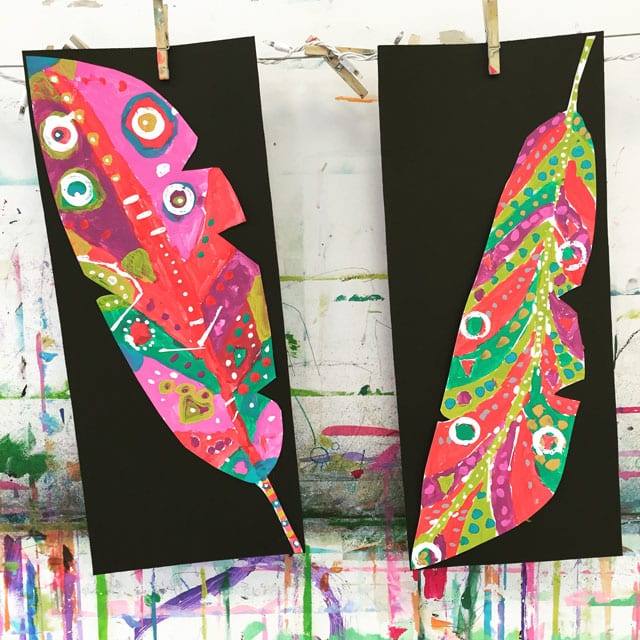
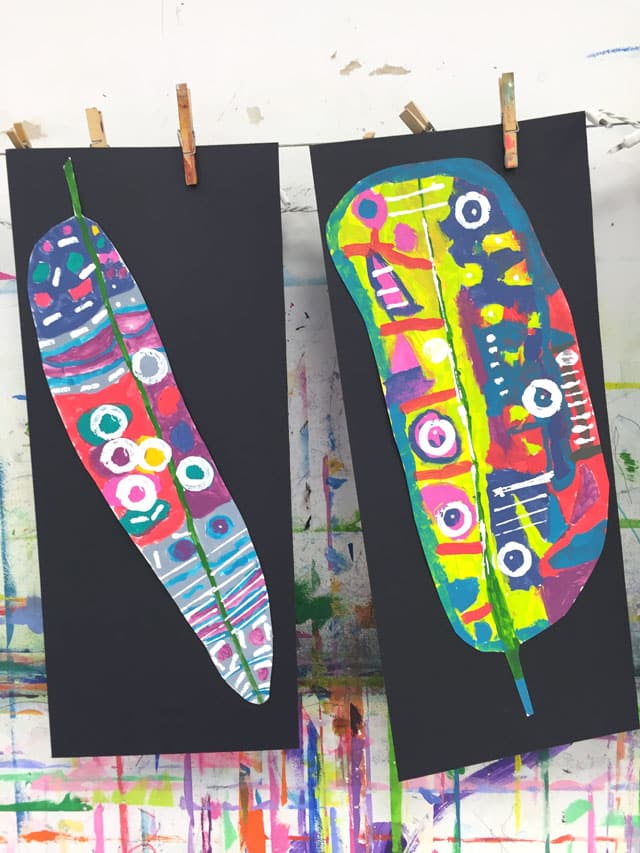
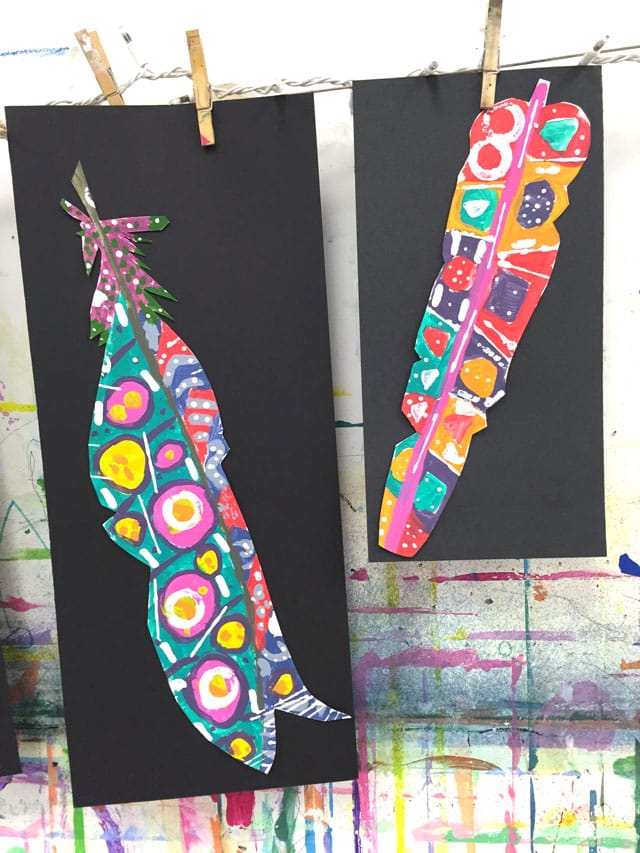
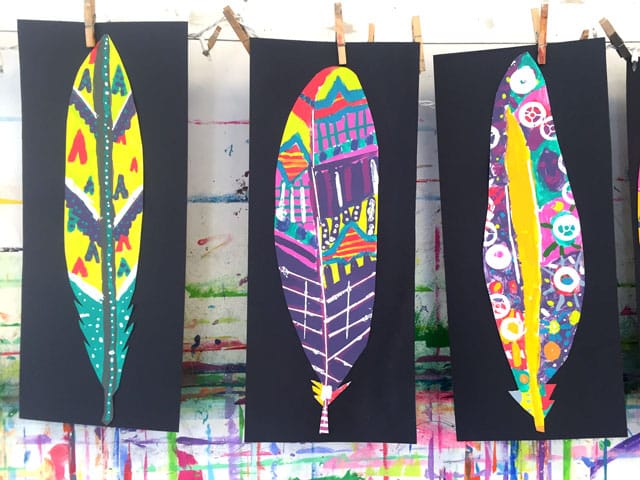
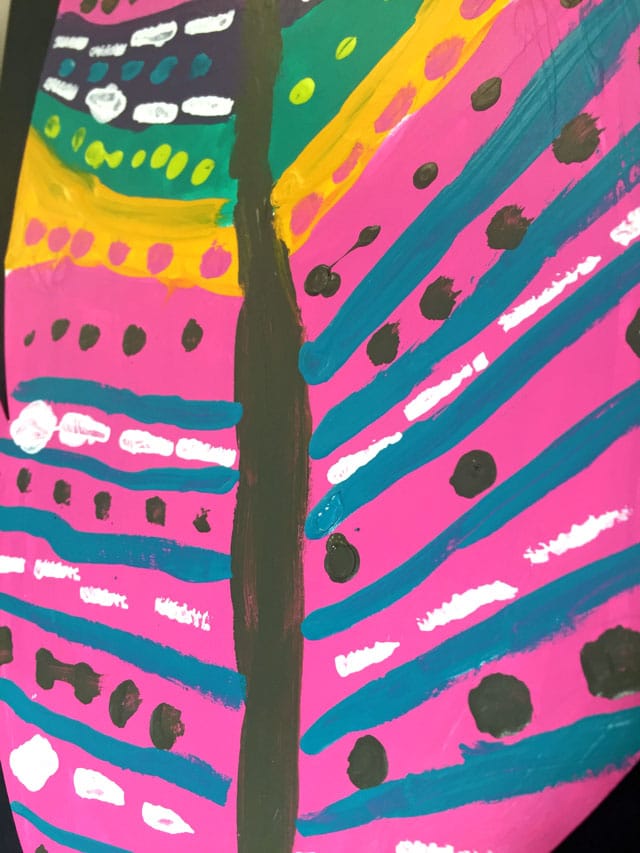
As a class, we studied images of artist paintings of feathers, images of real feathers, and looked at and touched real feathers. We talked about the shapes and textures that we saw and felt.
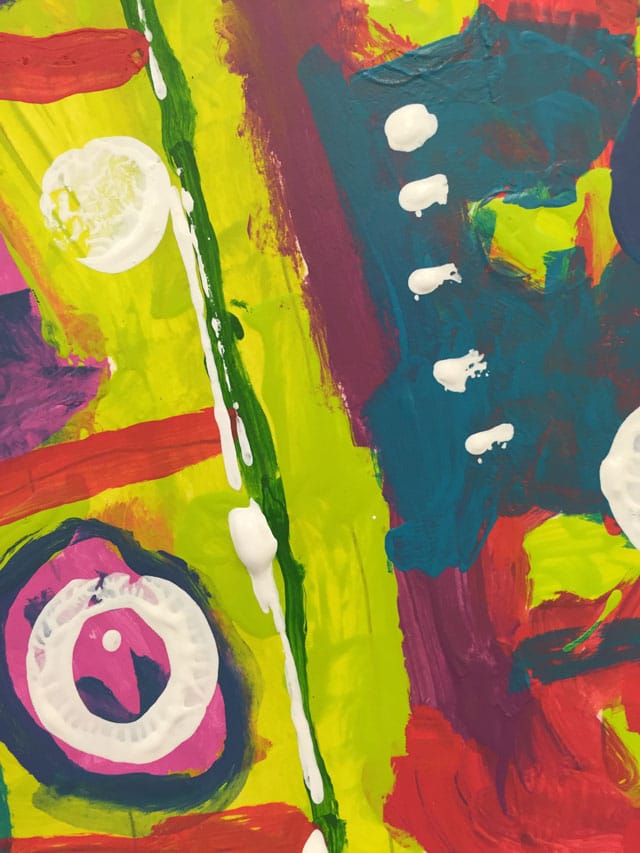
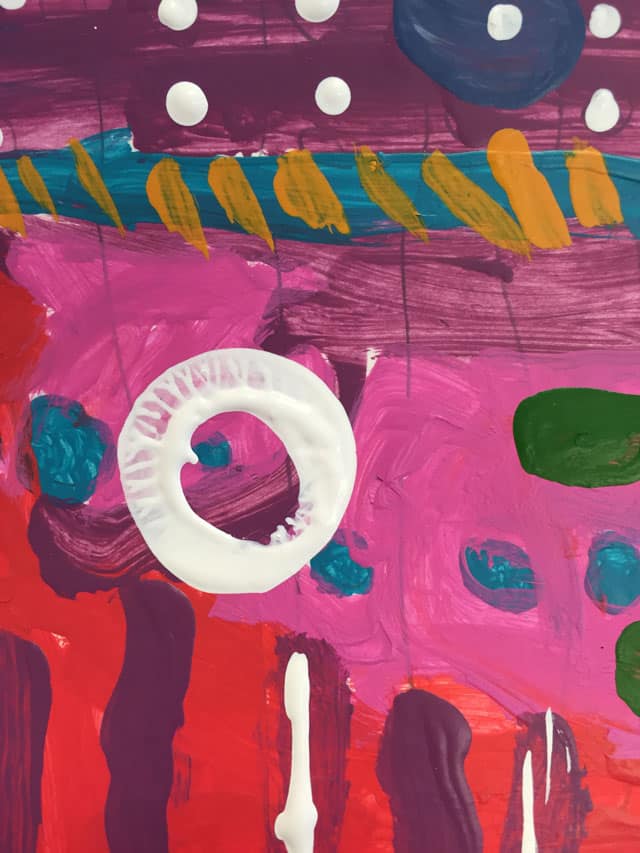
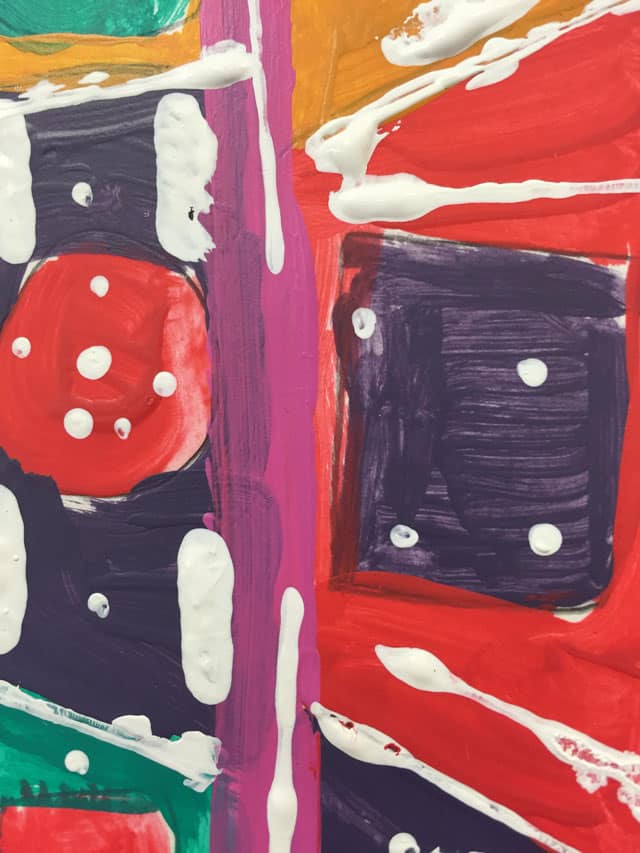
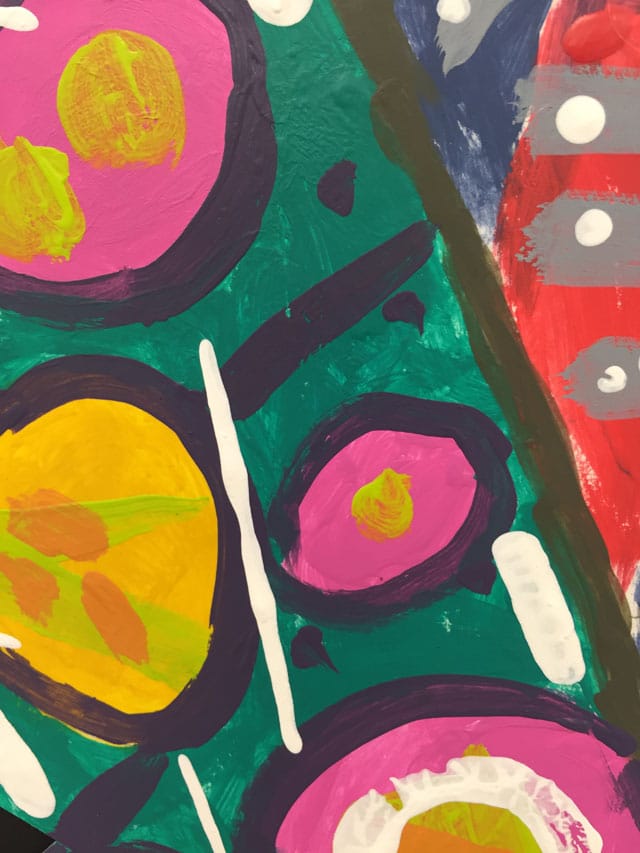
Each student started with pencil by drawing their QUILL from the top of their paper all the way to the bottom. We talked through how the bottom of our quill is slightly wider than the top. Each artist then had the opportunity to design their feather shape to their liking – we saw flat, round and pointed tops, we saw smooth and pointed sides. Afterwards, we divided our feathers into LARGE sections – trying out some of the shapes we saw in natural feathers – organic ovals, as well as sections that look like stripes and lines. We went immediately to painting with each artist selecting four colors to begin with. We talked through spreading our colors out so that we didn’t have a purple spot on top of a purple square.
After the first layer of paint had dried, the students came back in to add some medium size colorful accents on top of their first layer of paint. We chatted about how this layer adds a new level to their painting (add a medium orange dot on top of a blue big dot, etc). We went immediately to stamping our CONTRAST accents. We talked through adding their stamps with repetition and that our white was an ACCENT (a special addition to add interest). We helped these kids cut out their feathers as the poster board is pretty hefty to try and get through cleanly. The colorful feathers were then mounted on black poster board. For the quick dry time, we used hot glue – but you could use a rubber cement or spray adhesive (applied to the back of the feather and pressed onto the black poster board).


Hi! I love this so much. I have to teach a few classes here and there that are mixed levels, ages 6-10, so this is absolutely perfect! Beautiful, and thank you
-@debrart
Hi
How many class periods did this take?
How long does it take for the paint to dry? I’m thinking about doing this in one two hour workshop, with breaks.
Thanks