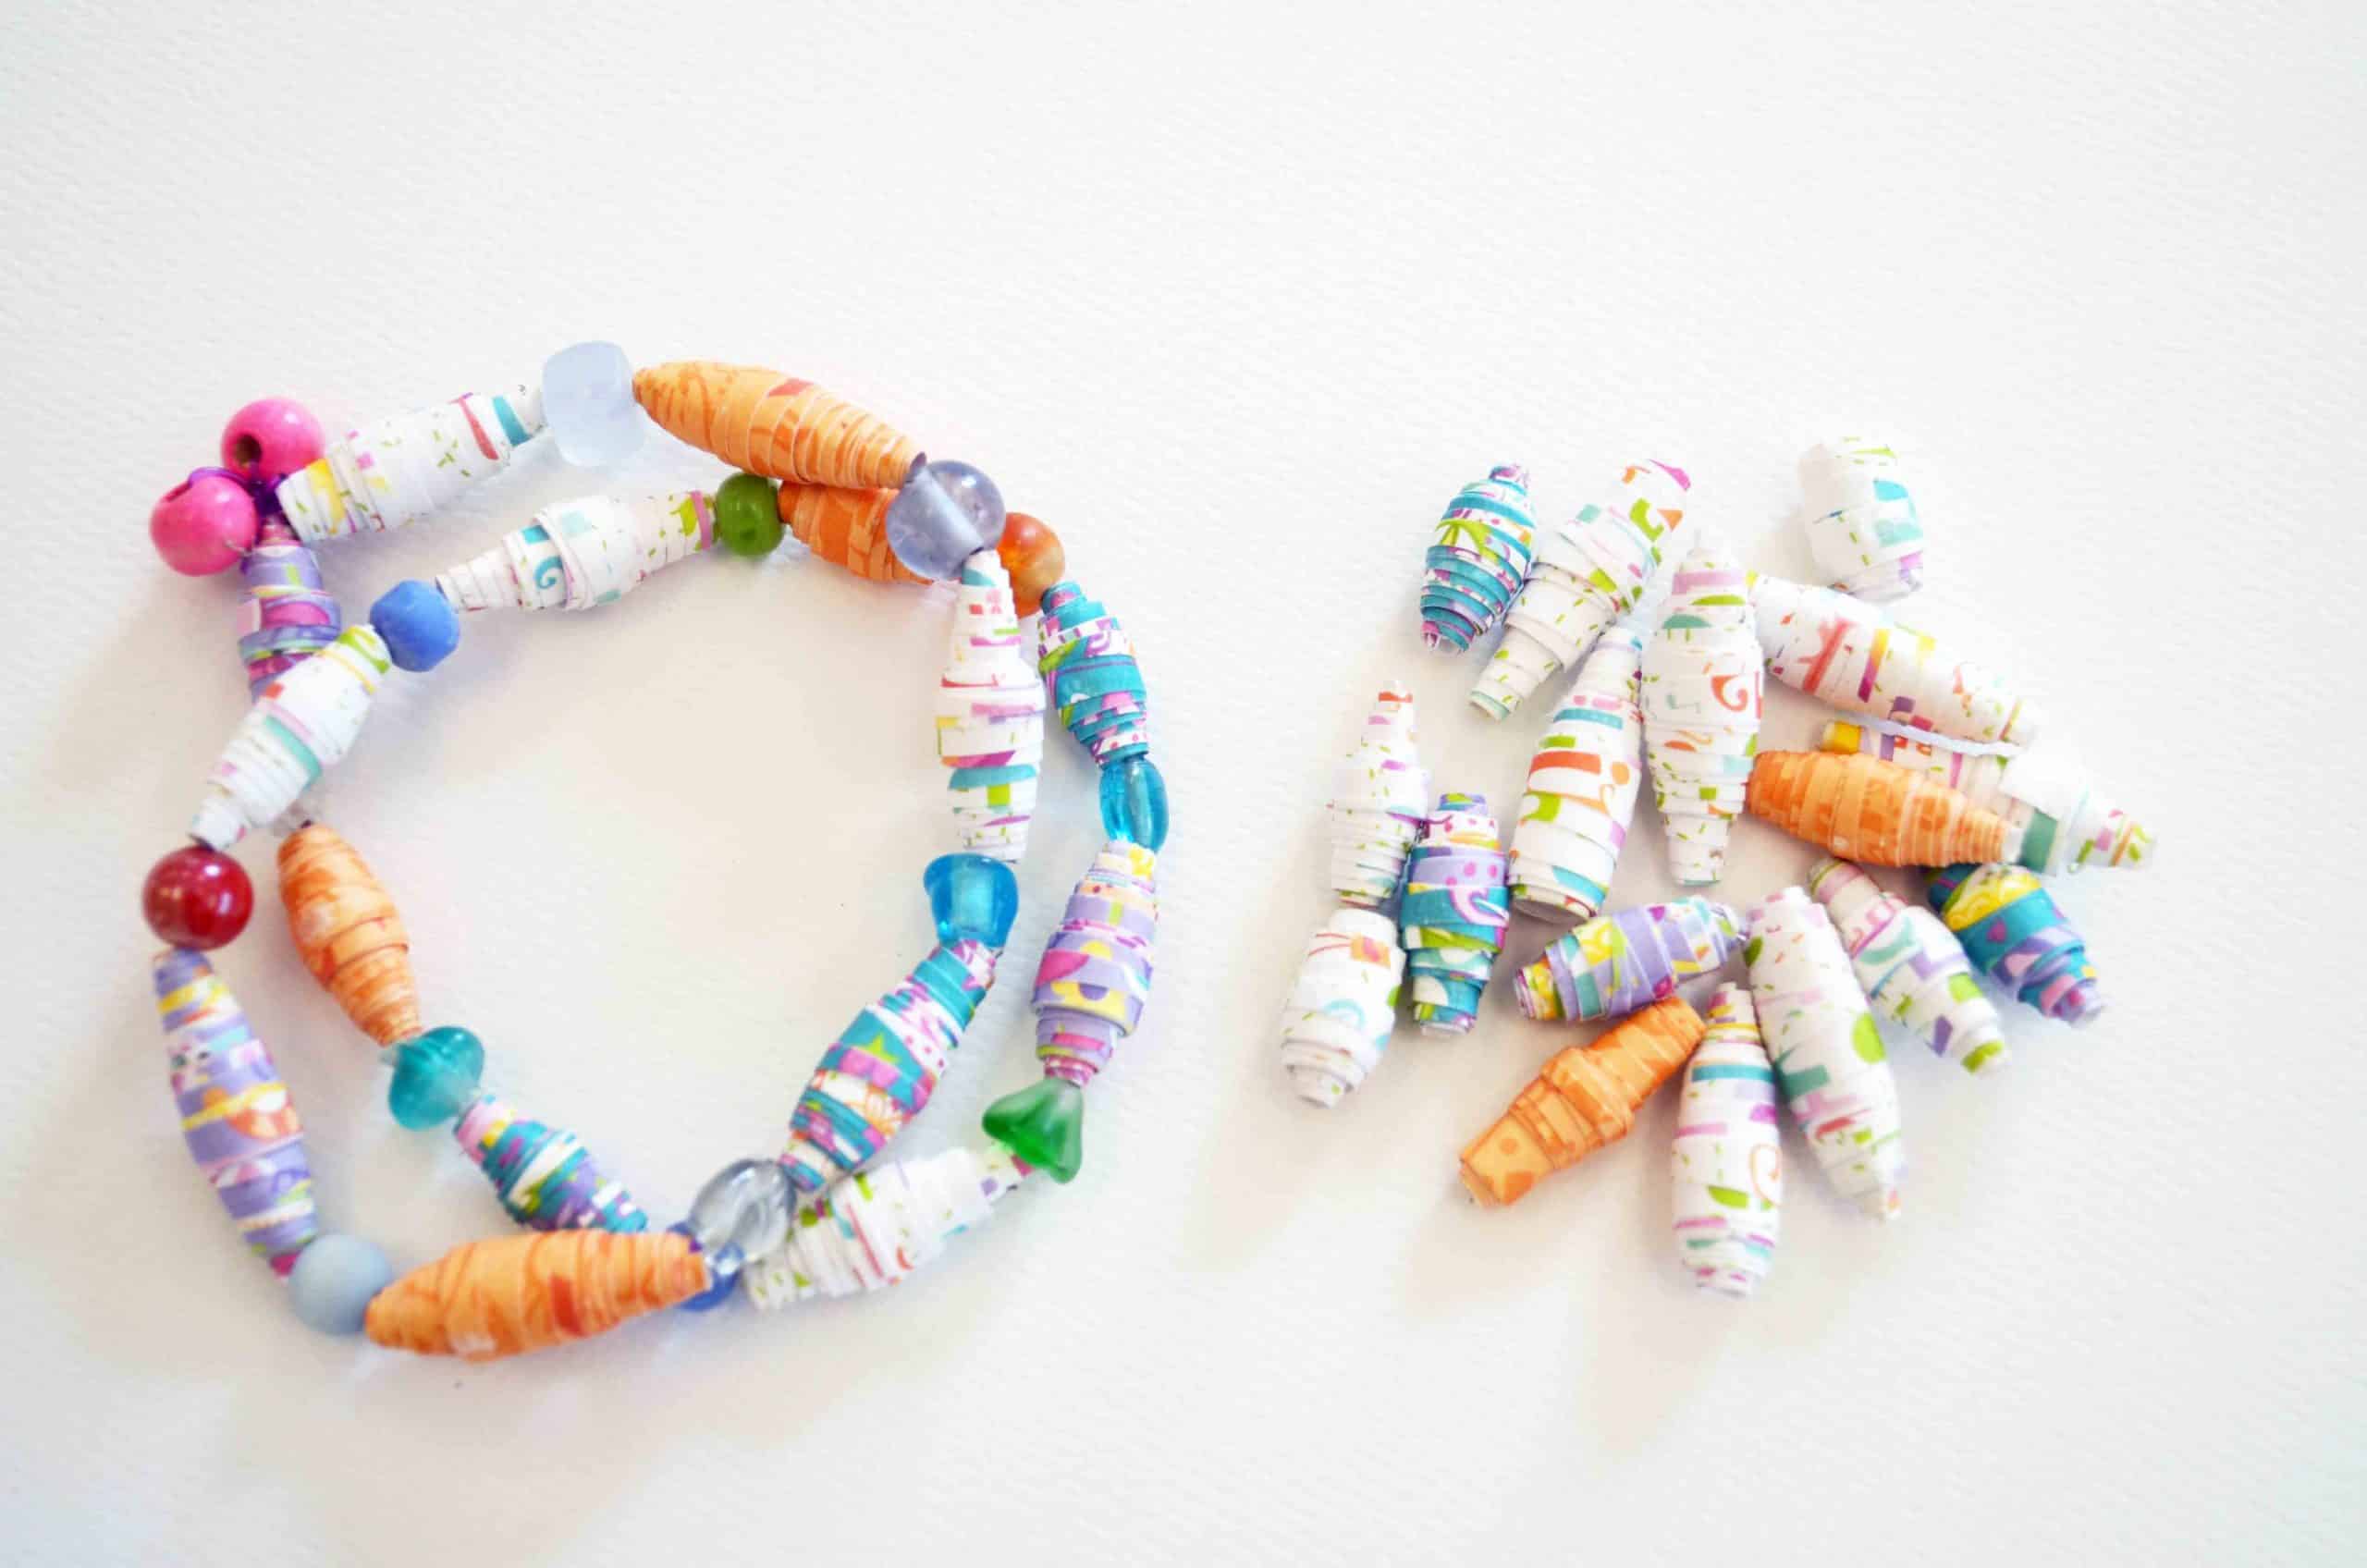
This project was inspired by a trip to Asheville last week, where we bought some really beautiful paper beads made in Africa at this cool shop Garage34. Make amazing bracelets, necklaces, and ankle bracelets from your piles of junk mail and catalogs! Making rolled beads out of paper is an ancient craft, and today artisans in Africa are highly regarded for the precision with which they create amazingly intricate and delicately rolled paper beads. This craft is a great slumber party activity or perfect for a rainy day! It requires very few supplies, most of which can be found around the house (or in the mailbox), and produces super cool results! Kids can use their imaginations to dream up ways to put their unique creative spin on this! For example, they can use handwritten notes from their friends to make unique jewelry gifts that will hold special meaning just for the two of them!
You Need:
- Scrap or decorative paper. Select your colors and patterns based on your personal preference. Suggestions include glossy magazine paper, catalog paper, origami paper, decorative scrapbook paper, wrapping paper, newsprint, and paper that has been written or scribbled on (this will make an interesting pattern when rolled). The more lightweight the paper, the easier it will be to roll.
- A toothpick or medium size sewing needle to act as a “rolling pin”
- Scissors
- Small soft paintbrush
- White school glue or Mod Podge
- Protective varnish is optional
- Wax paper or other non-stick surface to dry the beads
- Jewelry wire or yarn to string the beads
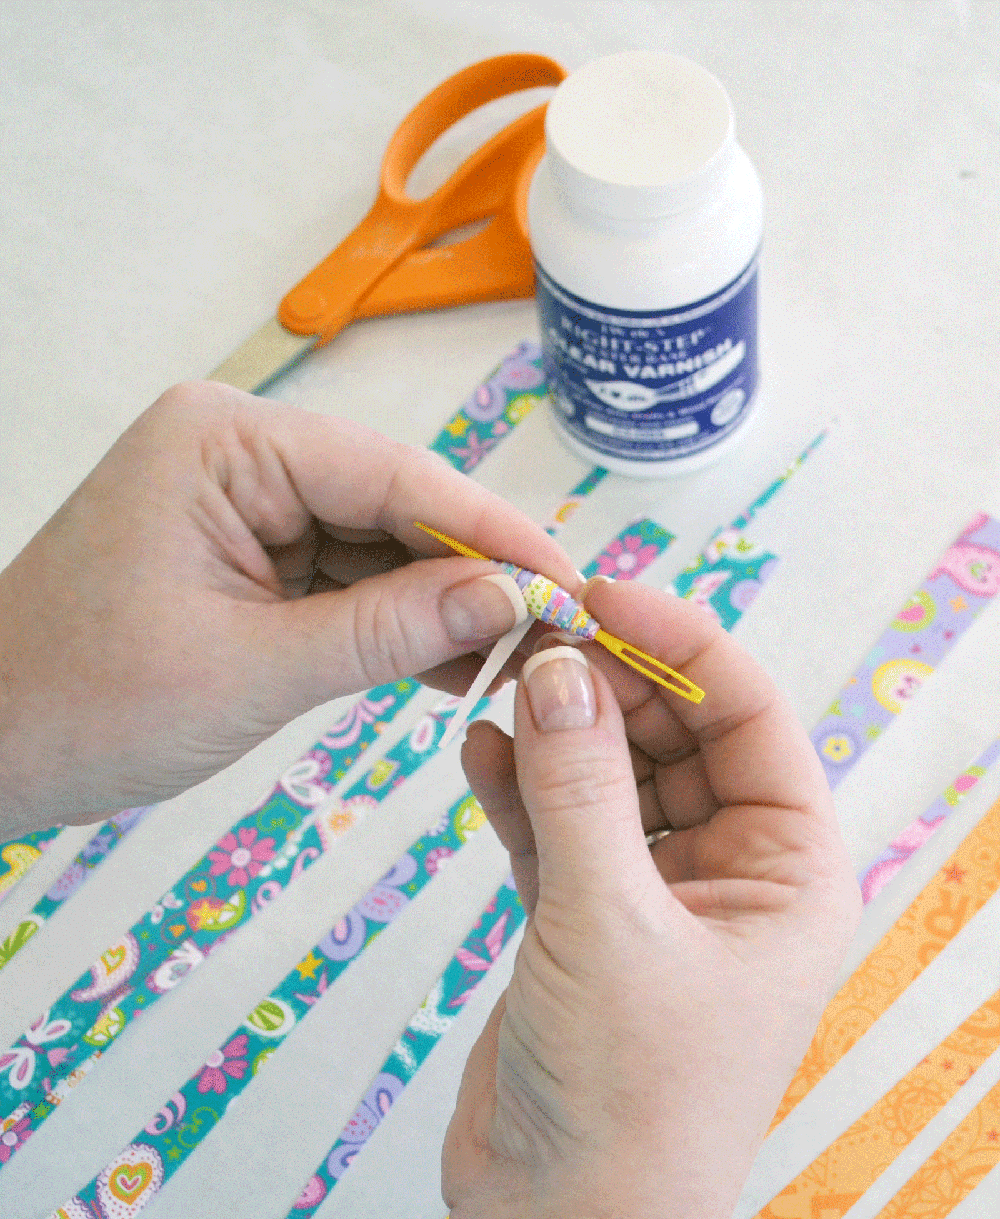
- To make tapered beads, cut the paper into strips of long narrow triangles, approximately 1/2 inch at the bottom and tapering into a tiny point at the top. The widest point of the paper will determine how wide the bead will be. The longer the strip of paper, the thicker and more round the bead will be. To make rolled “barrel” shaped beads, cut narrow long even rectangles, rather than triangles. Get creative and experiment with different patterns you find in your family’s pile of junk mail!
- Using the toothpick or sewing needle as a rolling pin, starting with the wide end of the paper, wind the paper tightly around the toothpick with the pattern that you want to appear on the outside of the bead facing outside the toothpick. You can place a small dab of glue on the end of the paper as you begin to roll it, but it is not necessary and we’ve found that it is easier to roll the beads when your fingers aren’t sticky.
- Wind the bead all the way to the tapered end, and squirt a small drop of glue or Mod Podge on the bead and continue rolling with your fingers to spread the glue.
- Gently slide the bead off of the toothpick and place it on a non-stick surface to dry.
- If you’d like your beads to be shiny, apply a thin coat of varnish or another coat of Mod Podge with a soft paintbrush. This will help preserve them and make them more durable.
- You can mix the beads with other decorative beads to string a necklace or bracelet.
- These make excellent gifts! Make lots of beads in all of your friends’ favorite colors!


