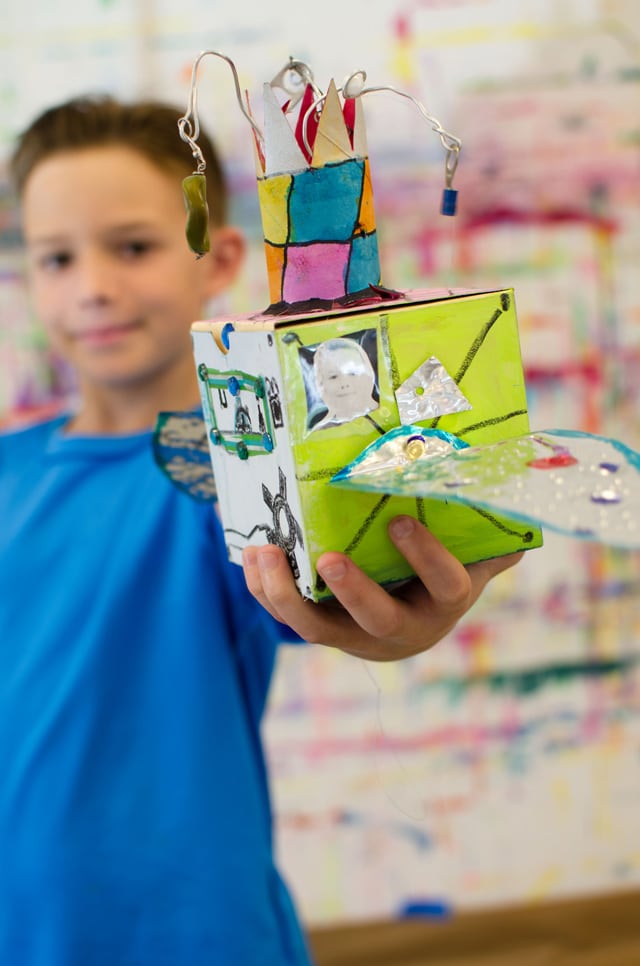
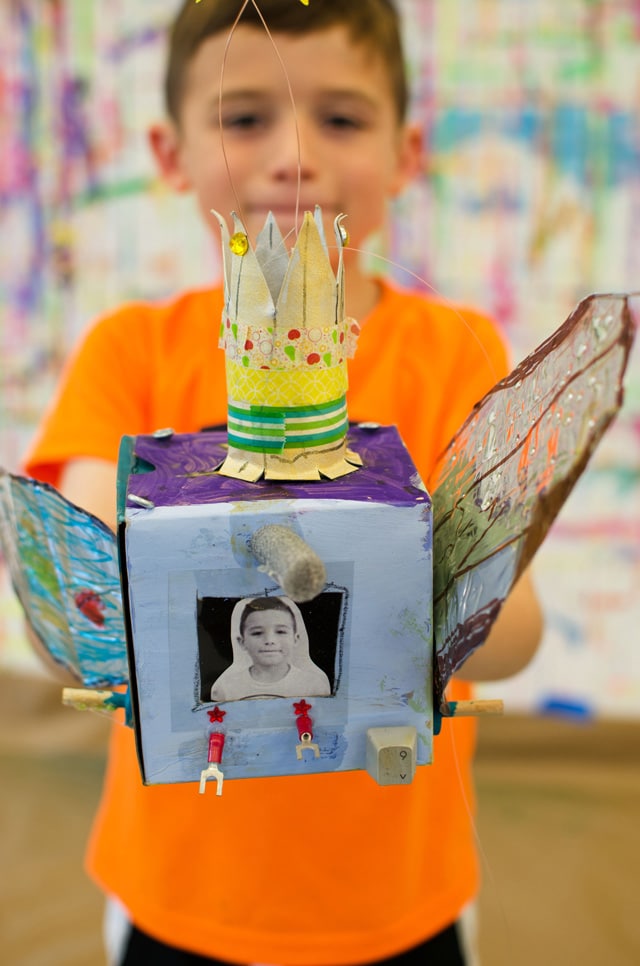
What do you do with a box? You turn it into a Mechanical Flying Sculpture, of course! And you include a cockpit where you are the pilot of your own creation! Keep scrolling to see more of these fabulous Mechanical Flying Sculptures – a 3D mixed media art project!
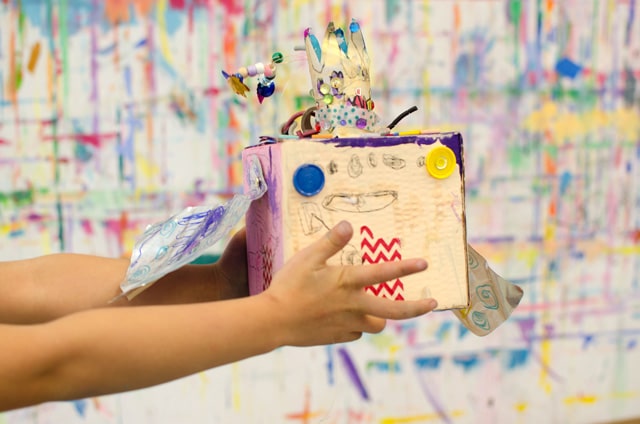
These Mechanical Flying Sculptures were hands down one of our favorite projects in recent memory! We LIVE for stuff like this! Where we just have a pile of loose parts, and a lot of time, and an abundance of imagination! This idea literally started from a little spark of ingenuity and morphed as we worked on it. My only idea was that we needed to make box thingy with a crown. Then our other teacher, Sonja said the crown reminded her of another project we did recently – DaVinci inspired mechanical creatures – and the Gen 2 version of that project… and I was like YES!!!! Yes Yes Yes! And we were off to the races!
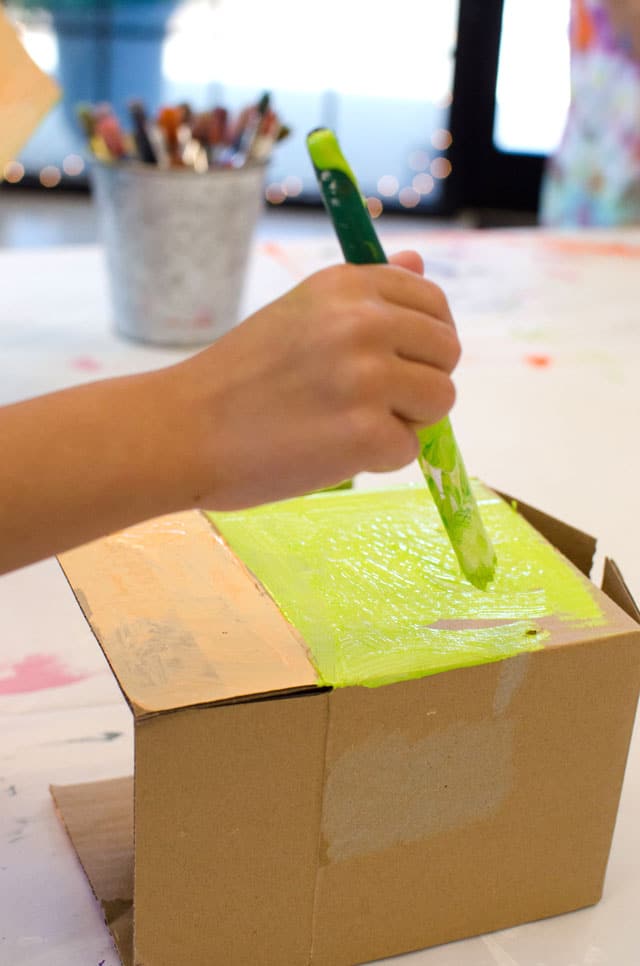
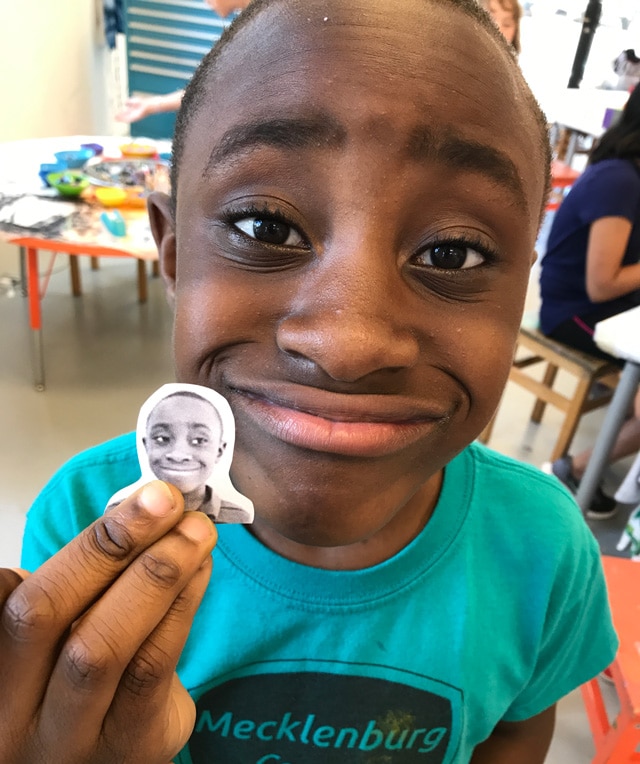
After teeing up the concept to a lot of blank stares, we decided to just dive in and hope that it came into focus as the kids worked. We had the idea to incorporate their photos in some way into the project we the first step was to have a little photo shoot. Next, paint a box. Any which way you like. The more color, the merrier…
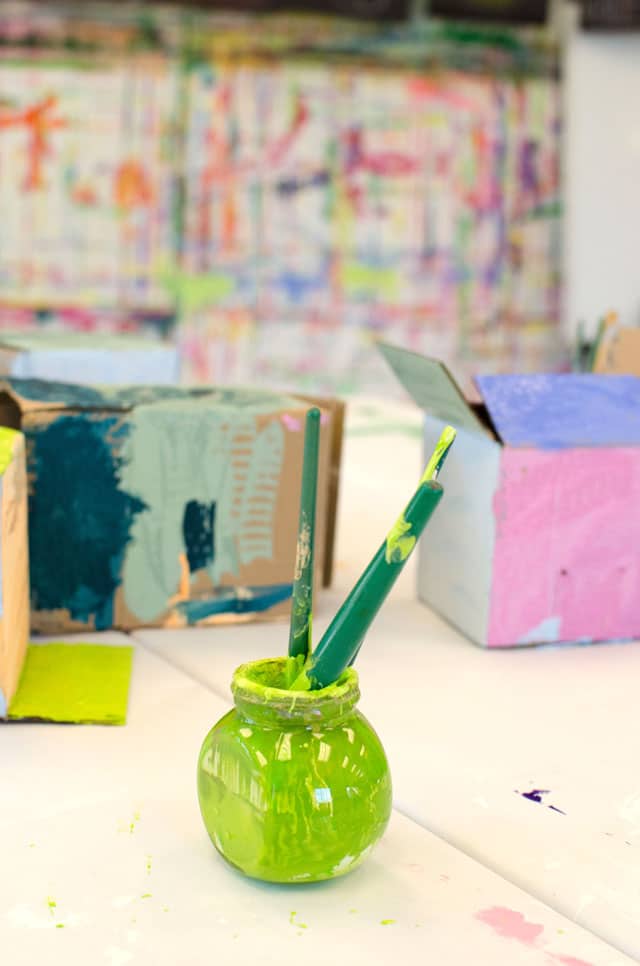
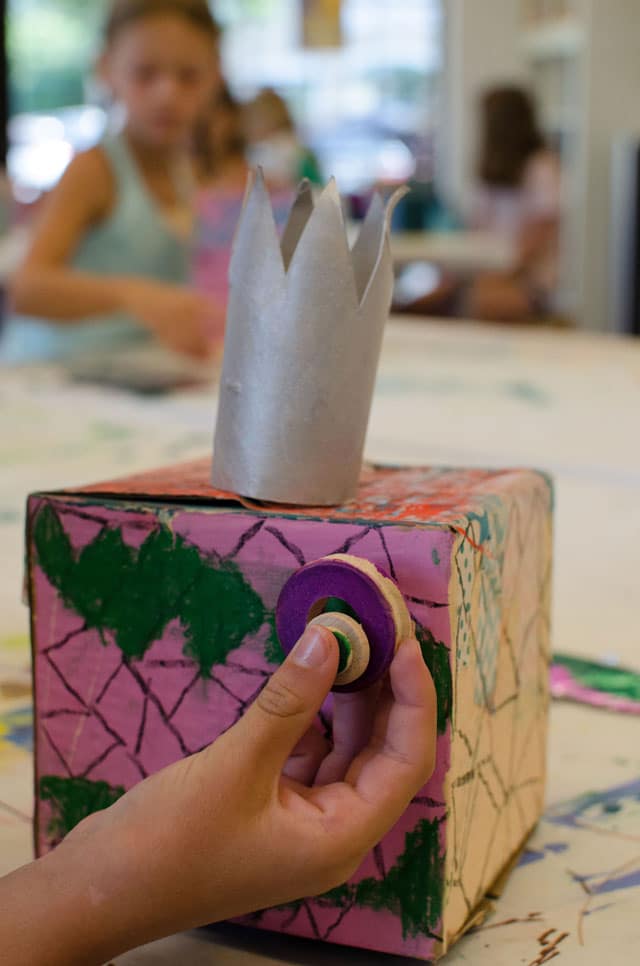
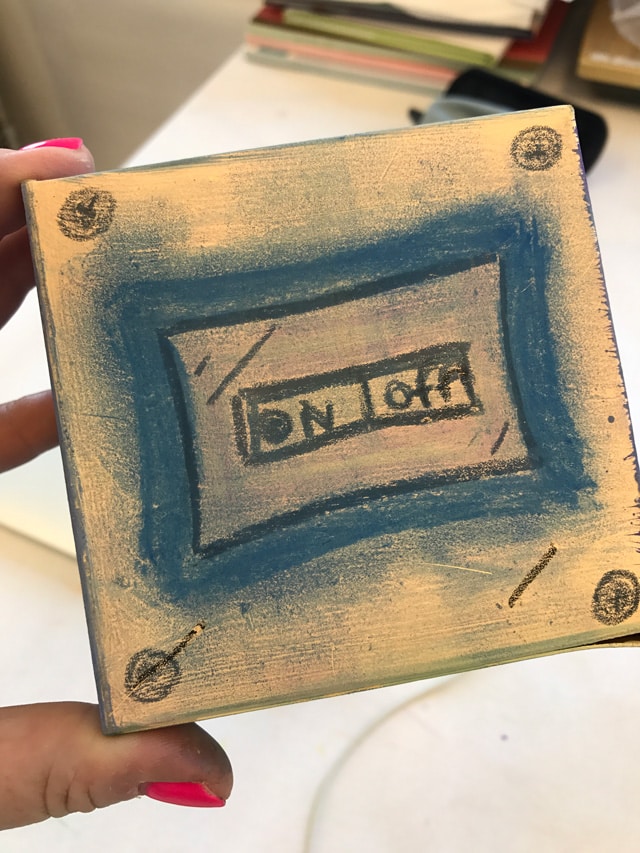
Next we added lines & shapes to the box and talked about the concept of these being “mechanical” – meaning not powered by gas or electricity, but gears! There had to be gears somewhere on their design. Or gear-like lines. They also added more texture and color with oil pastels and chalk pastels.
Maybe it was at some point around this time, we conceptualized that they needed to have wings to fly! (It could have been all that talk of DaVinci and how amazing and prophetic his early sketches of a flying machine were, truly a genius so far ahead of his time!!)
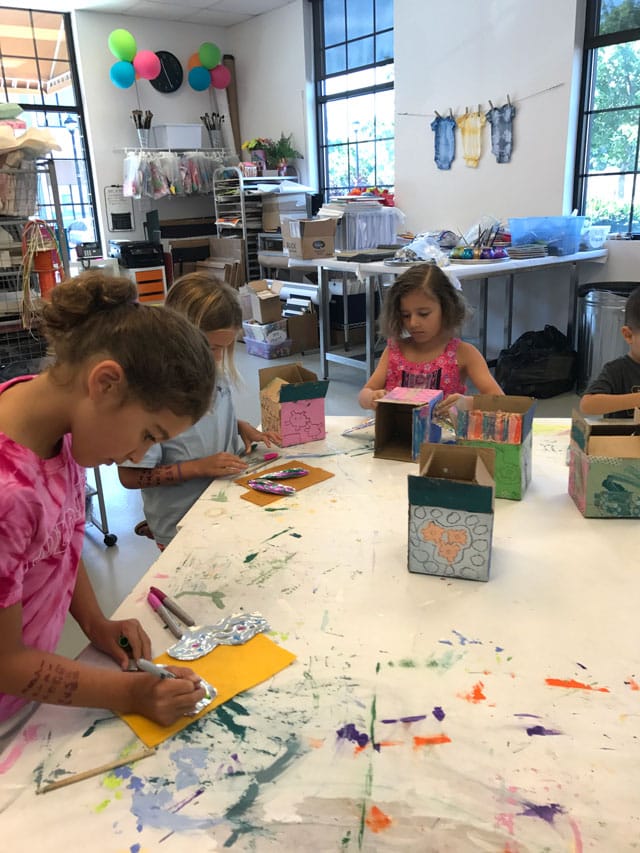
So we let them draw wings out of 36 gauge tooling foil (a fav staple around here!), and we cut them out. They had to “carve” lines & shapes into the tooling foil by laying them on a soft piece of felt, and carving into them with a wooden stylus. Later we attached the wings with brads.
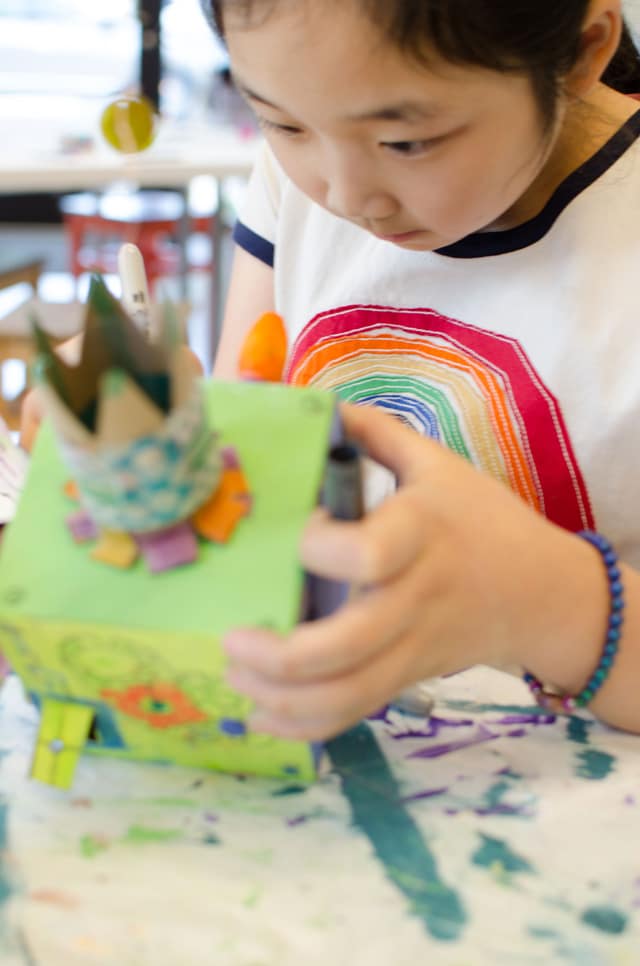
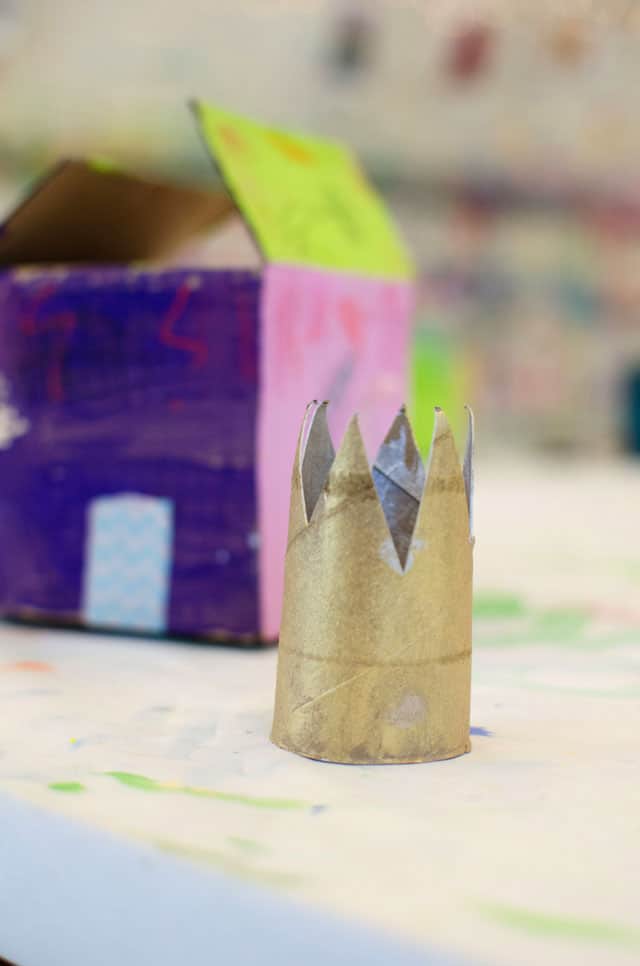
This pic above shows how we attached the crowns on the top of the box.
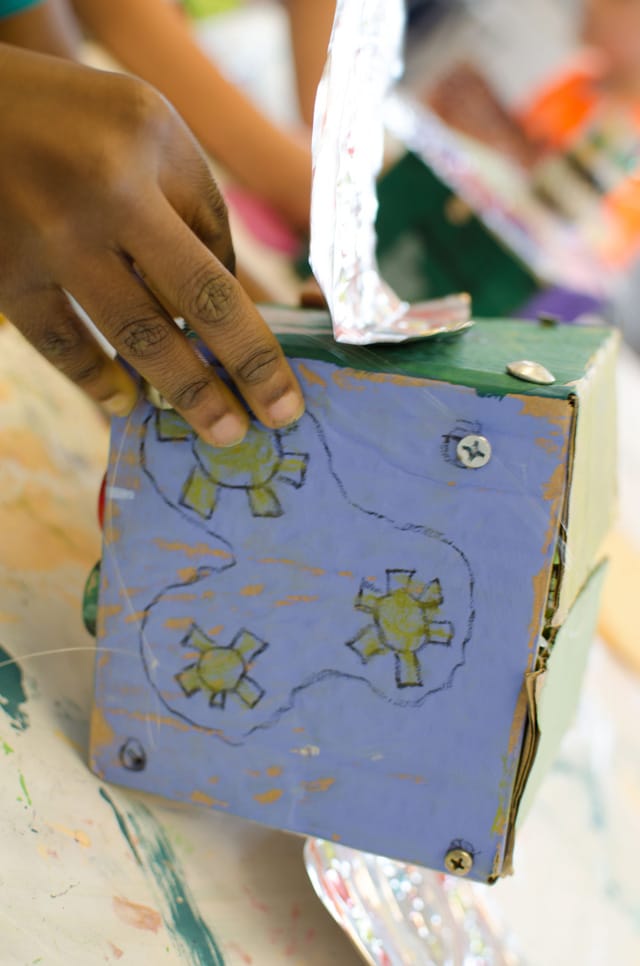
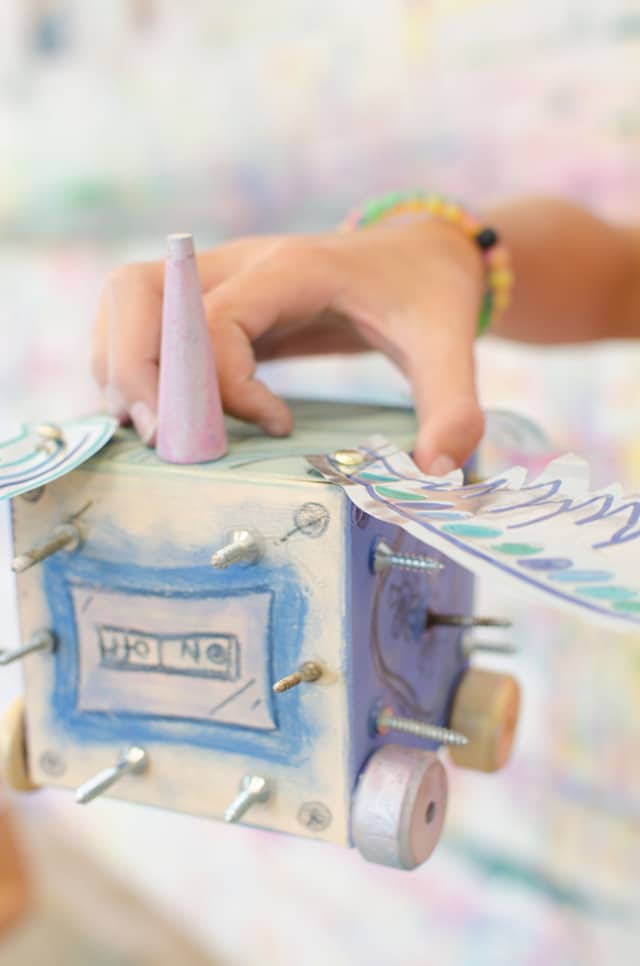
We let the kids loose with our bucket of old hardware to add screws, rivets, and random mechanical looking do-dads. By this time, everyone had a very elaborate idea of how their flying machine was going to operate. We encouraged them to be very thoughtful in their selection of pieces and parts – they couldn’t just randomly grab cool looking stuff. They had to be able to articulate and demonstrate what specific function each item served in the operation of the machine.
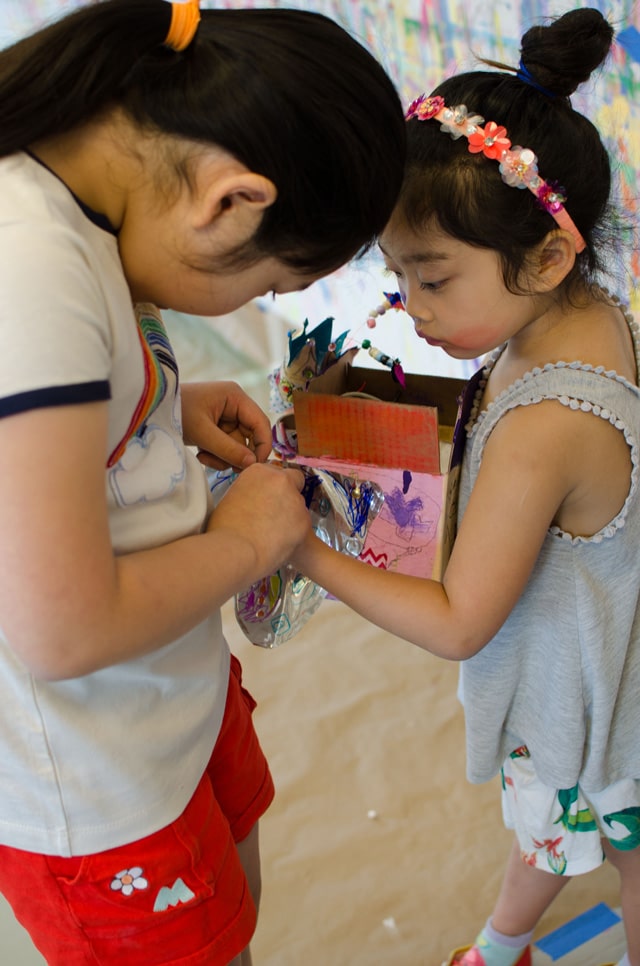
Teamwork makes the dream work.
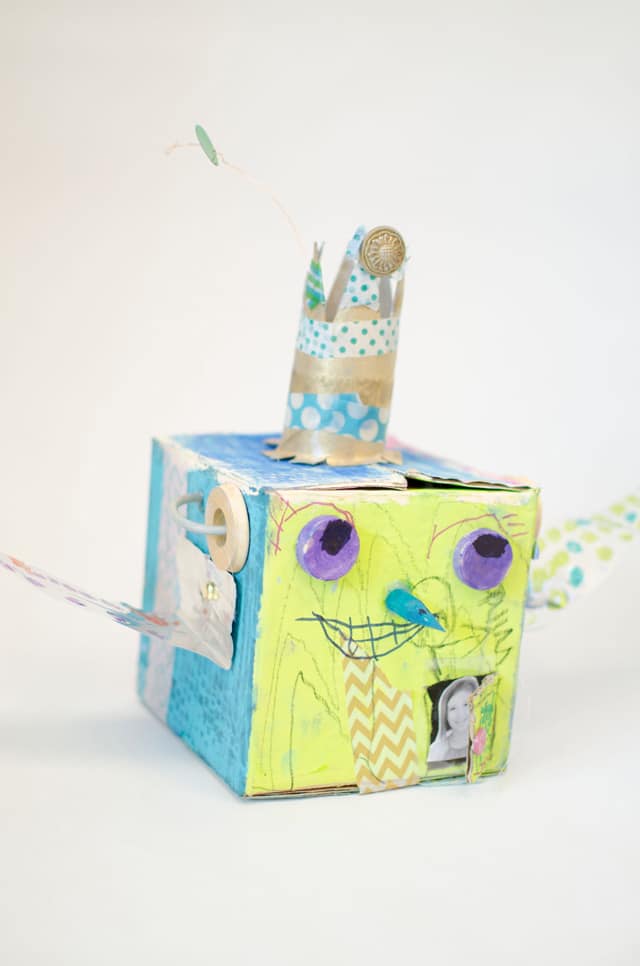
Lastly, students had to decide if and how they wanted to incorporate their photograph of themselves. Most glommed onto the idea of piloting these flying machines and added a “cockpit”. Unexpectedly seeing their little faces peering out at you really added such a cool element of whimsy and surprise.
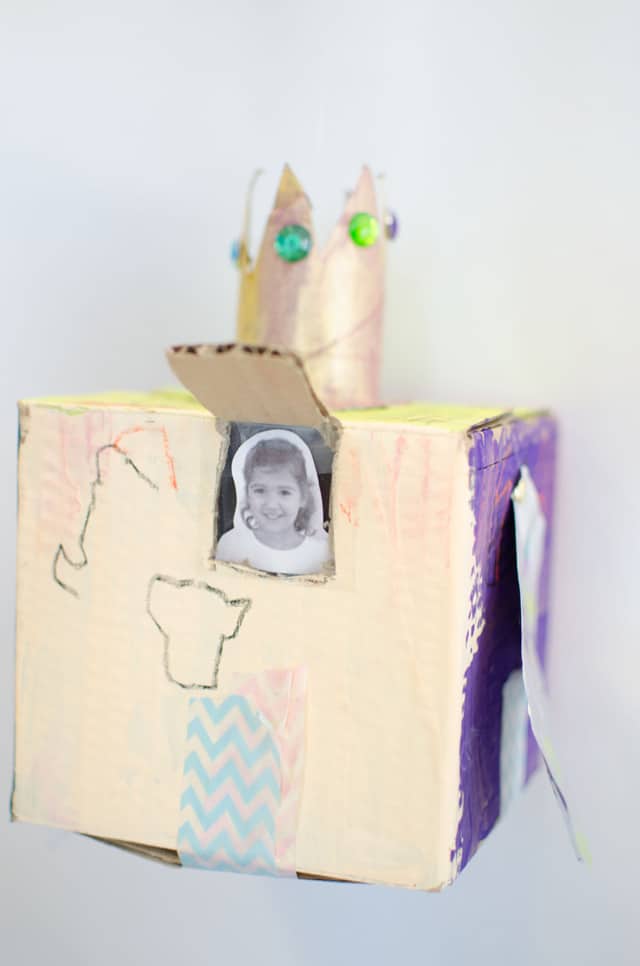
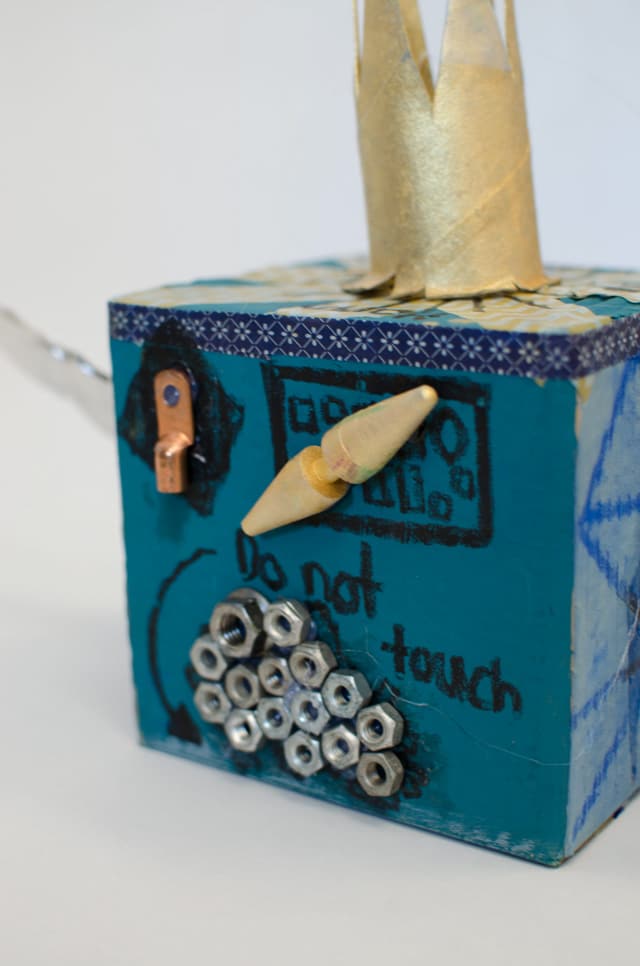
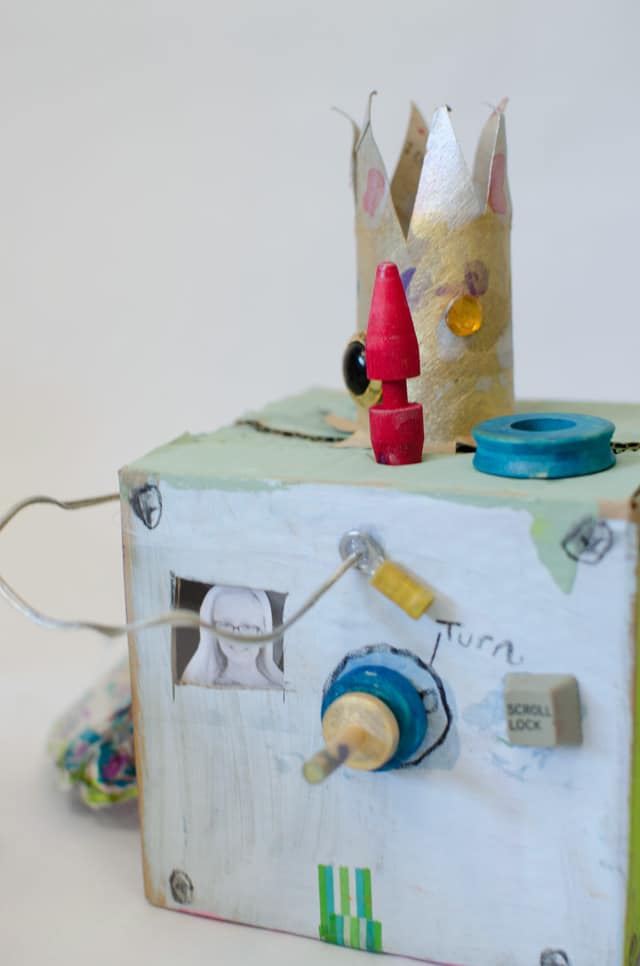
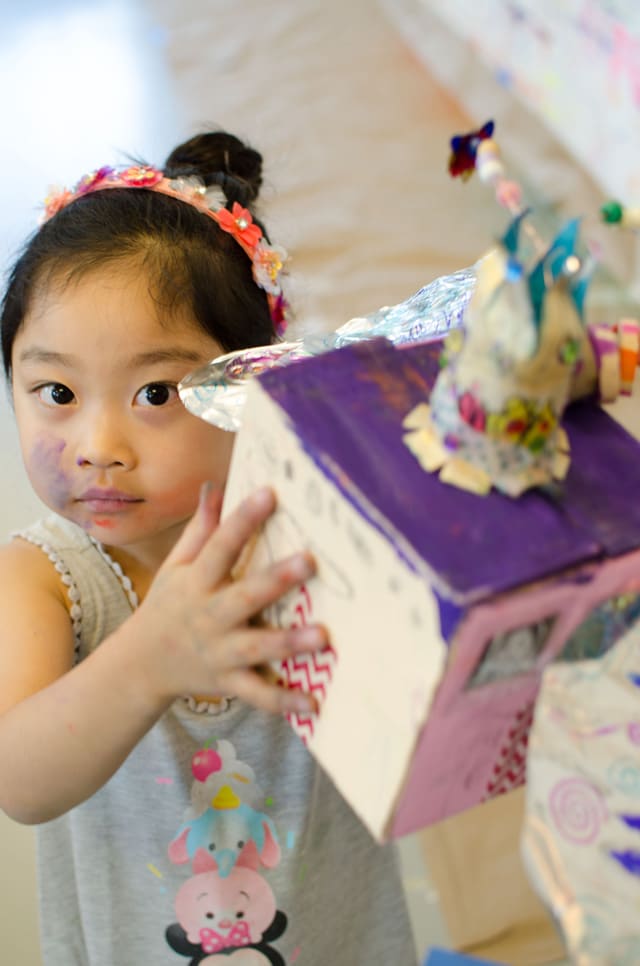
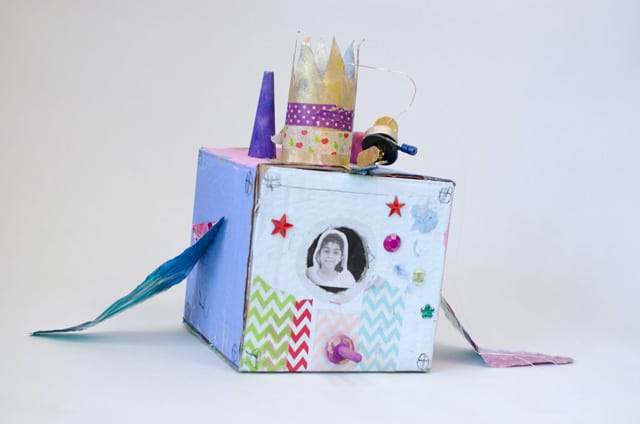
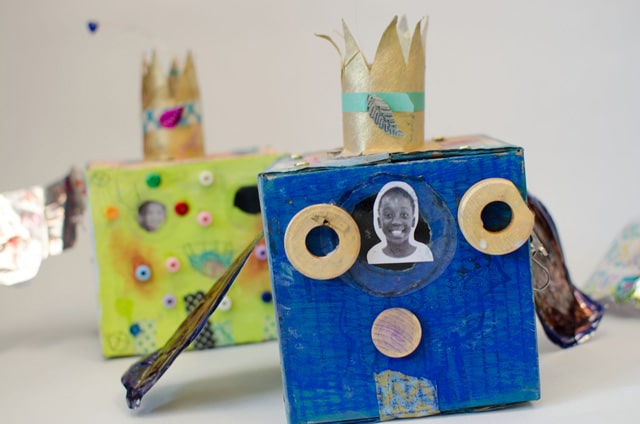
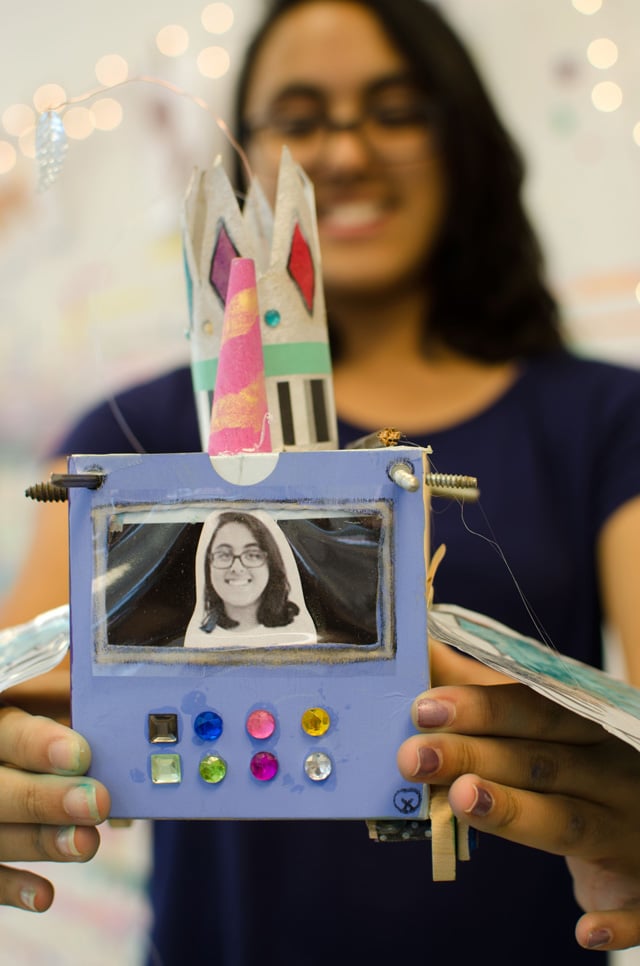
In the end, we could hardly take enough photographs of them! They were all so unique and amazing! The kids were super proud and excited to show them off, but like so many of our fav projects (oddly enough, many of which involve a box!!) – we hated to see them leave the studio!
