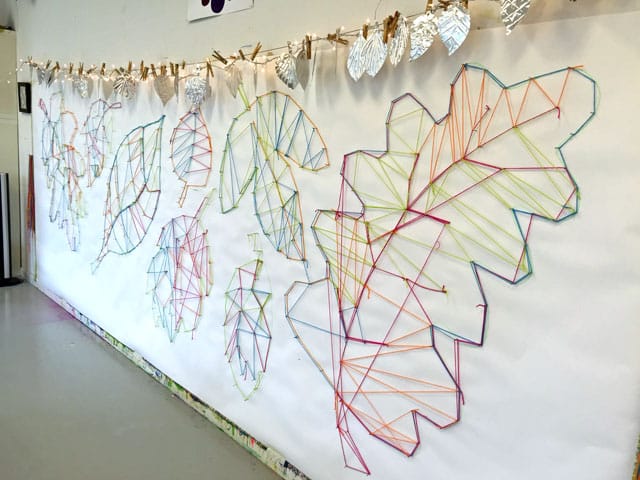
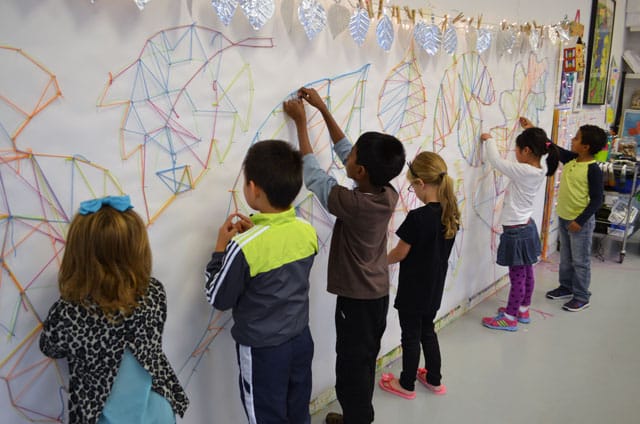
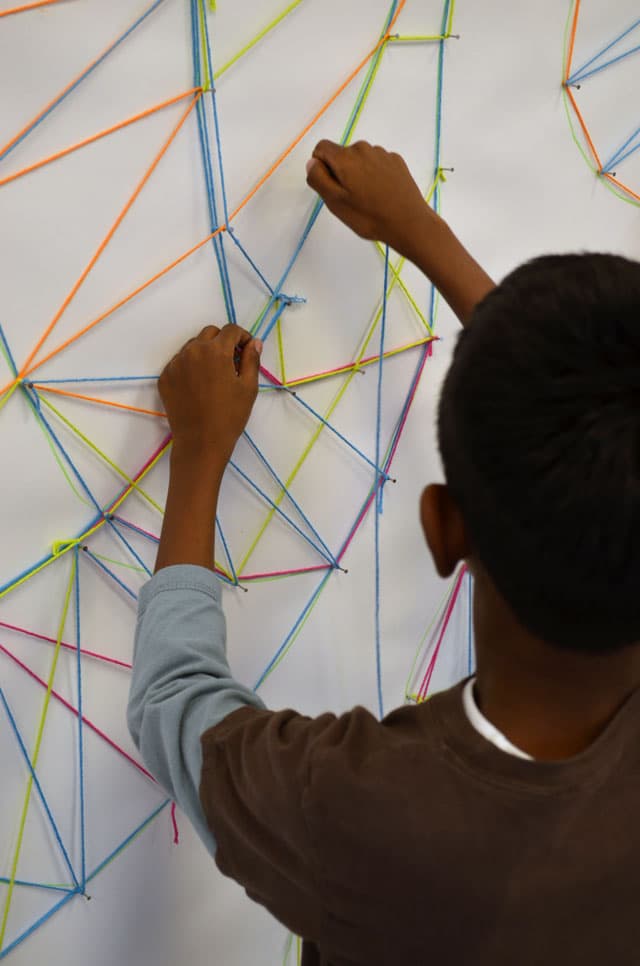
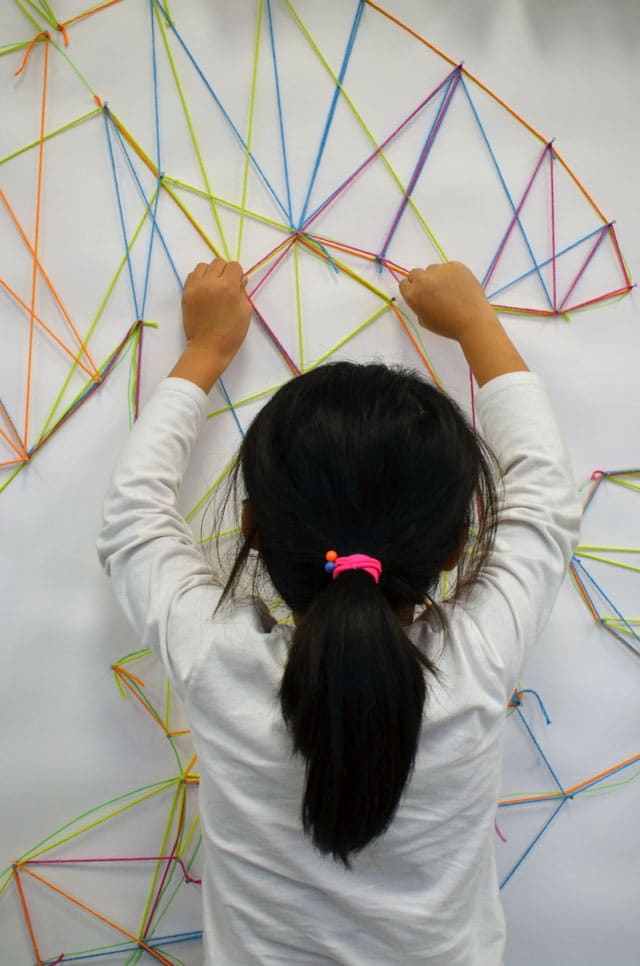
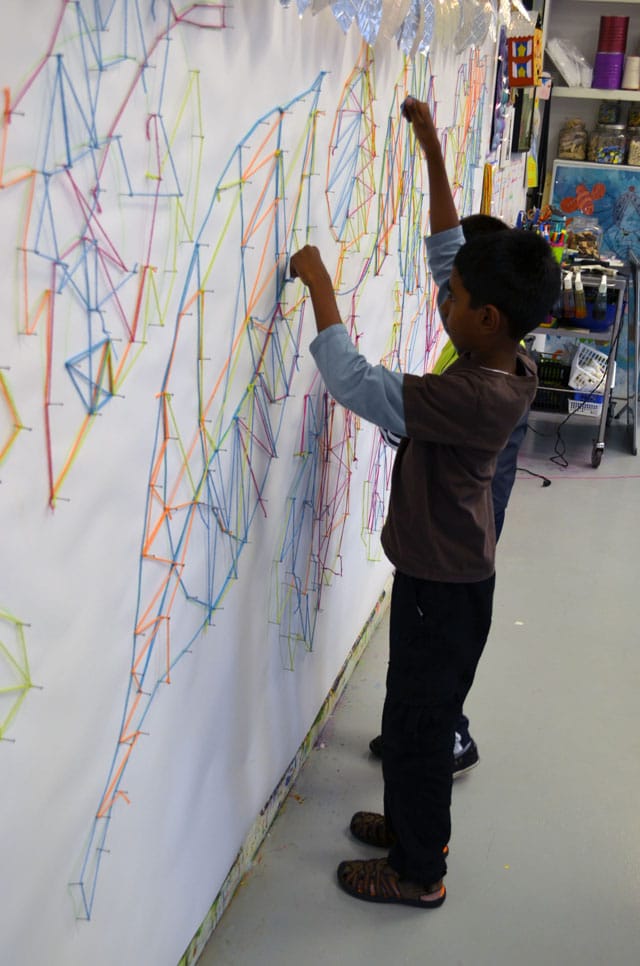
For our Annual Fall Festival last Saturday, we planned a large scale string art wall inspired by falling leaves!
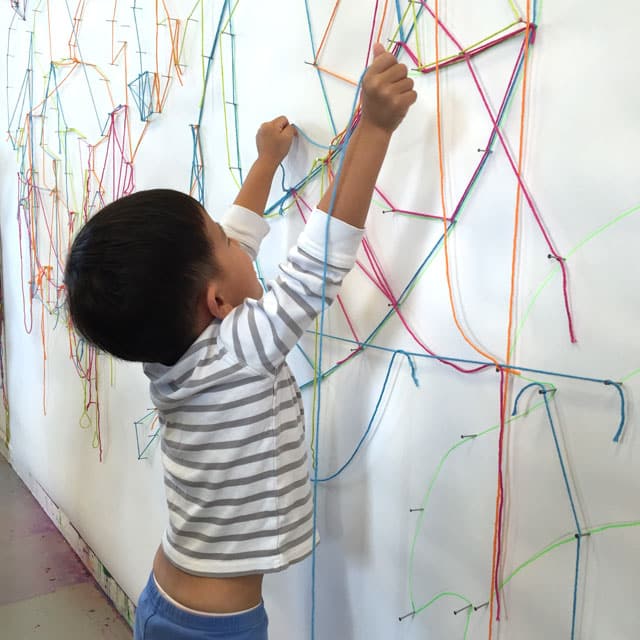
Ok, admittedly this may not be the most practical DIY home craft project unless you have a large wall you don’t mind hammering a lot of holes in, or are planning a remodel! We could get away with this because our wall is already covered in paint, and we’ll just be adding a little spackle to it to smooth everything back out! But you could think a little smaller scale and create large string art on big sheets of plywood or I’m thinking even something like a big sheet of pegboard and golf tees as “nails” would work! The kids really loved how big it was, and standing and working on it! I have to say so did we ~ it is totally addicting and mentally relaxing, not to mention visually stunning! We wish we could leave our string art wall up as a permanent art installation!
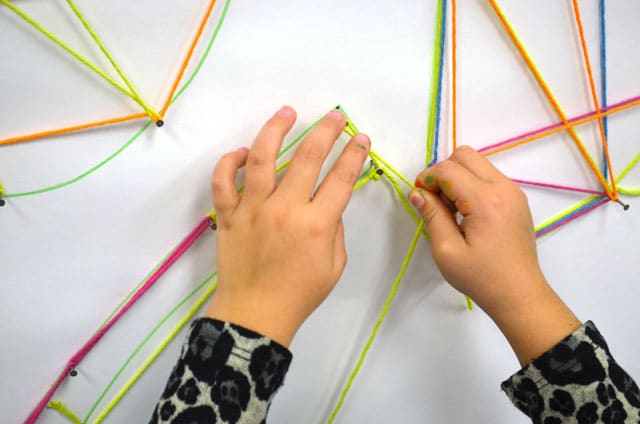
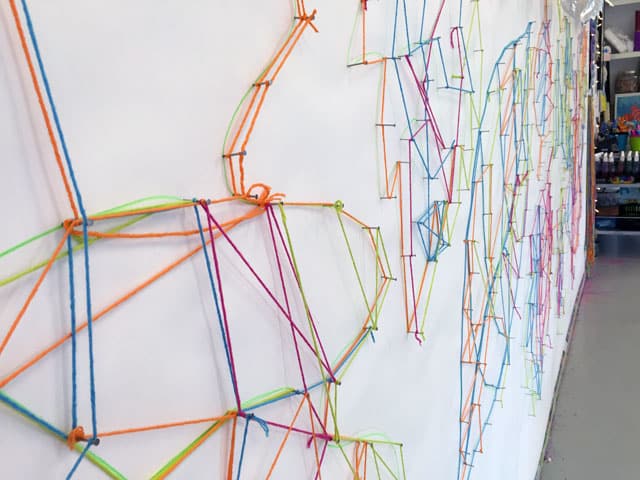
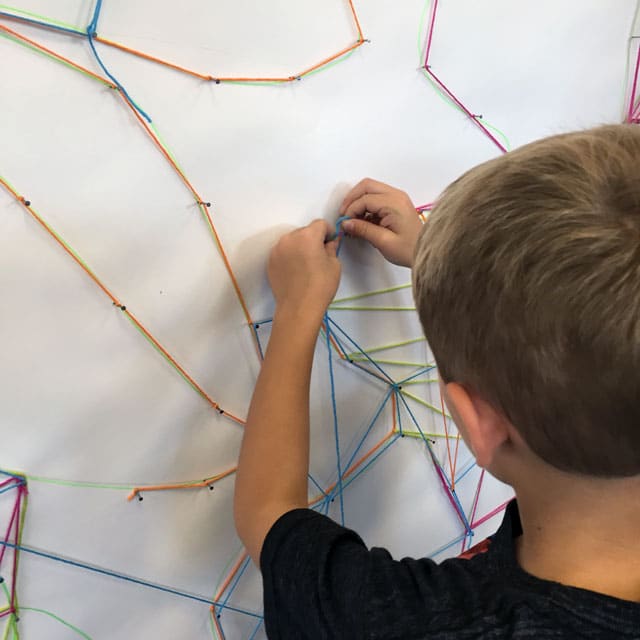
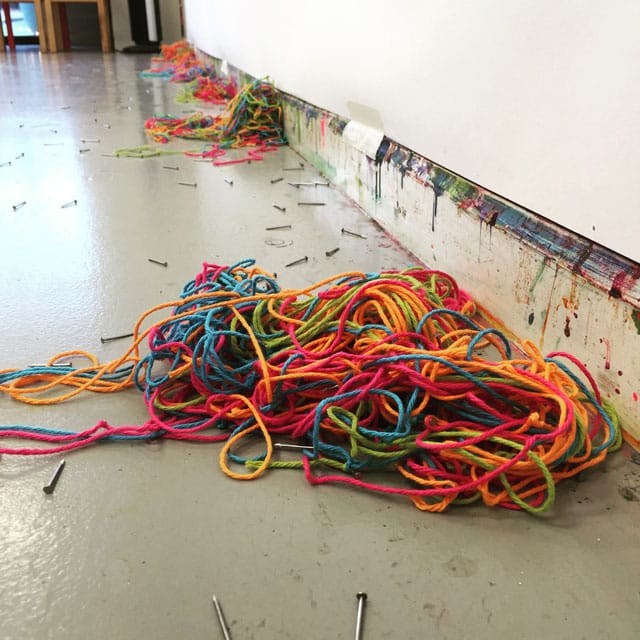
First we covered our painted wall in white paper, and drew large leaves with a sharpie. Next we hammered 1.25″ nails spaced about four inches apart (we mocked one up with nails spaced much closer – totally unnecessary!). The key is to make sure that you have a nail on all the outside and inside curved edges. That’s about all there is to the set up. Oh – we also found that 100% cotton yarn was much easier to work with than a softer polyester – cotton yarn has more weight to it and the fibers seems to grip a lot better when tying knots on the ends. When you’re filling in the pattern, make sure to wrap the yarn twice around each nail, keeping the tension tight (otherwise it will all pop off!) – and then at the end of yarn, pull it tight to the closest nail and form a loop & pull to make a finishing knot.
Alas, all good things must come to an end. Until Christmas, anyway! Can you say Christmas trees?????
-
[…] String Art Installation from Small Hands Big Art […]
[…] Learn more: Small Hands Big Art […]
[…] Learn more: Small Hands Big Art […]
[…] Learn more: Small Hands Big Art […]
[…] Study extra: Small Hands Big Art […]
[…] Learn more: Small Hands Big Art […]
[…] Be taught extra: Small Hands Big Art […]
[…] Learn more: Small Hands Big Art […]
Leave a Comment


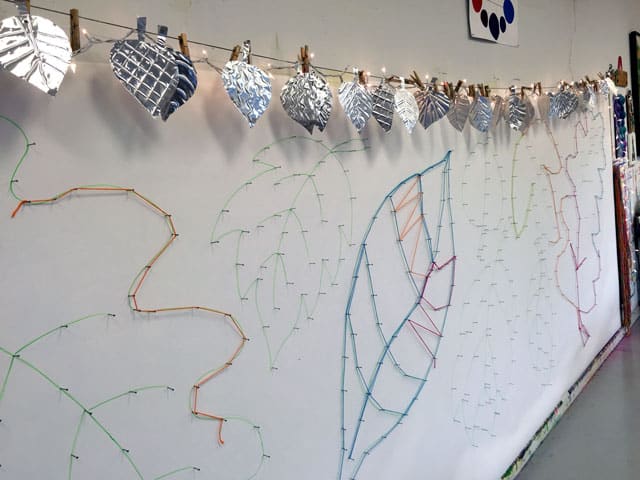
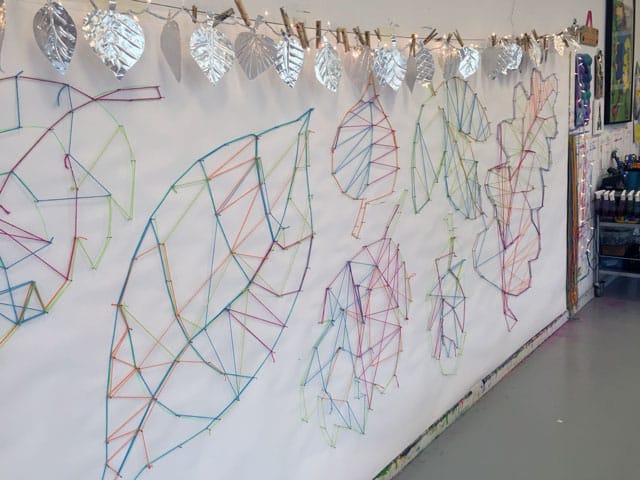
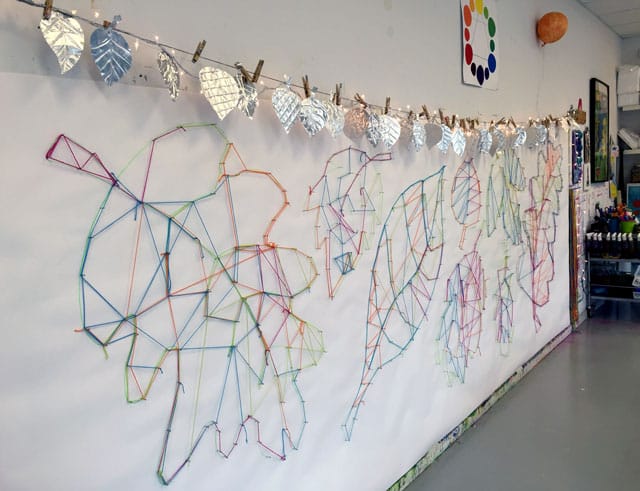

what did you use to make the silver leaves on the clothes pins?
Hi Carla – those are made out of tooling foil – we use it a lot! You can “carve” designs in it by laying it on top of a soft piece of felt and “drawing” with a wooden stylus. We use it for ages 5+ – it can have sharp edges which could result in a nasty paper cut so you have to instruct them on how to be careful when handling it, but in six years knock wood, we haven’t had any issues. Thanks – Jennifer