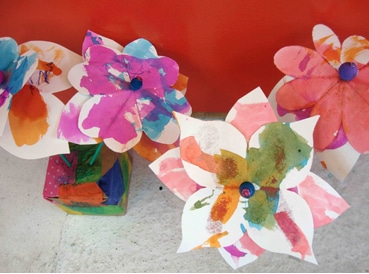
School is out and if you’re going to stand a chance of having frozen yogurt for breakfast, lunch & dinner all summer, it’s time to start buttering up the ol’ M-O-M! She’ll be putty in your hands when you present her with this adorable decoupage box vase and handcrafted paper blossom stems! Keep a stash handy when you need to distract her from noticing your little brother has been tied up in the closet for over an hour, or that you haven’t made your bed since last Tuesday!
You Need:
- A small recycled box, approx. 4″ in size
- Small squares of heavy white paper or watercolor paper. As a {slightly less original} alternative, you can use small squares of pretty patterned paper. The paper must be perfectly square. Good sizes to use for large blossoms are 6-8″square, smaller blossoms, 4″.
- Liquid starch (found in the laundry aisle at the grocery store), or watered down white glue
- Colored tissue paper, torn or cut into 1-2″ strips
- Soft paintbrush
- Crayons or oil pastels
- Glitter
- Watercolors
- Wooden dowels or skewers
- Glue dots or scotch tape
- Bead with hole big enough to fit over end of dowel
How to Do It:
- Before you get started on the vase, poke 2-3 holes in the top of the box large enough for the “stems” to fit. It’s easier to do this before the vase is decorated. Then cut or tear small strips of tissue paper, and “decoupage” the box by dipping the paintbrush into the liquid starch or glue, brushing onto the box, and sticking the paper onto the box and brushing over it with more starch or glue (its ok to cover the holes, you’ll still be able to poke the stems through later). Continue until the entire box is covered. This part goes pretty fast. Sprinkle with glitter then set the box aside to dry.
- Before cutting out the blossoms, you need to first color & paint them! Use the crayons or oil pastels to make a colorful design pattern on both sides of the paper (no need to color them in – just draw lines) then go over that with watercolor. The watercolor will not stick to the crayon or oil pastel. This is called a watercolor resist. Make as many as you’d like and set aside to dry.
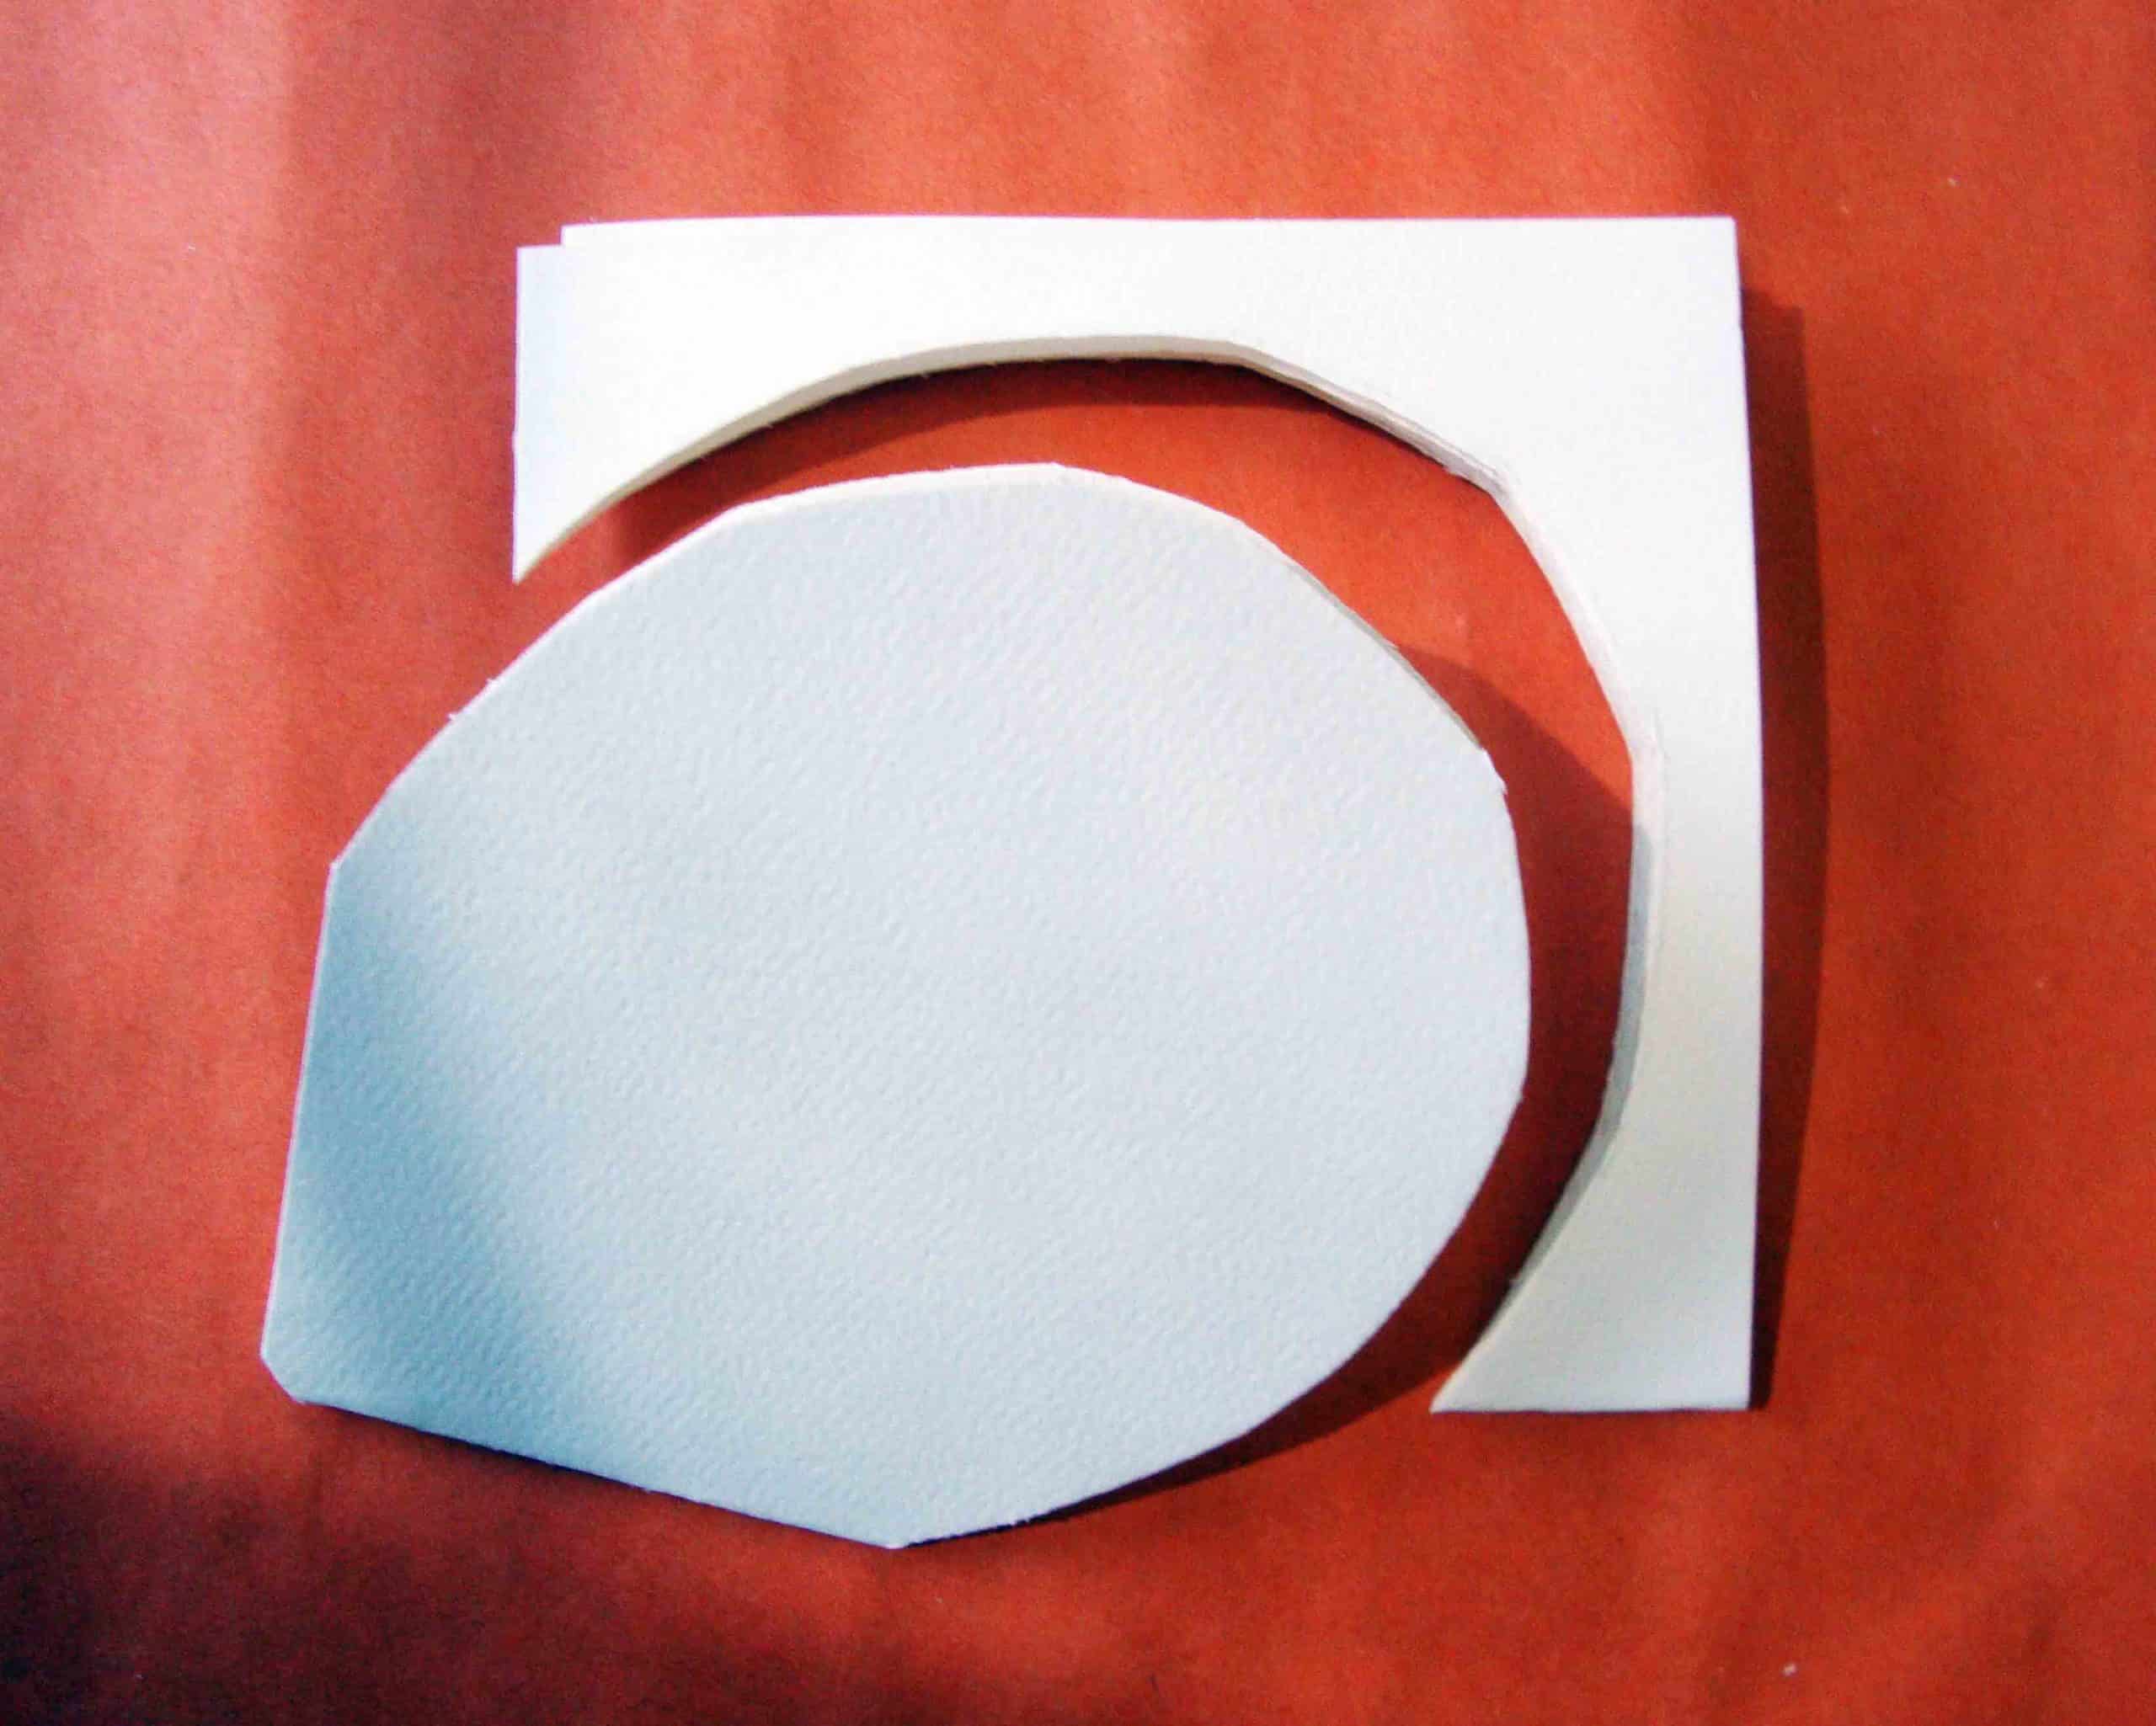
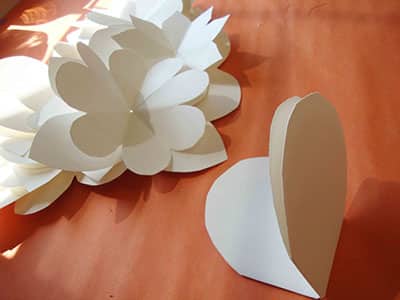
- To cut out the paper blossoms, fold the squares in half, then in half again so they are small squares. Hold the folded paper from the corner fold, & cut around the edges in the shape of petals. Make a very tiny little snip in the folded corner so that when you open up the blossom, there will be a small hole in the center for the stem to fit through. Experiment with different shapes of petals. For larger blossoms, cut the shape of the petal close to the edge of the folded paper, and for smaller blooms, cut the petal shapes closer to the center fold. For fancier flowers, after you fold your paper in half twice, fold it again to form a triangle. This results in flowers with more petals.
- Paint your wooden stems with watercolor and let dry for a few minutes (they don’t have to be green!). Carefully hot glue a bead on one end.
- Layer the petals onto the stems by poking the stem through small hole in the flower, starting with the smaller blooms first and gradually adding the larger blooms.
- Secure the underside of the blossoms so they stay on the stem by rolling a small Glue Dot between your fingers and wrapping it around the base of the flower, or you can wrap it with scotch tape instead.
- Poke your stems through the holes in the box vase, and voila!
Recommended Posts


