


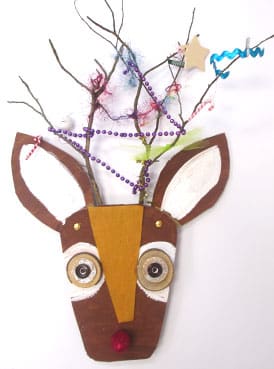
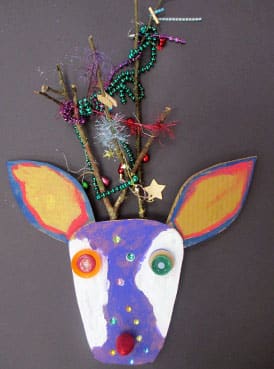
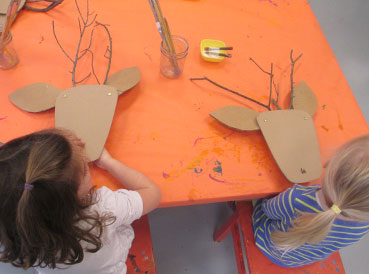
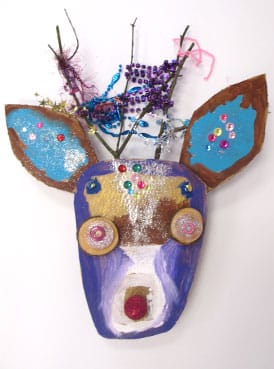
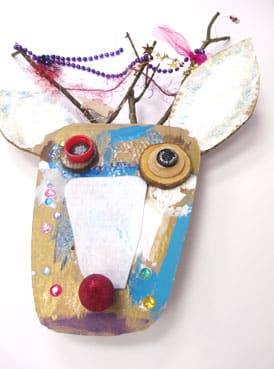
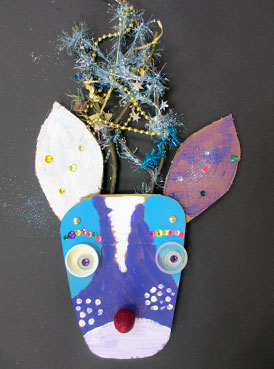
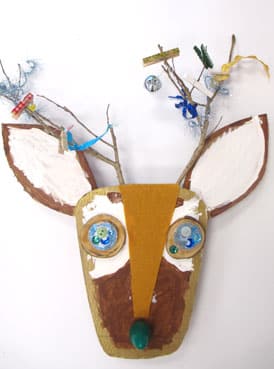
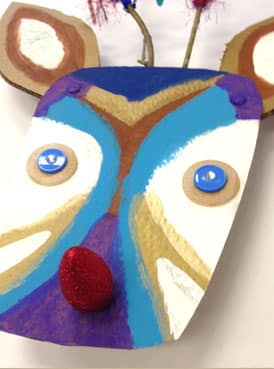
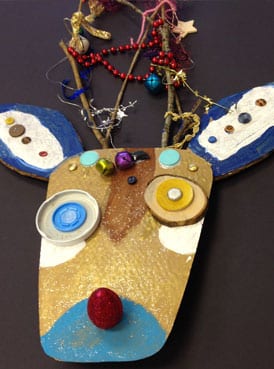
Every now & then we come up with a project that literally just makes us giddy! These whimsical reindeer that the kids made yesterday in our reindeer workshops were so spectacular, it literally pained us to let them take them home!
We must confess we pulled a little inspiration from these Generation 1 tricked out deer from last year, but this year we thought it would be fun to create something big and bold that really made a statement – a grand old reindeer that could be mounted on the wall hunting-lodge-style.
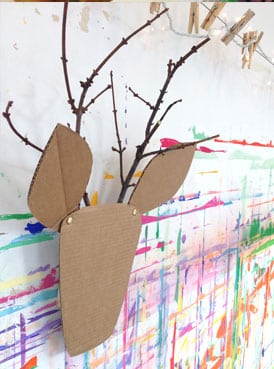
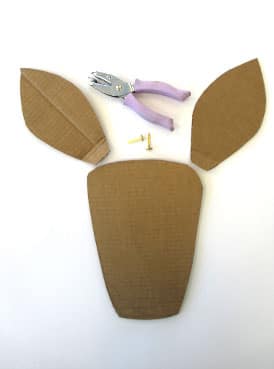
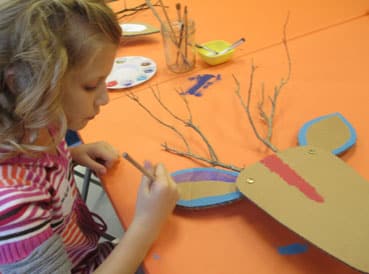
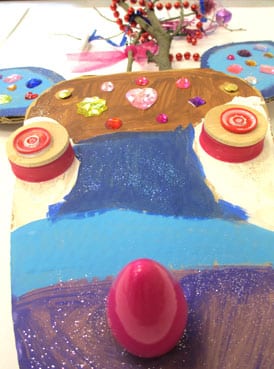
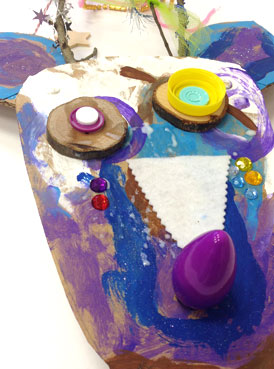
After fiddling around with a few ideas, we only made it this far, and have been staring at this blank face for the last few weeks, asking everyone in class for ideas as to what to do next. They had plenty of ideas!
You Need:
- Cardboard
- Scissors
- Two 1″ paper fasteners (available at your local office supply store)
- Small chunk of wood (we used a piece of a 2×4)
- Soda can pull tab
- Hot glue gun
- Twigs/small tree branches (they are better if they are dead and totally dry – green branches will bend too much with the weight of the ornaments)
- Duct tape
- Hole punch (optional, you could punch the holes in the cardboard for the ears with a pencil)
- Tempera or acrylic paint
- Glitter
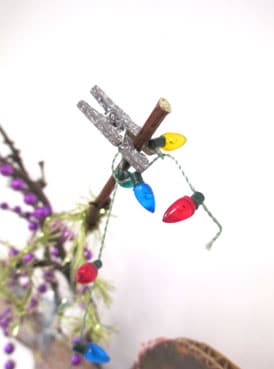
- One small light bulb for the nose (we used old school Christmas bulbs)
- Glue
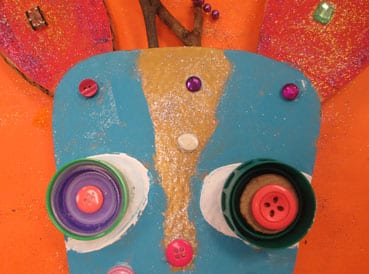
- Do-dads for the eyes (bottle caps, buttons, etc.)
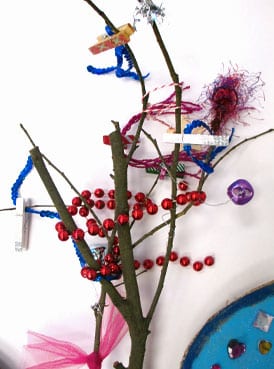
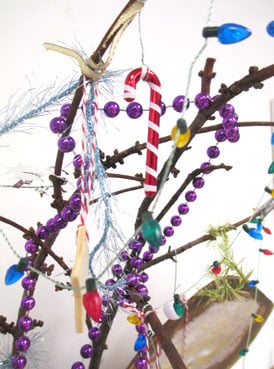
- Sparkly holiday stuff to adorn the antlers (jingle bells, miniature ornaments, sparkly yarn, ribbon, beads, miniature garland, etc.)
- Small triangle of felt (optional) for the forehead
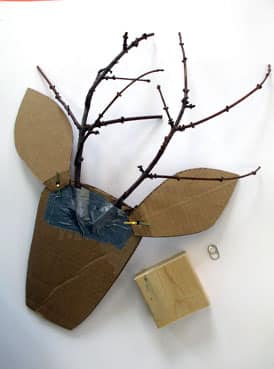
ok, it’s not pretty, but the duct tape was the only thing that held the antlers in place. Don’t bother with hot glue, ask us how we know.

How to Do It:
- Cut the face and ears out of cardboard. This should be done by an adult. We used a box cutter.
- Poke holes in both the ear pieces and the face where the ears will attach.
- Before attaching the ears, we made a very light score in the cardboard on the back side, so that they would naturally fold forward a little, vs. laying flat.
- Use a generous amount of duct tape to secure the dried twigs to the back of the head. You don’t want the antlers to wiggle at all – they will have to be strong enough to hold a lot of do-dads!
- The hole for the lightbulb should be slightly smaller than the base of the bulb so that you can actually screw it in tight, as if screwing into a light socket. Using the pointy side of the scissors, make a small hole where you want the nose. We found that if we gently pushed the scissors (closed) through the hole and twisted them around they made a perfect sized hole for us to screw in our lightbulb!
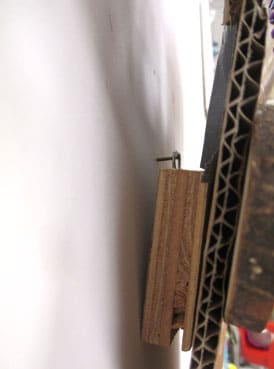
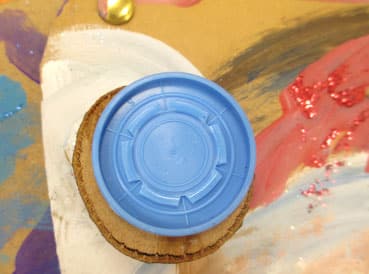
- Hot glue the soda can pull tab to the top of the piece of wood, and hot glue the wood to the back of the reindeer. The soda can pull tab makes a nice little wall hanger.
- Paint the reindeer laying flat on the table and sprinkle with glitter while the paint is still wet.
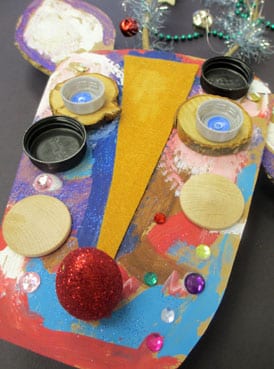
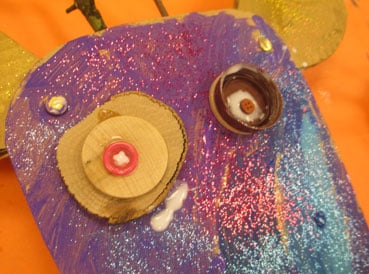
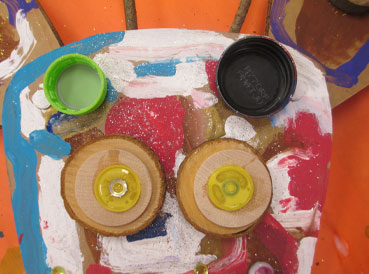
- Glue on the eyes (we instructed the kids to “build up” their eyes with at least three layers of do-dads)
- Glue the felt on the forehead, or gems or whatever else you want to glue on your reindeer’s face.
- To decorate the antlers, you can either do this flat while the paint is still drying, or wait for everything on the face to dry and then hang on the wall so you can “drape” things. Twist, tie, & hang all sorts of fun stuff! This part is fairly self-explanatory, but one rule of thumb is not to adorn it with such heavy items that the antlers will want to bend and/or come loose from the back. Give it the earthquake test to make sure everything is securely fastened.
- The very last step is to screw in the lightbulb. If you want, you can apply glue to the lightbulb and sprinkle it with glitter ahead of time! You want to attach the lightbulb at the very end because it is glass and could easily shatter if your reindeer falls off the table or wall as you’re decorating him/her! Speaking from experience here.
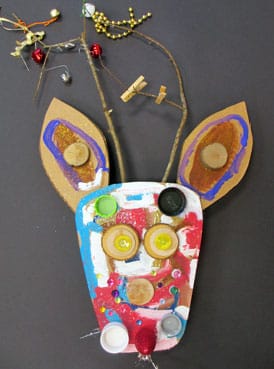
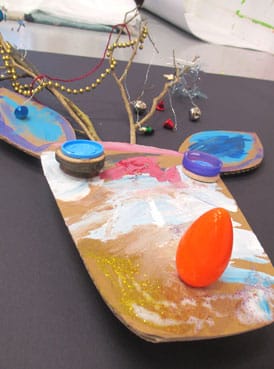
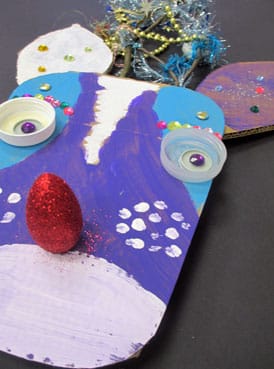
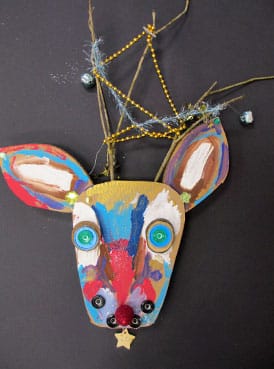
Enjoy these fabulous pictures! I wish we could have mounted these all together on one wall for a giant holiday gallery display!


[…] Upcycle Reindeers […]
[…] These reindeer heads make great Christmas decorations, and are a fine way to use up bits and bobs you’ve accumulated through the year. They also kind of remind us of some of the work of weirdy-genius artist, Elizabeth McGrath. How-to […]