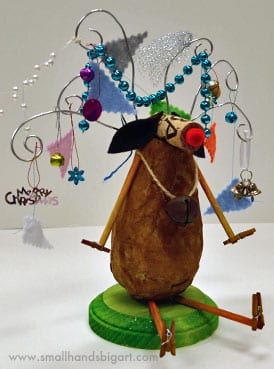
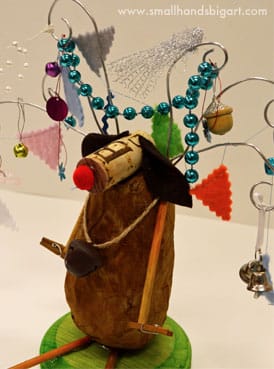
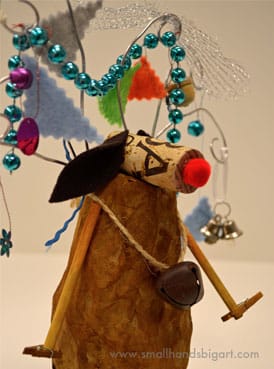
This little red-nosed reindeer was so simple and fun to make in our Holiday Reindeer Workshop! We just scrounged up some odds and ends from around the studio and a handful of sparkly stuff from our stash of holiday do-dads.
His festive antlers spread holiday cheer wherever he goes during the holiday season ~ in and out of {and back into} Target, standing in line at the post office, circling for a parking spot at the mall, sneaking into Starbucks for another gingerbread latte ~ in much the same manner that one might wear a loud holiday sweater or necktie that sings Jingle Bells to the office potluck, or unabashedly cruise around town with an oversized wreath on the hood of their SUV. We hope he inspires you to spread a little holiday cheer as well!
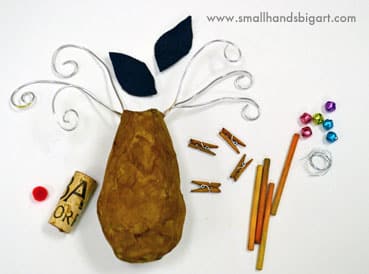
You Need:
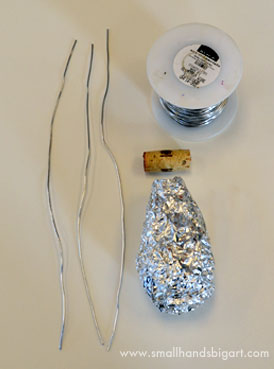
- Small piece of aluminum foil
- Strips of newspaper or kraft paper
- Thread and/or fine gauge wire
- Masking tape
- Flour
- Water
- Mixing bowl
- Wisk
- Brown watercolor, furniture or shoe polish and small piece of paper towel
- Wire for antlers
- Wine cork for head
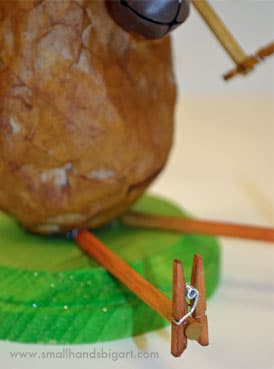
- Sticks for legs
- Mini clothes pins for hooves
- Small piece of wood or cardboard for the base
- Small piece of fabric, felt, or paper for the ears
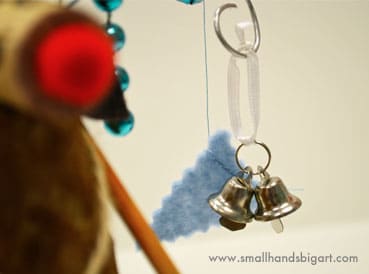
- Sparkly holiday do-dads to decorate the antlers (jingle bells, miniature garland, sequins, etc.)
- Small red pom pom or bead (if you’re going for the red-nosed reindeer like ours)
How To Do It:
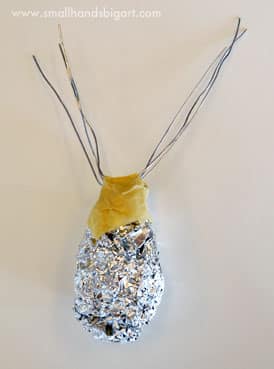
- Start by molding the aluminum foil into the shape for the body, tapering it for the head. We made ours about the size of a nice big Idaho spud.
- Press the wine cork into the aluminum foil to make an indentation where the head is going to go.
- Lay three or four lengths of wire across the top of the head and bend into the indentation for the head. Affix with masking tape.
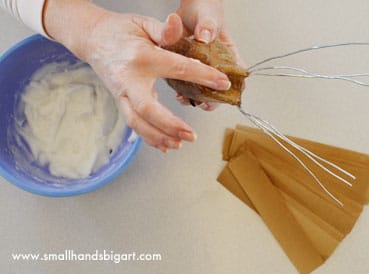
- Wisk flour and warm water to form the papier mache paste. Keep adding flour and/or water until the paste reaches the consistency of pudding – not too drippy.
- Tear the newspaper or kraft paper into small strips, dip them into the papier mache paste and cover the body (including the masking tape) with one or two layers. Since the form is a solid piece of aluminum foil, there’s not really a need for more than one or two layers – you’re just trying to get good coverage so you can’t see the foil. Rub your finger along the indentation where the cork for the head is going to go. Let dry overnight.
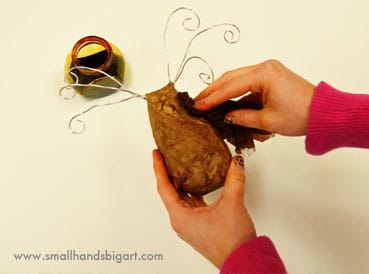
- After the papier mache is dry, gently rub the body with a little brown watercolor, furniture or shoe polish. You can get creative here – we were going for a natural, rustic look that ended up accidentally looking exactly like a potato.
- Cut small ovals out of felt, fabric, or paper for the ears and hot glue them to the sides of the wine cork. We opted not to include eyes on our reindeer but you could glue little buttons or beads on for the eyes if you preferred.
- Glue on the red pom pom or bead nose.
- Wrap the ends of the wire antlers around a pencil to twist them.
- Using a hot glue gun, assemble the body on the wooden or cardboard base, and glue the arms on in whatever position you prefer.
- The last step is to trick out the antlers with whatever little sparkly holiday goodies you like! More is more! And that’s probably not even enough!
The Hunter
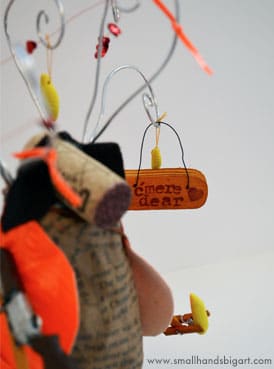
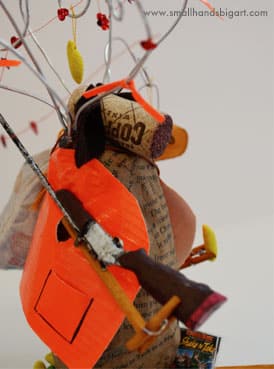
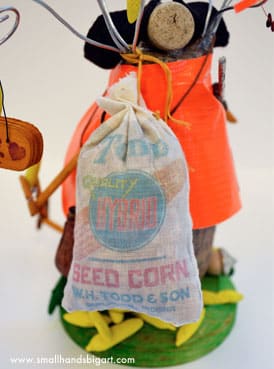
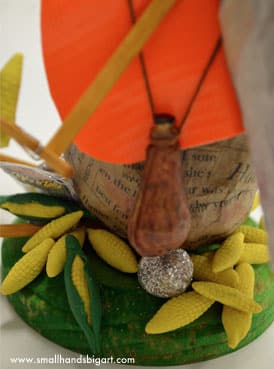
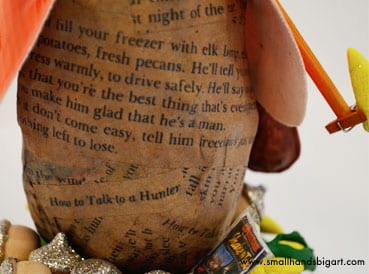
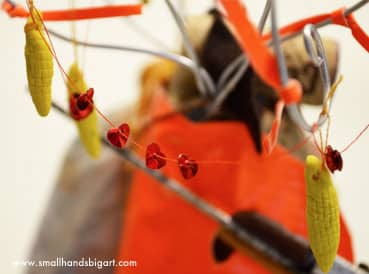
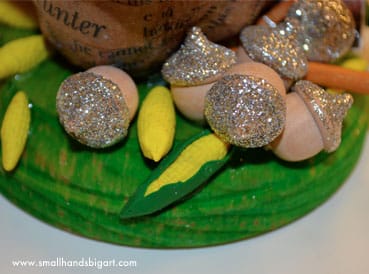
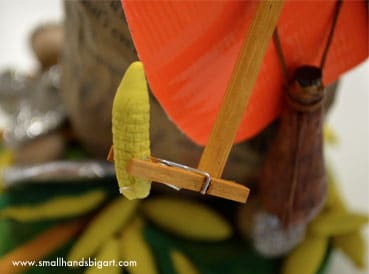
Here are some pics of the non-holiday “deer hunter” version. I just had to get that out of my system, and I have to say it is a toss-up as to which one was more fun to make. He is sitting in a little pile of corn on the cob (made out of Sculpey), glittered mini wooden acorns, and he is toting a big bag of corn on his back (the bag was made by taping a small piece of muslin to a piece of paper and printing the image on a regular ink jet printer). His vest and trail markers on his antlers were made out of duct tape. Fun!








[…] Upcycle Reindeer Sculpture […]