Whooo hasn’t dreamt of one day having a loyal be-speckled owl as a constant companion?
Owls have captivated children for decades. In the 70’s, Mr. Rogers’ cheerful X the Owl loved the color blue and taught us how to tolerate cranky neighbors like Lady Elaine Fairchilde. Then there was the wise professor Owl who, before the American Dental Association could intervene, encouraged kids across the country to find out how many licks it takes to get to the center of a Tootsie Roll Pop (one?). And long before the advent of curbside recycling, Woodsy Owl pleaded with us to Give a Hoot, Don’t Pollute. (Find him on Twitter, @woodsyowl, tweeting with his old pal @smokey_bear.).
More recently, a sweet snowy owl named Hedwig offered warm companionship to a lonely wizard named Harry, and we were smitten all over again! These enchanting raptors are a protected species and require special permission to have as pets, but with a little imagination, a box and a glue stick, you don’t have to break the law or travel to the arctic tundra to get one! And best of all, these snowy owls won’t eat your pet lemmings!
You Need:
- A small recycled box, 2-4″ in size (cosmetic boxes work great!)
- Glue stick
- White school glue
- White tissue paper, torn or cut into 1-2″ strips
- Misc. cardboard scraps, for eyes and beak
- Two buttons
- 2″ rubber band
How to Do It:
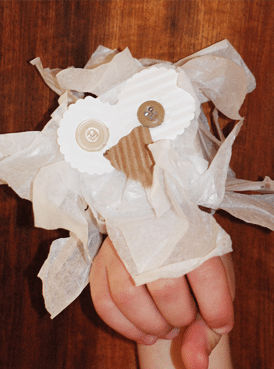
- Slip the rubber band around the lid of the box and close/fasten the lid. The box will become the owl’s body, and the side with the rubber band will become the bottom of the owl, so he can slip onto your arm to perch when you’re done.
- Using the glue stick, apply a generous amount of glue to every side of the box except the side with the rubber band.
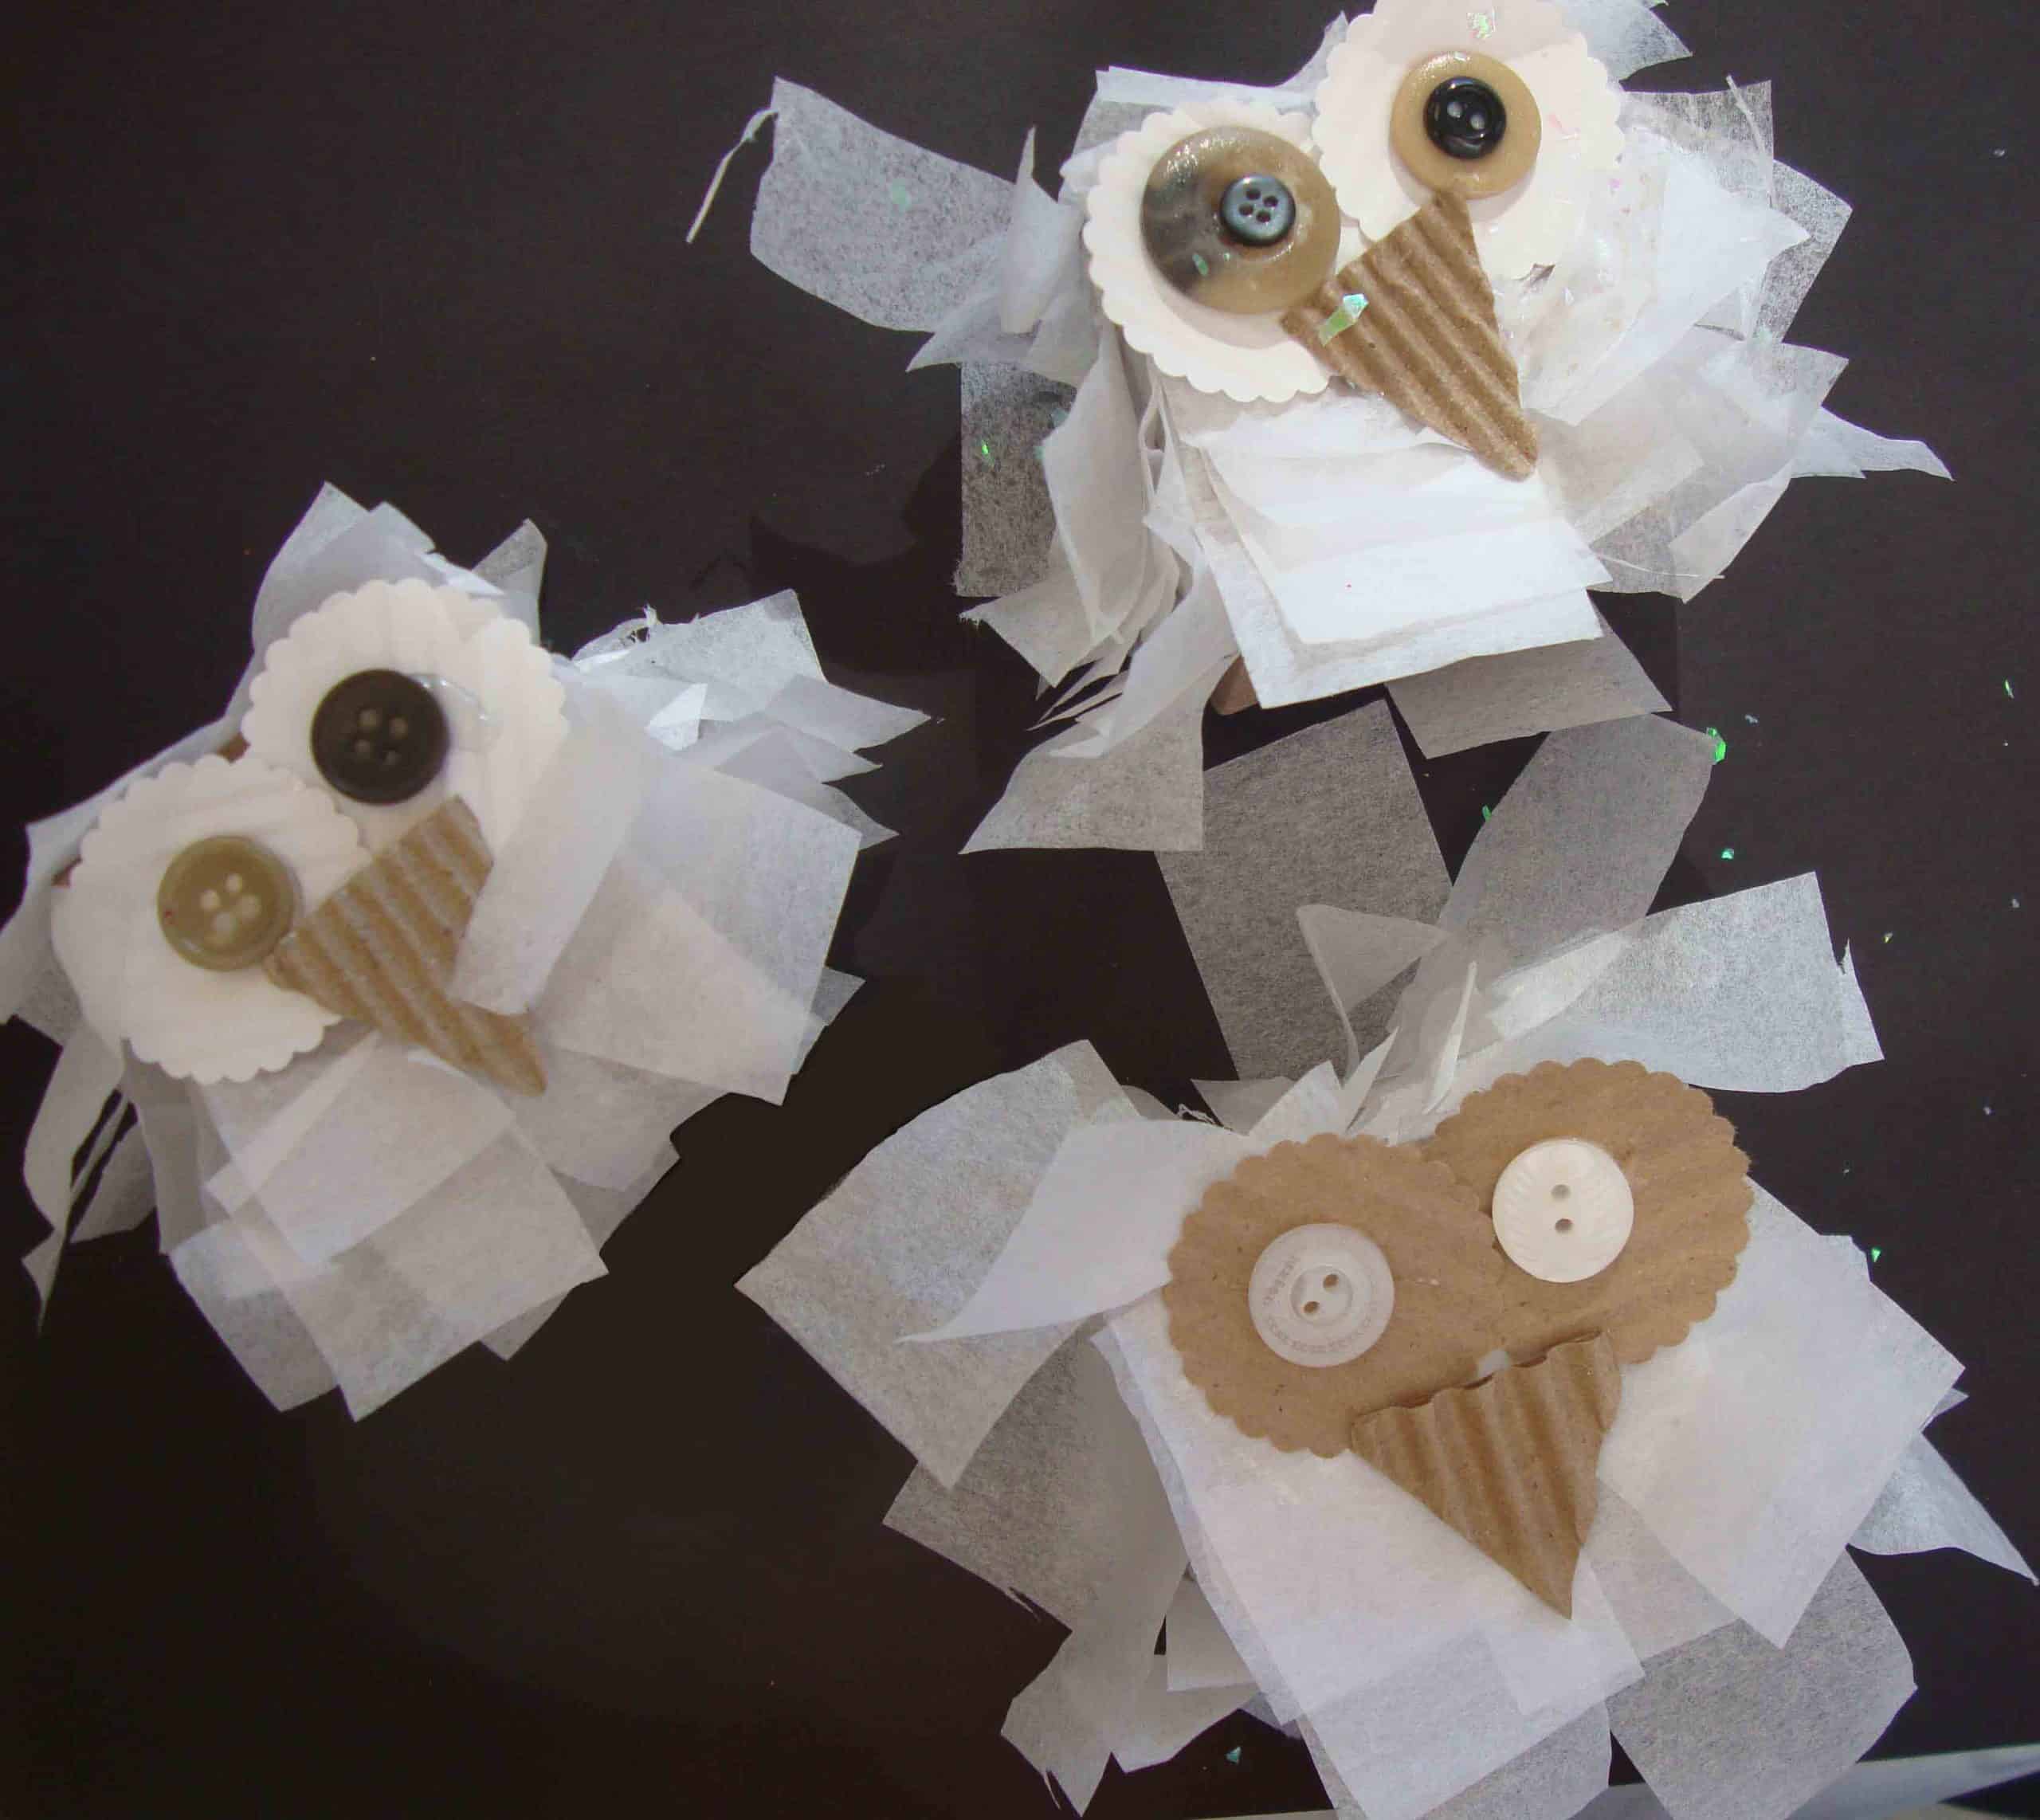
- For the owl’s snowy plumage, layer the strips of white tissue paper onto the box, working from the bottom up. Cover all sides except the bottom with the rubber band. It is impossible to make a mistake with this step. Even very young children can randomly grab handfuls of tissue paper and stick them all over the box. The more feathers the better!
- Pick a side of the box to make the face. Cut two large round circles out of cardboard or recycled paper, and glue onto the box, overlapping each other a bit. These will form the large round circles of feathers that owls have around their eyes.
- Using the white school glue, glue buttons on the round cardboard circles for eyes.
- Cut a small triangle out of cardboard for the beak, and glue it onto the face under the eyes, using white school glue.
- Count to 20 (or 187, depending on how much glue you used) to ensure the glue sets up briefly before you perch your snowy owl on your arm and run off to show your friends & family!

[…] these cute tissue paper snowy owls found on Small Hands Big […]
[…] Snowy Owl Winter Craft for Kids – Small Hands Big Art […]